Model origin
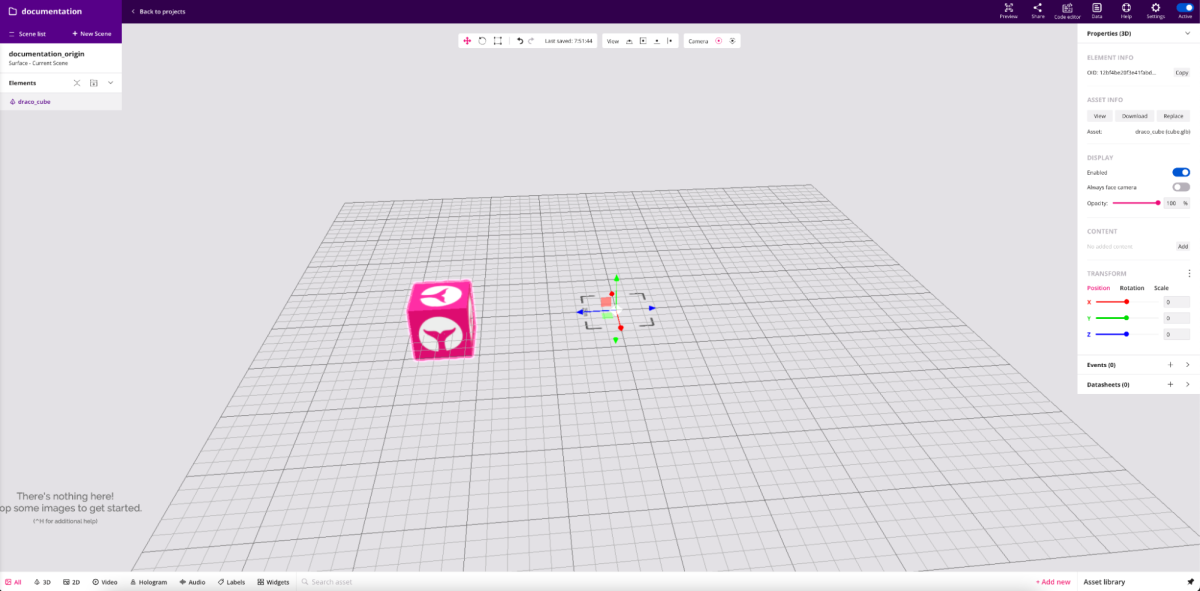
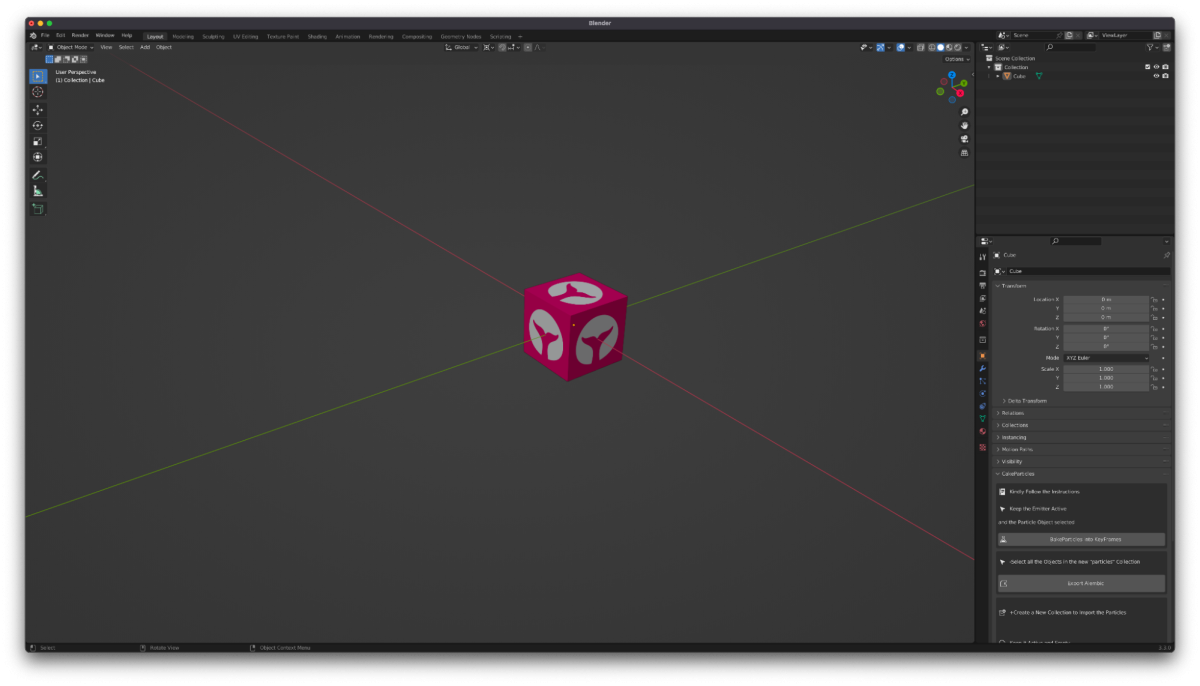
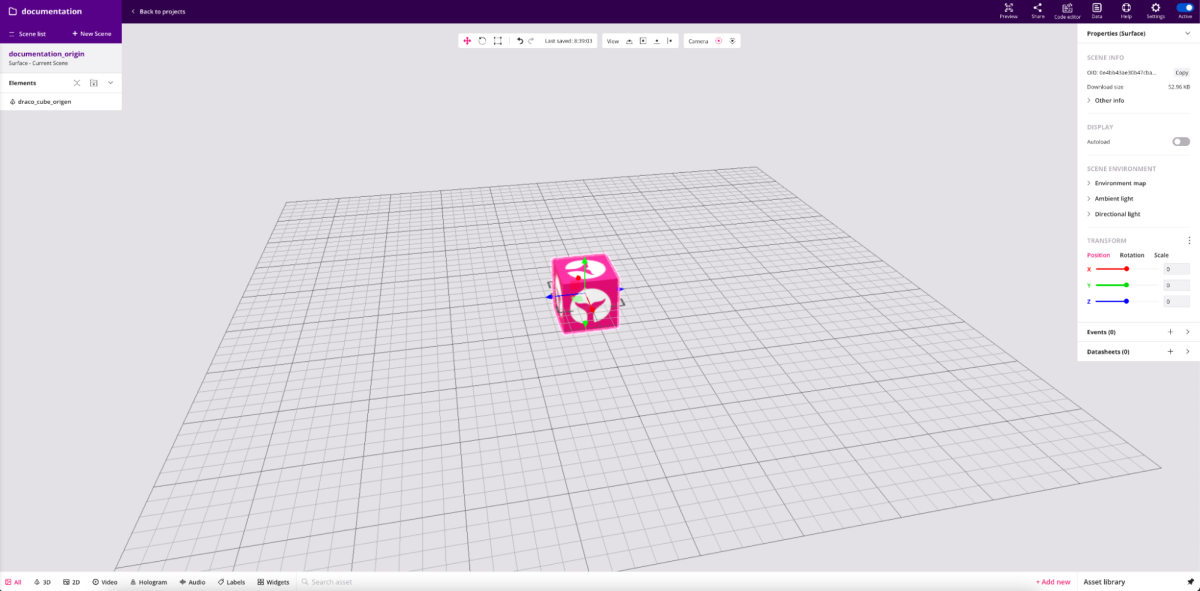
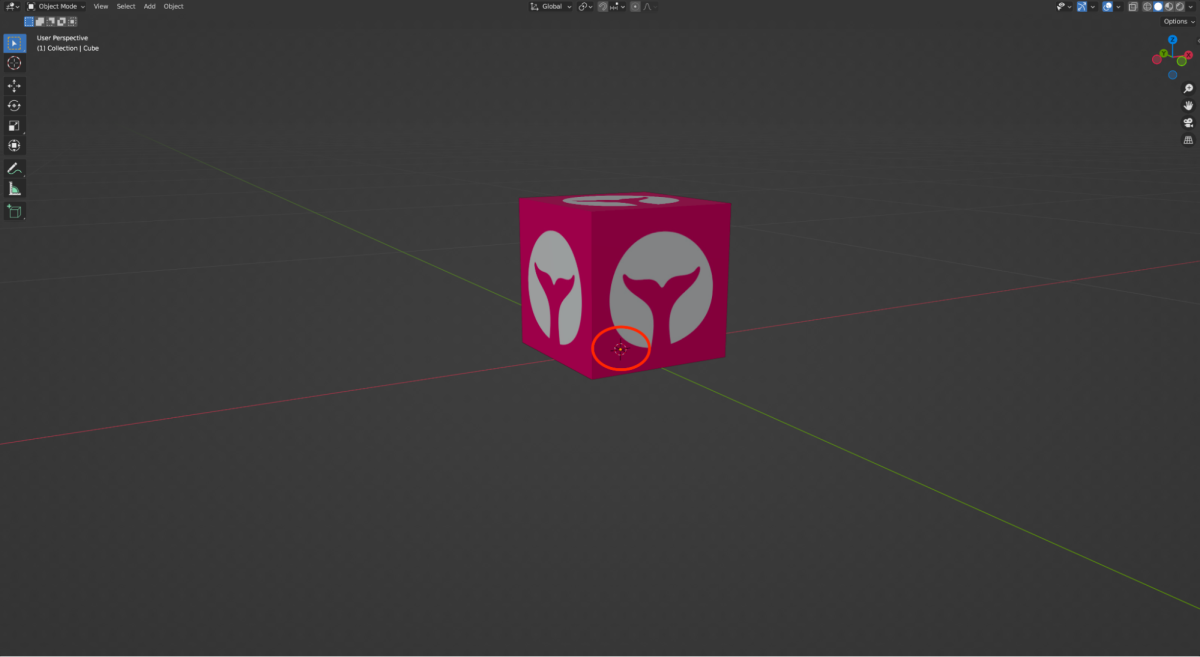
Sometimes when we download a model from an asset store or from a CAD tool, and upload it to Onirix we can find something like in the image below. We have our positions set to 0 but our 3D model is not in the world origin, that's due to a wrong placement of the object origin.
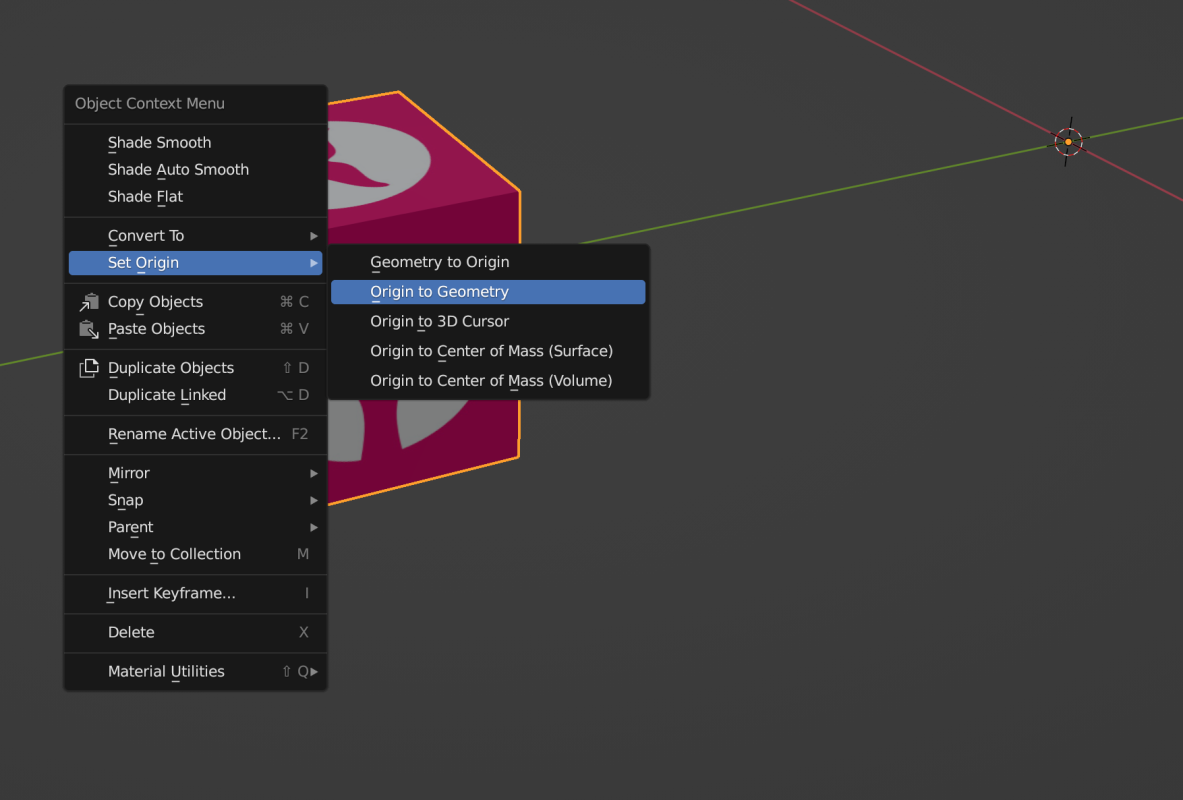
To solve this in Blender we need to create a new blend file and import the 3D object. Once we have the 3D object in the scene we have to right click the mouse button and select: Set origin -> Origin to geometry. That way we should be placing the origin at the center of the 3D object.
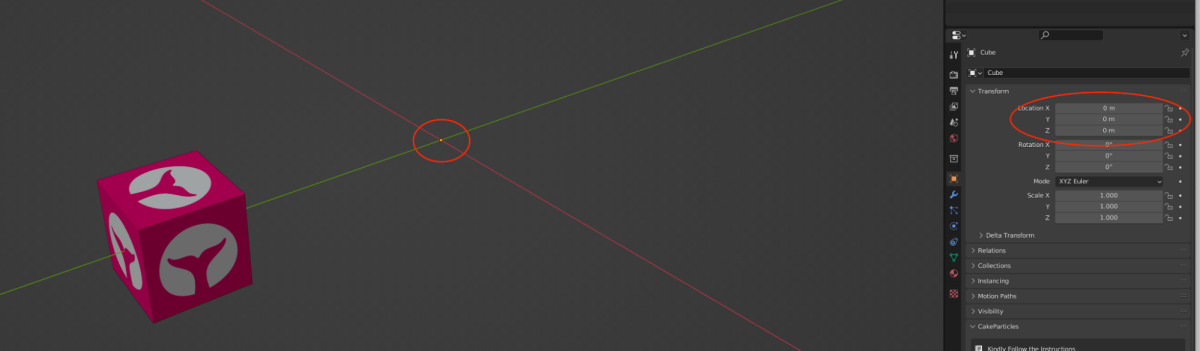
We can see in the image above that the object's positions in blender are 0 too, but our object is not in the world origin.
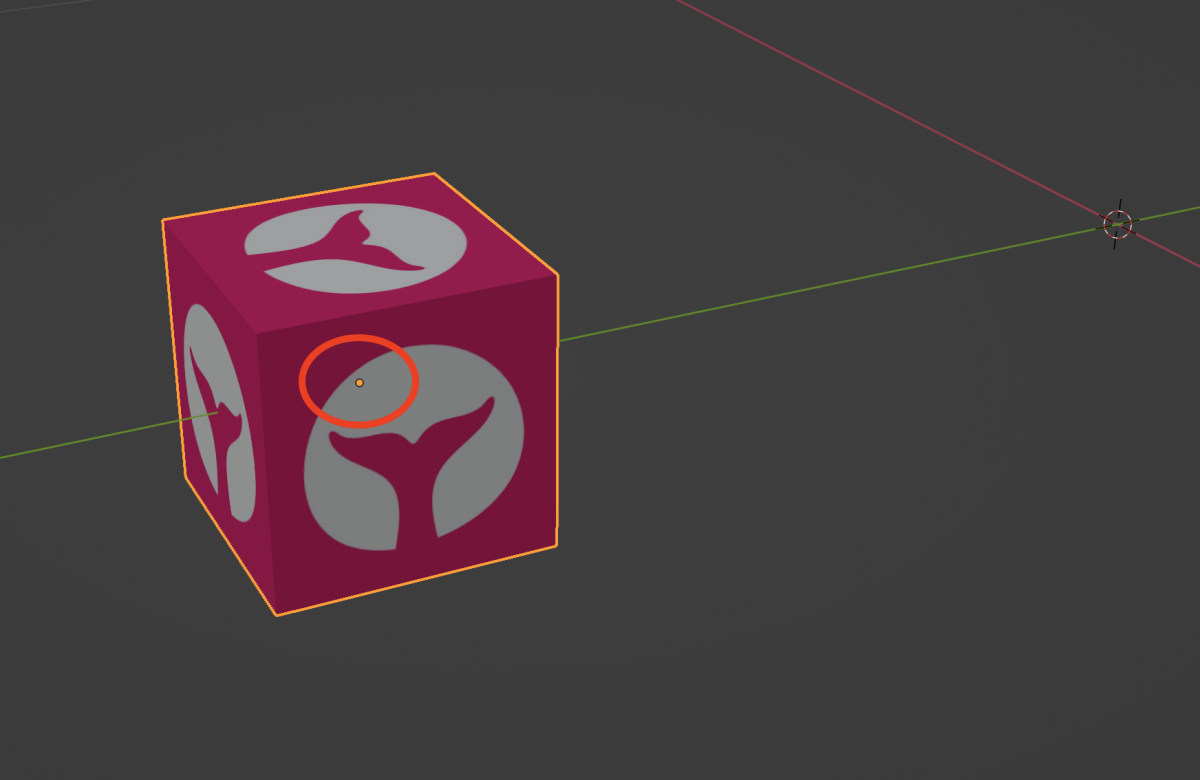
Now the object origin is in place and if we notice the positions, the Y position has changed. If we set that Y position to 0 our 3D object origin is in the world's origin.
We have to export the object with the right origin and import it to Onirix. We can see now that our 3D object is placed in the world’s origin when the positions are set to 0.
You may want your object to be above the y/z + 0, to achieve this in Blender we are going to start from our object origin in the center.
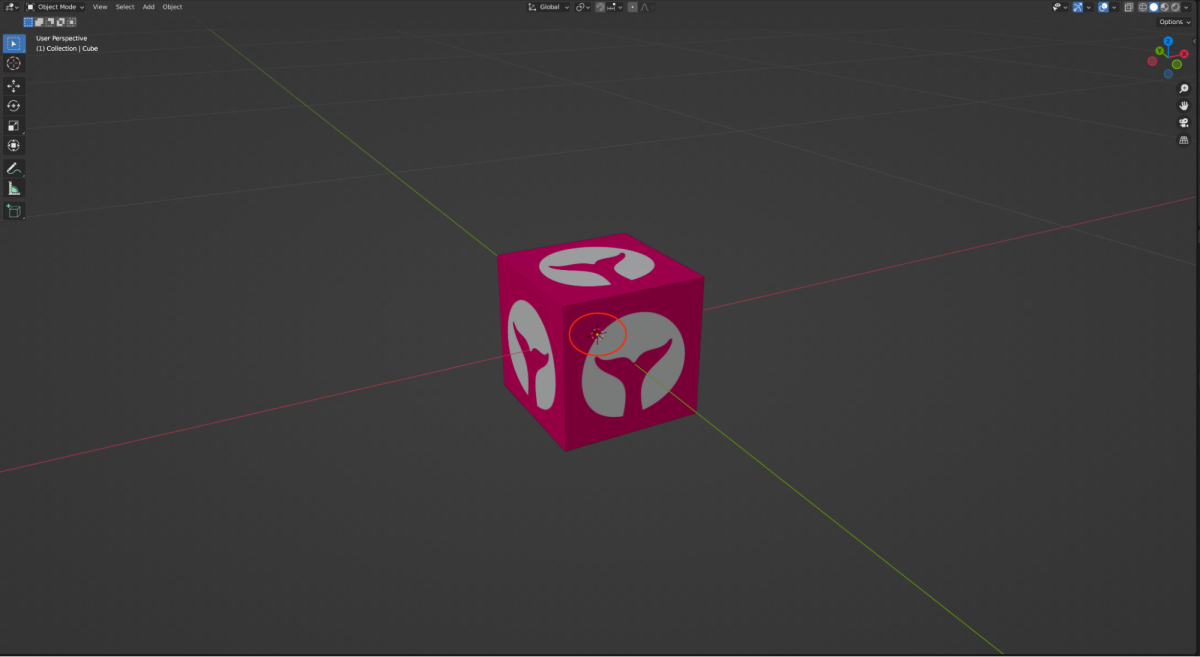
We are going to select the object and enter edit mode.
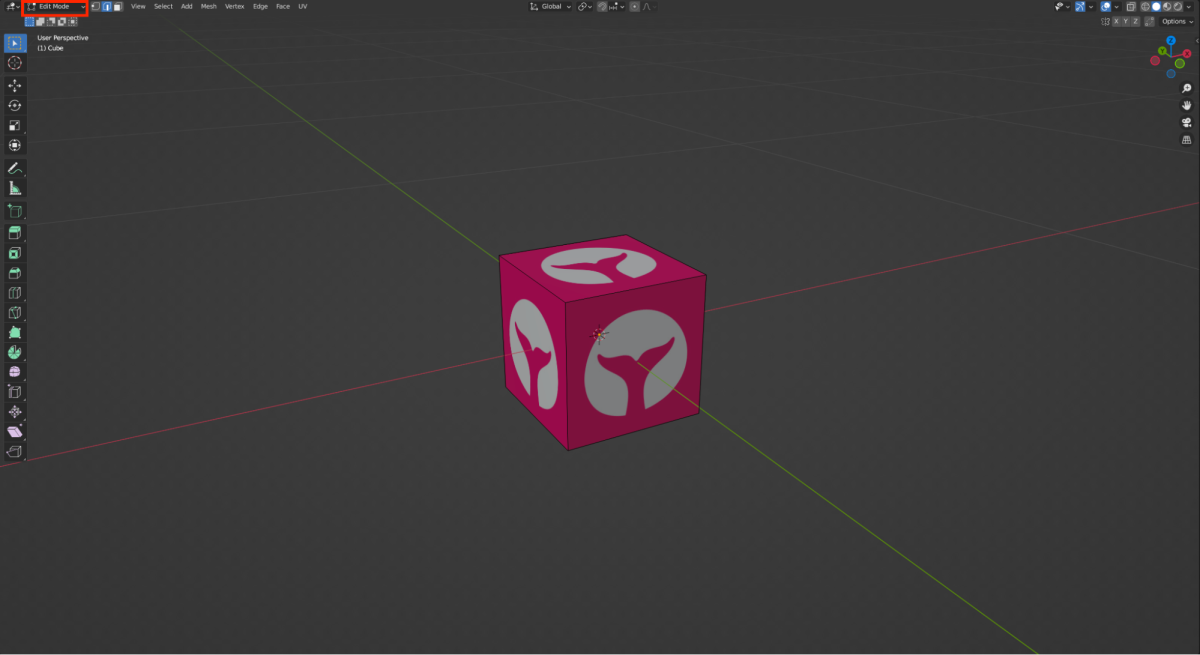
Next step is press A key to select all.
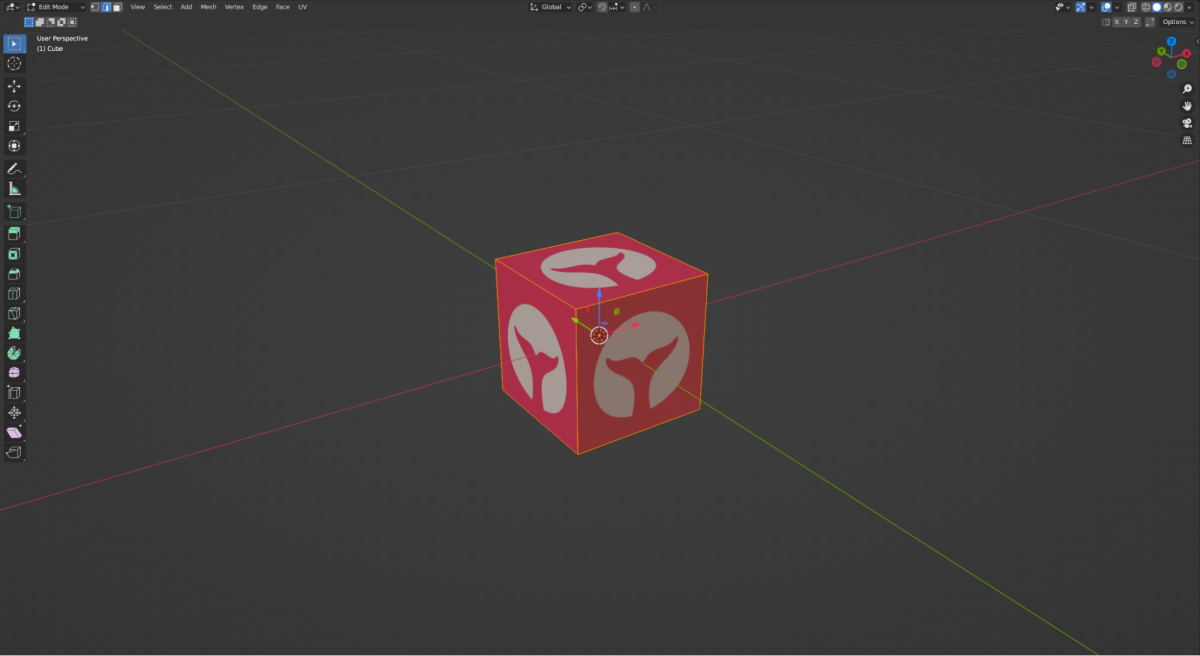
Once we have everything selected we want to move up our object on the Z axis. This way we move our object without moving our origin.
Now our origin is right on the button surface of our model.