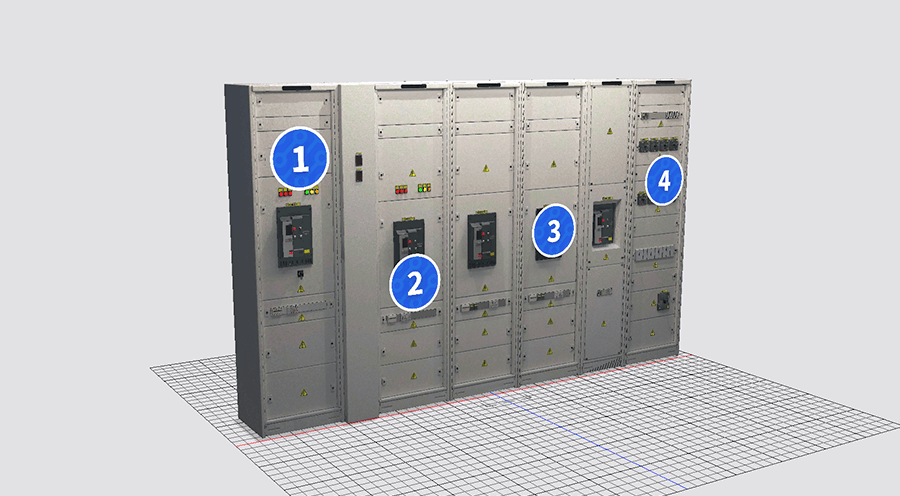
Onirix Annotations: Checklist

Annotations in Onirirx is a great module where you can include elements that serve as visual cues in your AR experiences. These cues can be used to mark areas of a digital twin, or areas of interest in a Space for example.
In this case we present the module with checklist functionality. This module allows us to add a series of elements that will allow the user to review one by one different points of the experience (installation, product, digital twin, etc.).
Try yourself
First of all, if you want to try the experience with the Electrical cabinet and its checklist you can do it by accessing this experience: Electrical cabinet - Checklist.
Parts of the checklist module:
3D models with variants
For this module to have the capacity to modify the state of the visual elements that compose it, we must start from 3D models with variants of textures that represent each of the states that we are interested in showing: inactive, active and visited.
- Inactive: initial state of the model that indicates the annotation to be checked.
- Active: state in which the user selects the specific annotation and its associated content (if it has any) is shown.
- Visited: state after the corresponding annotation has been displayed.
Here we share the 3D model of the element "one" in case you want to download it and check out how its made: Download 1.zip asset
Datastore: Data Sheets associated to the models
In order to display content tokens associated with each of the checklist steps, we use a connection to our Datastore functionality. In this component we can create Data Structures, and fill them with information using Data Sheets.
In this case, each of the steps will have textual information and images, to support the work of the operator who is going to check each task.
Data Strucrure predefined
Within our Onirix module we offer a data structure already created (this can be modified if you access the full code from our github as we discussed in the final section of this post).
To be able to include this module in your account you will need to create a new Structure in the Datastore with this exact fields in it.
The structure in question has the following fields:
- Title (required): string
- Preview (optional): image
- Description (required): Richtext
- Link (optional): url
These four first fields are to include a minimum amount of information in each content.
- Text_bloq_1 (optional): Richtext
- Image_bloq_1 (optional): image
- Text_bloq_2 (optional): Richtext
- Image_bloq_2 (optional): image
- Text_bloq_3 (optional): Richtext
- Image_bloq_3 (optional): image
These other blocks of images and texts are optional fields to increase the information if needed in each content in a free way.
Remember that you can create your own structures using our Datastore, and also modify the code from any of our modules to make them your own.
Data Sheets associated with each step
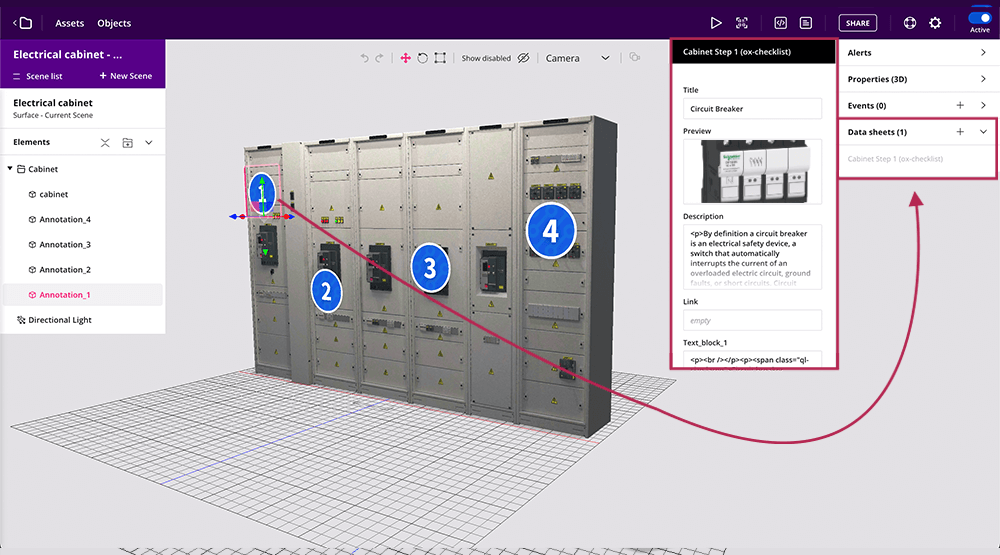
In the Data Sheets section, inside the scene editor, is where you can associate the content with our sheet editor in an intuitive way.
Here you can relate each of the elements of the checklist with their specific content, and provide them with valuable information and context for the user, in the case of this electrical panel, for an operator:

With this you can have, for example, a digital twin with annotations that have value content tokens associated with them, and whose status changes depending on the user's action, automatically, thanks to our module:
Code editor: module import
As we explain in more detail in our github module page, to use this module, the minimum necessary is to import it from the code editor, and connect it with our Embed SDK. This is all the code you will need:
import OnirixAnnotationsModule from "https://cdn.jsdelivr.net/npm/@onirix/annotations-module@2.0.11/+esm";
import OnirixEmbedSDK from "https://cdn.jsdelivr.net/npm/@onirix/embed-sdk@1.17.1/+esm";

const embedSDK = new OnirixEmbedSDK();
await embedSDK.connect();

const oxAnnotations = new OnirixAnnotationsModule(embedSDK, {template: "ox-checklist"});
Access to the complete example in our github page: Onirix annotations module in github.
Take into account that the name of the template can be changed, in our case we use "ox-checklist", but you can create your own.
Expand customisation: github access
As we have already mentioned, if you want to have full control of the module, and even modify the associated code, styles, data structure, model variants, or any other logic; you can access our github page and download the full code of this module.