Lazy loading and dynamic element creation

In this tutorial, you will learn how the lazy loading and the dynamic element creation features work.
Lazy loading allows you to mark some elements as "lazy" on the Onirix Studio editor. "Lazy" elements are offloaded from the initial scene loading and can be loaded later using Onirix Embed SDK. Lazy loading is perfect for projects such as product carousels where the experience needs many elements with heavy assets shown one by one. Marking some of these elements as lazy makes experience loading times shorter and achieves a faster time to interaction.
Dynamic element creation is a step further from lazy loading: you can create new elements in the scene from assets using the Onirix Embed SDK. Dynamic element creation can also help with experience loading times and enables a new range of possibilities.
Lazy loading
Step 1: Create a Studio project
To create an Onirix Studio project, you need an Onirix account. So, if you don't have one already, you can create one by filling out the form on the register page. Don't forget to validate it by following the instructions sent to your email address!
Once you have an Onirix account, you can create a project by clicking the "Create" button in the "Projects" tab. After filling in the name of your project, the scene creation dialog will appear. Lazy loading works in all scene types, so you can choose whichever you want. Alternatively, you can download one from our Experience Library.
Lazy loading applies to elements in the scene. Therefore, if your scene is empty, you can create one to continue. Then, your project will be ready for the next step.
Step 2: Enable lazy load for the element
To enable lazy loading in one of the elements in the scene, start by selecting it. You can do this in two different ways: by clicking on it on the left sidebar or by clicking on it on the editor canvas. Once you have selected the element, it will appear highlighted on the left sidebar:

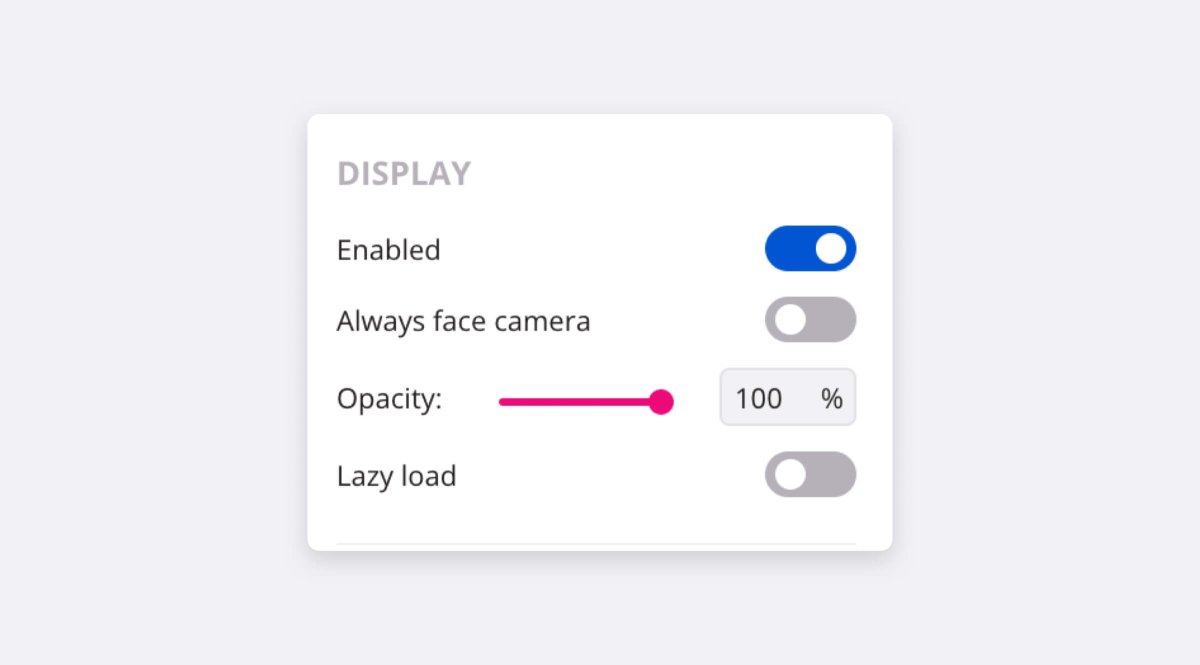
The right sidebar shows the properties of the selected object. In particular, the "Lazy load" property in the "Display" section is used to control the lazy loading behavior of an element (see the following image). When an element has this property enabled, it won't be loaded on scene load. This has the following consequences:
- The element won't slow down the load of the scene.
- The element won't download at the scene load, thus it will not consume user bandwidth.
- The element won't show even though it is enabled.
- The element won't react to events.
- The element can't receive actions with the exception of the loadElement action that will be described in the next section.
To continue, enable the "Lazy load" property.
Step 3: Load the element using the Embed SDK
Lazy loaded elements can be loaded using the loadElement function from the Embed SDK. This function returns a promise that resolves when the element is loaded and receives two parameters: the oid of the object and a params object.
The params object can be omitted. If present, it can have any of the following fields:
- position: An object with x, y, and z attributes that will override the current position of the object.
- euler: An object with x, y, and z attributes that will override the current position of the object.
- scale: An object with x, y, and z attributes that will override the current position of the object.
- transition: The transition used when the element appears (see enable action).
- time: Length of the transition (see enable action).
- sound: Sound of the transition (see enable action).
For example, to load the earth_cartoon element when the user clicks in the scene someone could use the following code:
import OnirixEmbedSDK from "https://unpkg.com/@onirix/embed-sdk@1.17.0/dist/ox-embed-sdk.esm.js";

const embedSDK = new OnirixEmbedSDK();
embedSDK.connect();

embedSDK.subscribe(OnirixEmbedSDK.Events.SCENE_CLICK, async (params) => {
    console.log('Loading earth_cartoon.')
    await embedSDK.loadElement('4185274955de4bd589967d16f6d6a2f1');
    console.log('earth_cartoon loaded.');
});
When a loadElement action is sent to an element, its asset starts to download. And, when the download finishes; the element is shown, its events are enabled and it's set as a valid action target.
Dynamic element creation
Step 1: Create a Studio project
Dynamic element creation does not require elements in the scene of the project. However, it still needs a project with a scene. For more detailed instructions on how to create an account and a project read the Step 1 of Lazy loading (you can skip the element creation step).
Step 2: Upload your asset
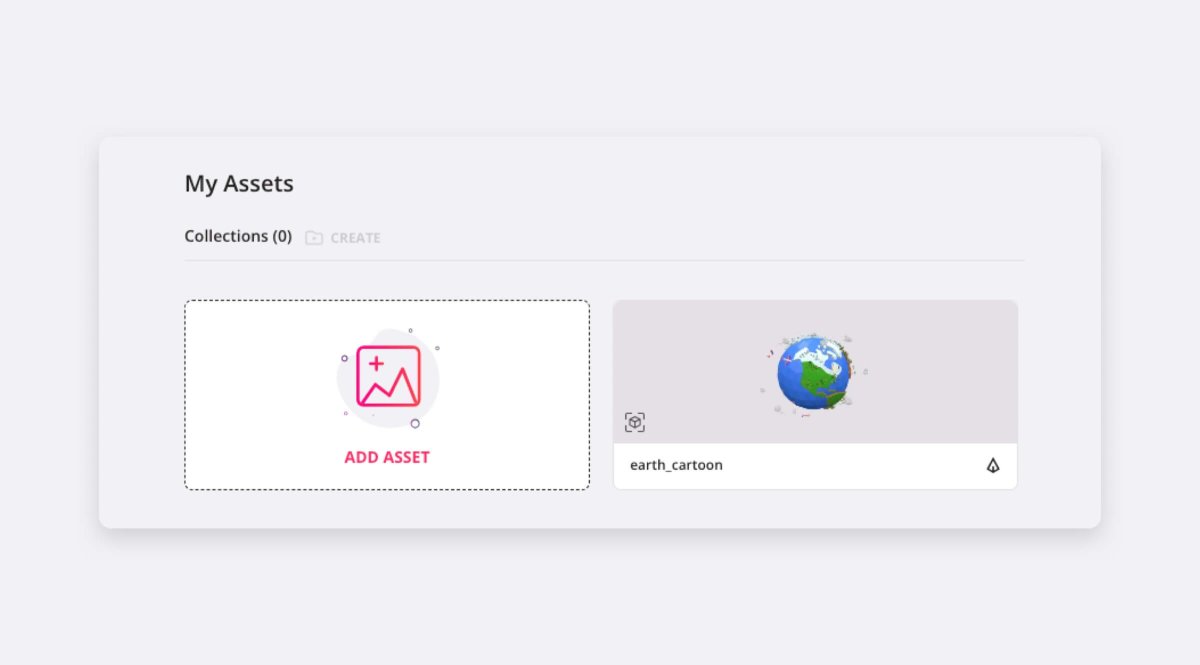
Go to the assets page and upload the asset you want to create dynamically. You can achieve that by clicking on the "Add asset" button and following the instructions. When you have done that, your new asset should appear in the asset page like this:
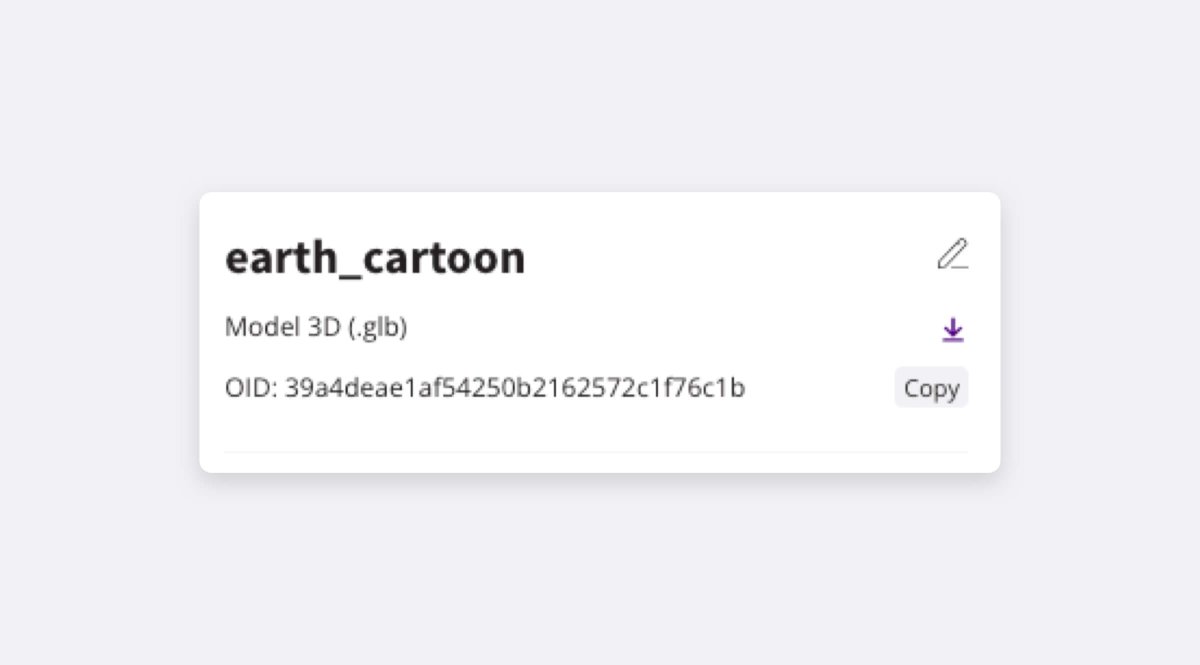
If you click on this newly uploaded asset the asset preview popup will appear. This popup shows some information that you'll need in the next step: the asset oid. Copy this oid from the right sidebar (see the following image) and continue to the next step. Don't worry if you overwrite your clipboard, you can always come back and copy it again.
Step 3: Create the element from the SDK
To create an element dynamically you can use the createElement function in the Embed SDK. The interface of this function is very similar to the loadElement function: it returns a promise that resolves when the element is created and receives two parameters. These two parameters are:
- The oid given to the created object. This can be any unique string but we recommend using the package uuid. You'll need this to send actions to the newly created elements.
- A params object.
The params object of the createElement function has the following mandatory fields:
- assetOid: The oid copied in step 2.
- name: Name of the element created (it can be any string).
- position: An object with x, y, and z attributes that will override the current position of the object.
- euler: An object with x, y, and z attributes that will override the current position of the object.
- scale: An object with x, y, and z attributes that will override the current position of the object.
- opacity: A number with the opacity of the element.
- parentOid: the oid of the parent element of the element being created or null. Also, optionally you can add the following fields:
- transition: The transition used when the element appears (see enable action).
- time: Length of the transition (see enable action).
- sound: Sound of the transition (see enable action).
For example, you could create an element on the position of taps on the scene using the following code:
import OnirixEmbedSDK from "https://unpkg.com/@onirix/embed-sdk@latest/dist/ox-embed-sdk.esm.js";

 // Generate random UUID v4
function uuid() {
    return 'xxxxxxxx-xxxx-4xxx-yxxx-xxxxxxxxxxxx'.replace(/[xy]/g, function (char) {
        const random = Math.random() * 16 | 0;
        const value = char === 'x' ? random : (random & 0x3 | 0x8);
        return value.toString(16);
        }
    );
}

const embedSDK = new OnirixEmbedSDK();
embedSDK.connect();

embedSDK.subscribe(OnirixEmbedSDK.Events.SCENE_CLICK, async (params) => {
    console.log('Creating earth_cartoon.')
    await embedSDK.createElement(uuid(), {
        assetOid: '39a4deae1af54250b2162572c1f76c1b',
        parentOid: null,
        name: 'earth_cartoon',
        position: params.intersection,
        euler: {x: 0, y: 0, z: 0},
        scale: {x: 0.1, y: 0.1, z: 0.1},
        opacity: 1,
    });
    console.log('earth_cartoon created.');
});