Import existing 3D Scans (E57 format)
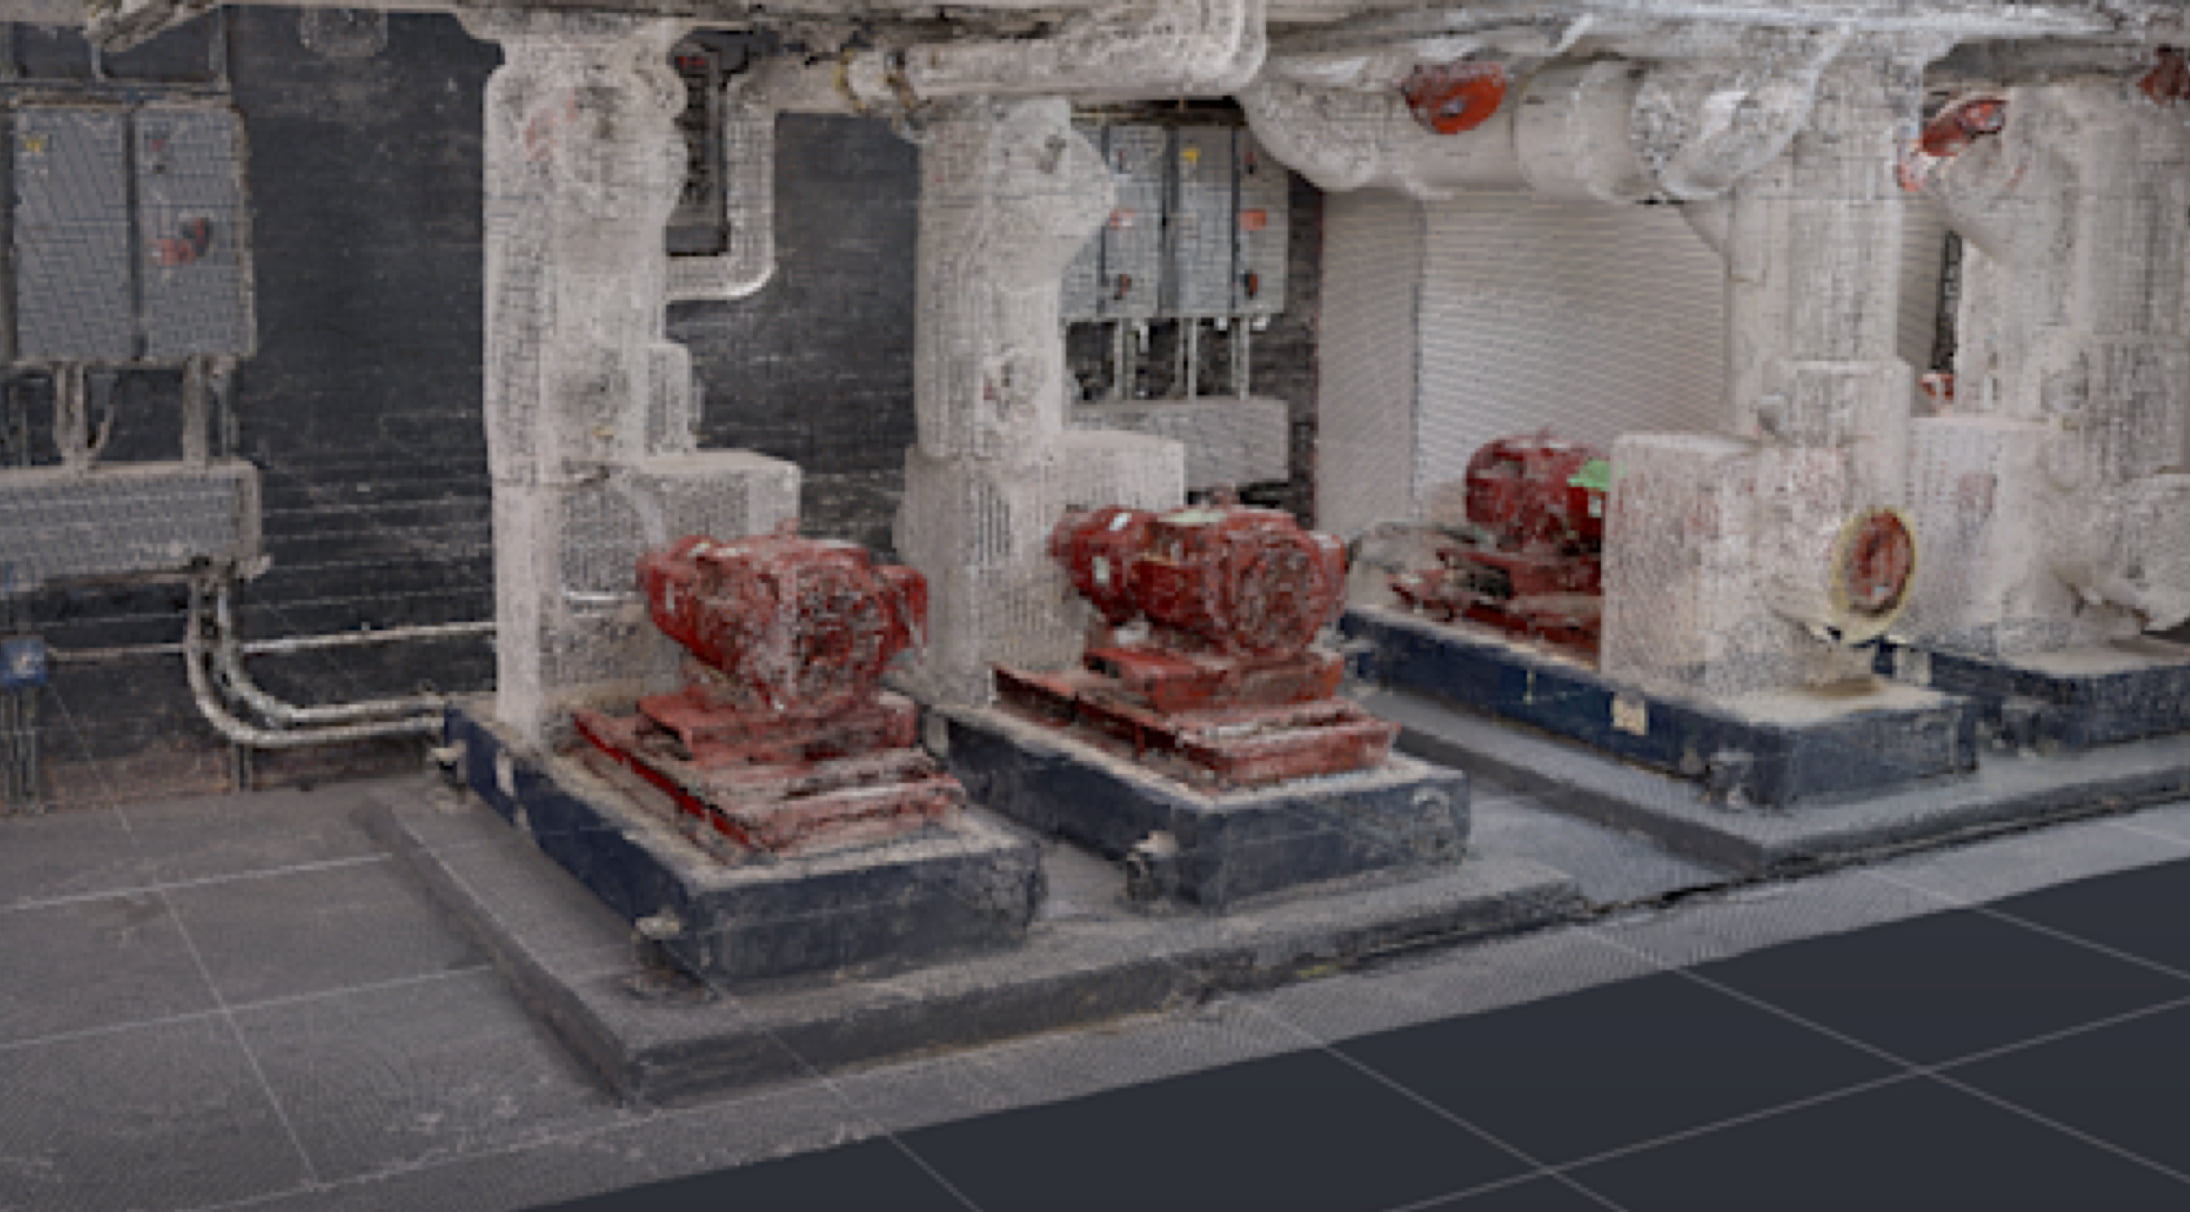
Many organizations already possess high-precision 3D scans of their facilities, captured with LiDAR or 360° cameras or scanners for digitization and documentation. Onirix extends these existing assets into the realm of AR by supporting the E57 file format—a vendor-neutral standard for storing point clouds, images, and associated metadata from advanced 3D imaging systems.

E57 scans offer remarkable detail and accuracy, making them ideal for large or complex spaces. These files can be exported from a variety of capture tools and software platforms, including Leica Cyclone, Faro Scene, and Matterport (via E57 export options).
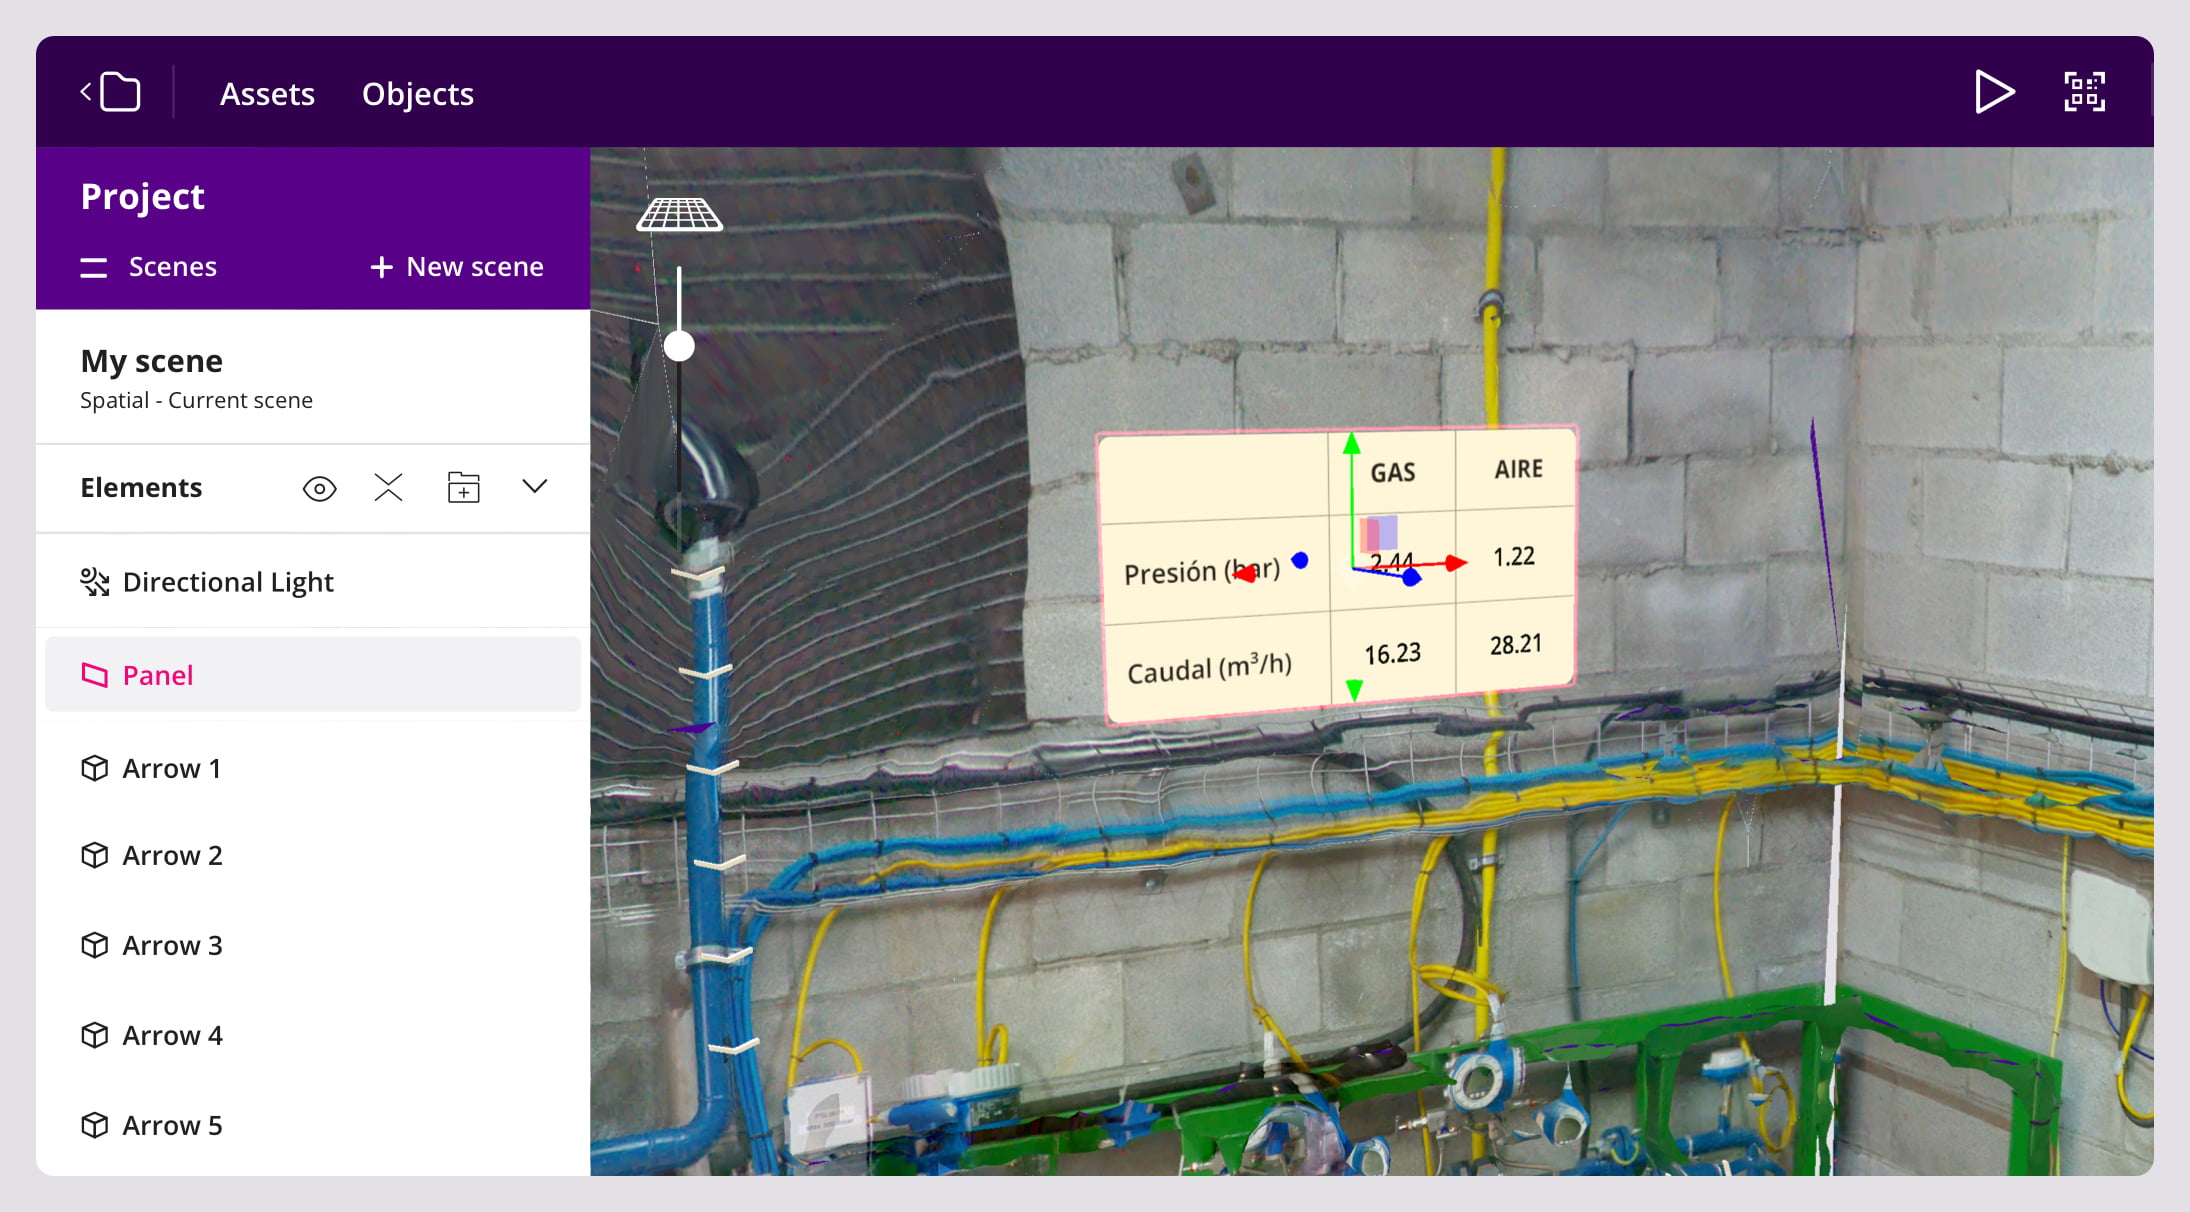
Once uploaded to Onirix, the scans are converted into a Spatial AR–ready format, enabling you to place and visualize interactive digital content directly within your real-world environment.

This workflow not only speeds up the creation of immersive AR experiences, but also preserves the fidelity of any existing 3D data you’ve already invested in collecting.
Compatibility
The E57 format can have different internal representations. Onirix supports importing structured scans (a point cloud for each capture location) with associated color images, which can be stored separately or in an equirectangular format.
While the point cloud can vary in quality, the images must have enough resolution (at least 2K) and clarity, as they serve as the main input for visual localization.
Some of the cameras that support exporting to this format include:
- Leica BLK360
- Leica RTC360
- Leica BLK2GO
- Matterport Pro
- Matterport Pro2
- Matterport Pro2 Lite
- Matterport Pro3
- Faro Focus S70
- Faro Focus S150
- Faro Focus S350
E57 files can be exported from each system’s respective software, such as:
- Leica Cyclone
- Faro Scene
- Matterport Studio
Exporting Matterport spaces to E57 requires an active Matterport license and involves a download fee for each scan.
How to make a good scan: camera positions
When importing spatial data into Onirix Studio using Lidar cameras and e57 files, it’s important to follow a set of good practices to ensure the best results. High-quality scans contribute directly to better user experiences and more accurate spatial positioning within your AR scenes.
This guide outlines the recommended steps and considerations for creating effective scans with associated images.
Step 1. Plan Your Scan
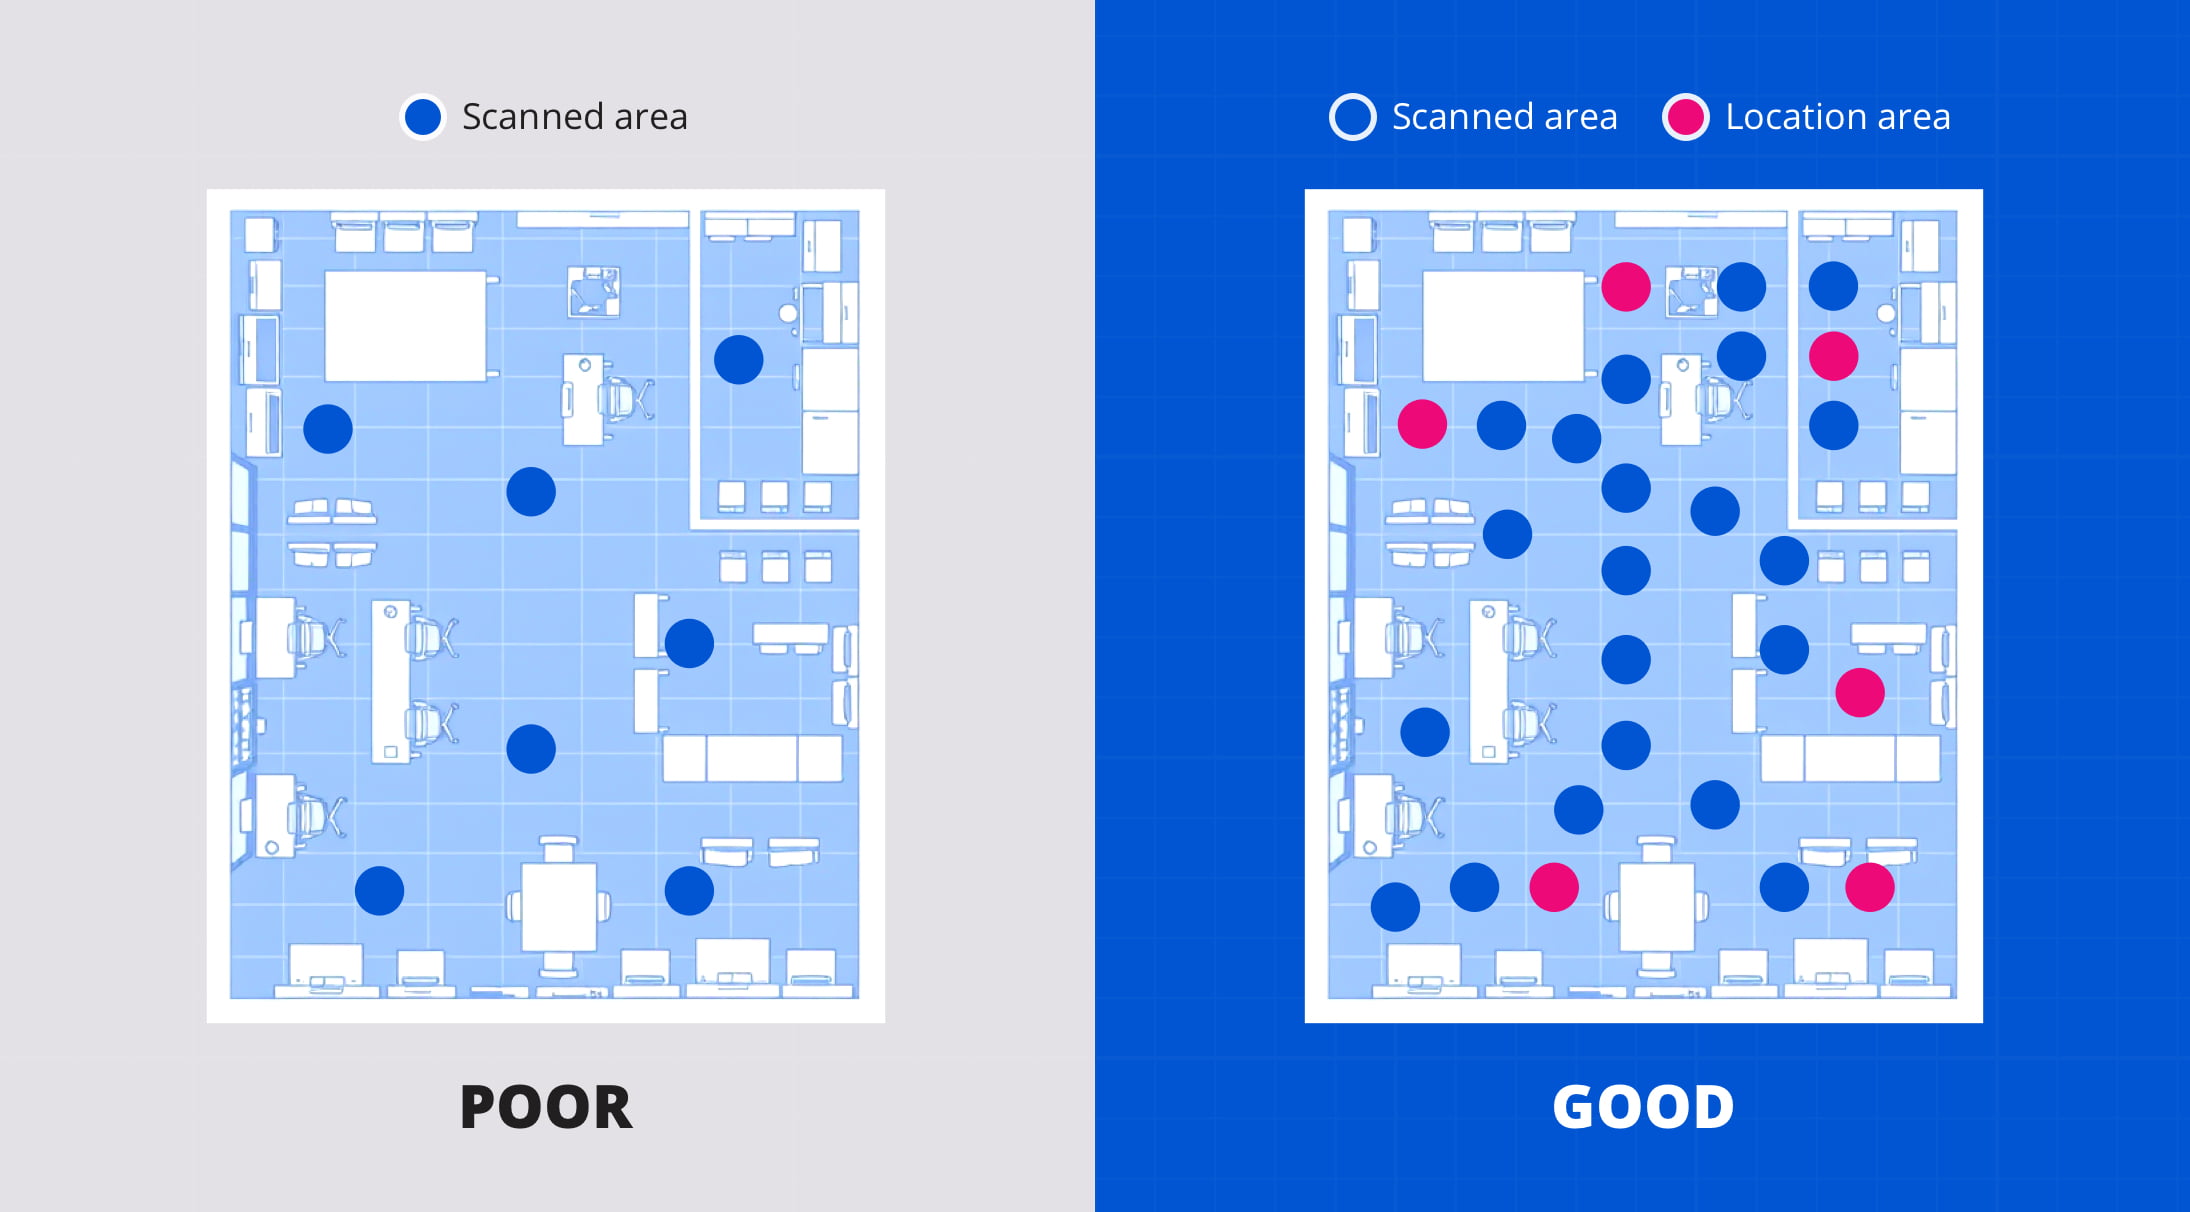
Careful planning is the foundation of a successful scan. Identify the key areas of the environment you want to cover and choose strategic positions for your Lidar camera. Make sure your setup allows full coverage with minimal blind spots.
Think in terms of visibility: every significant area of your space should be captured from multiple angles if necessary.
Step 2. Mind the Location Areas
Location areas are specific, user-visible reference points that help with spatial anchoring. These areas are crucial for accurate positioning and enhanced AR experiences.
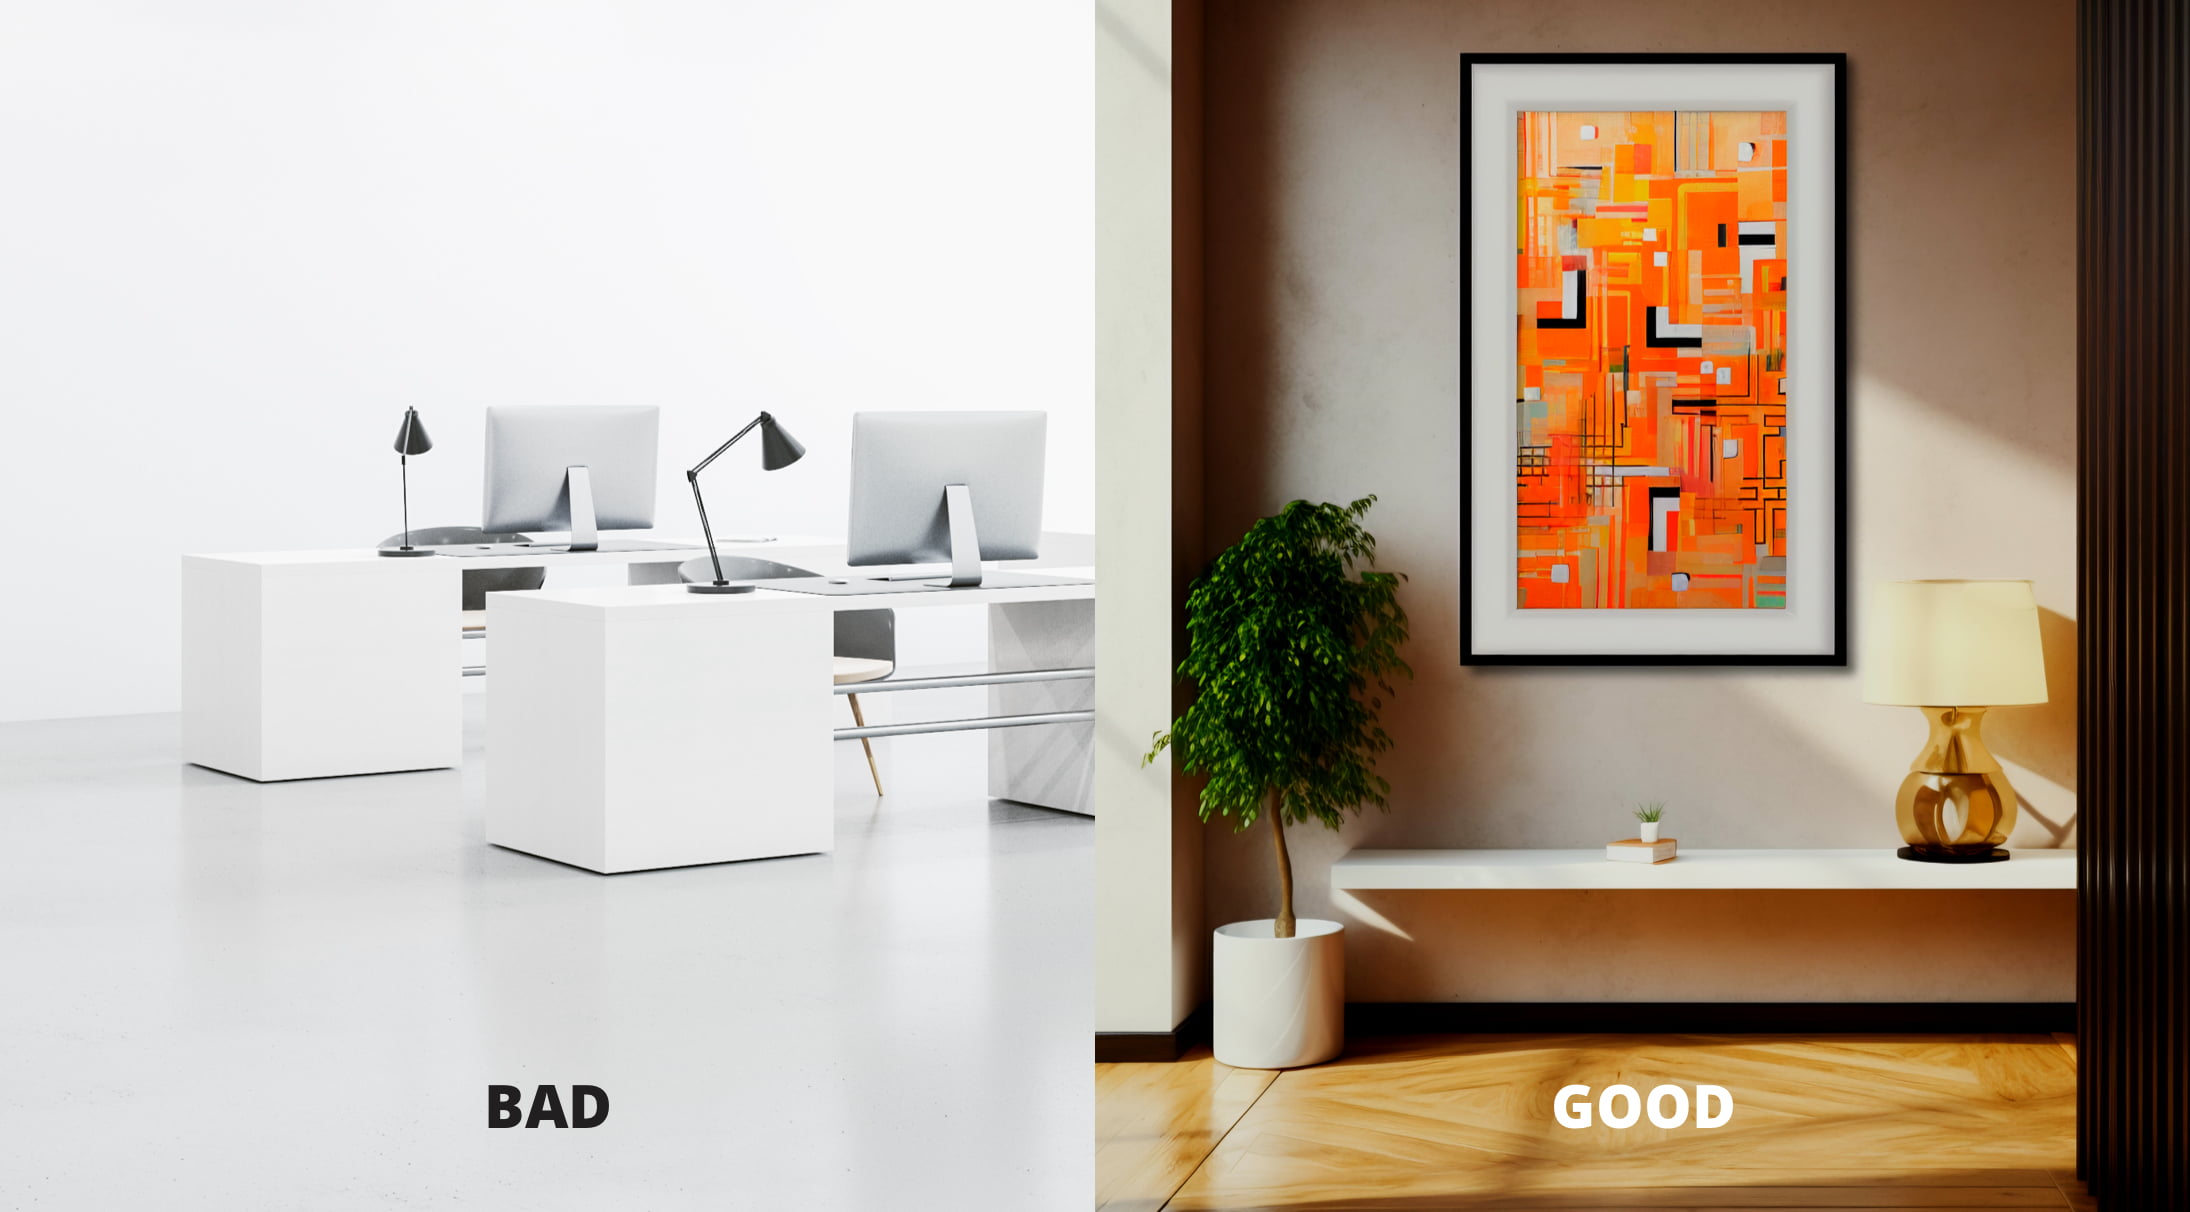
Good location areas should be:
- Visually distinct
- High in contrast
- Contain identifiable shapes or elements
- They should not change over time, or change as little as possible.
- Not be reflective surfaces where light can generate unwanted effects or reflections.
Here you can see a "bad" vs "good" location area example from an office environment.

Step 3. Capture Each Location Area Clearly
For each location area:
- Place the Lidar camera in front of it at approximately 2 meters distance.
- Take a frontal image with good resolution and lighting.
- Ensure the visual elements are clearly readable in the image.

Recommended density: Aim for around 10 location areas per 1000 m².
Step 4. Wayfinding Considerations
If your goal is to implement wayfinding (i.e. guiding users through a space), it's essential to capture the entire navigable area. Even if not all areas will be used as location points, ensure that:
- The full path is scanned.
- There are enough camera locations for later Studio’s editing process defining clear user paths.
To create a good scan in an area where we want to include guidance, the interior can be designed with posters, banners, or vinyls, to include the location areas that will later form part of the experience.
How can I import E57 files?
Although Onirix Reconstruction Service already supports E57 file imports, the public UI for this feature is still under development. In the meantime, you can contact our team to have your E57 scans manually imported.