Wayfinding

Onirix Studio allows you to add guidance to your spatial experiences in a very simple and totally visual way. Through the scene editor you can define destination nodes and the paths to reach them from any point in the space.
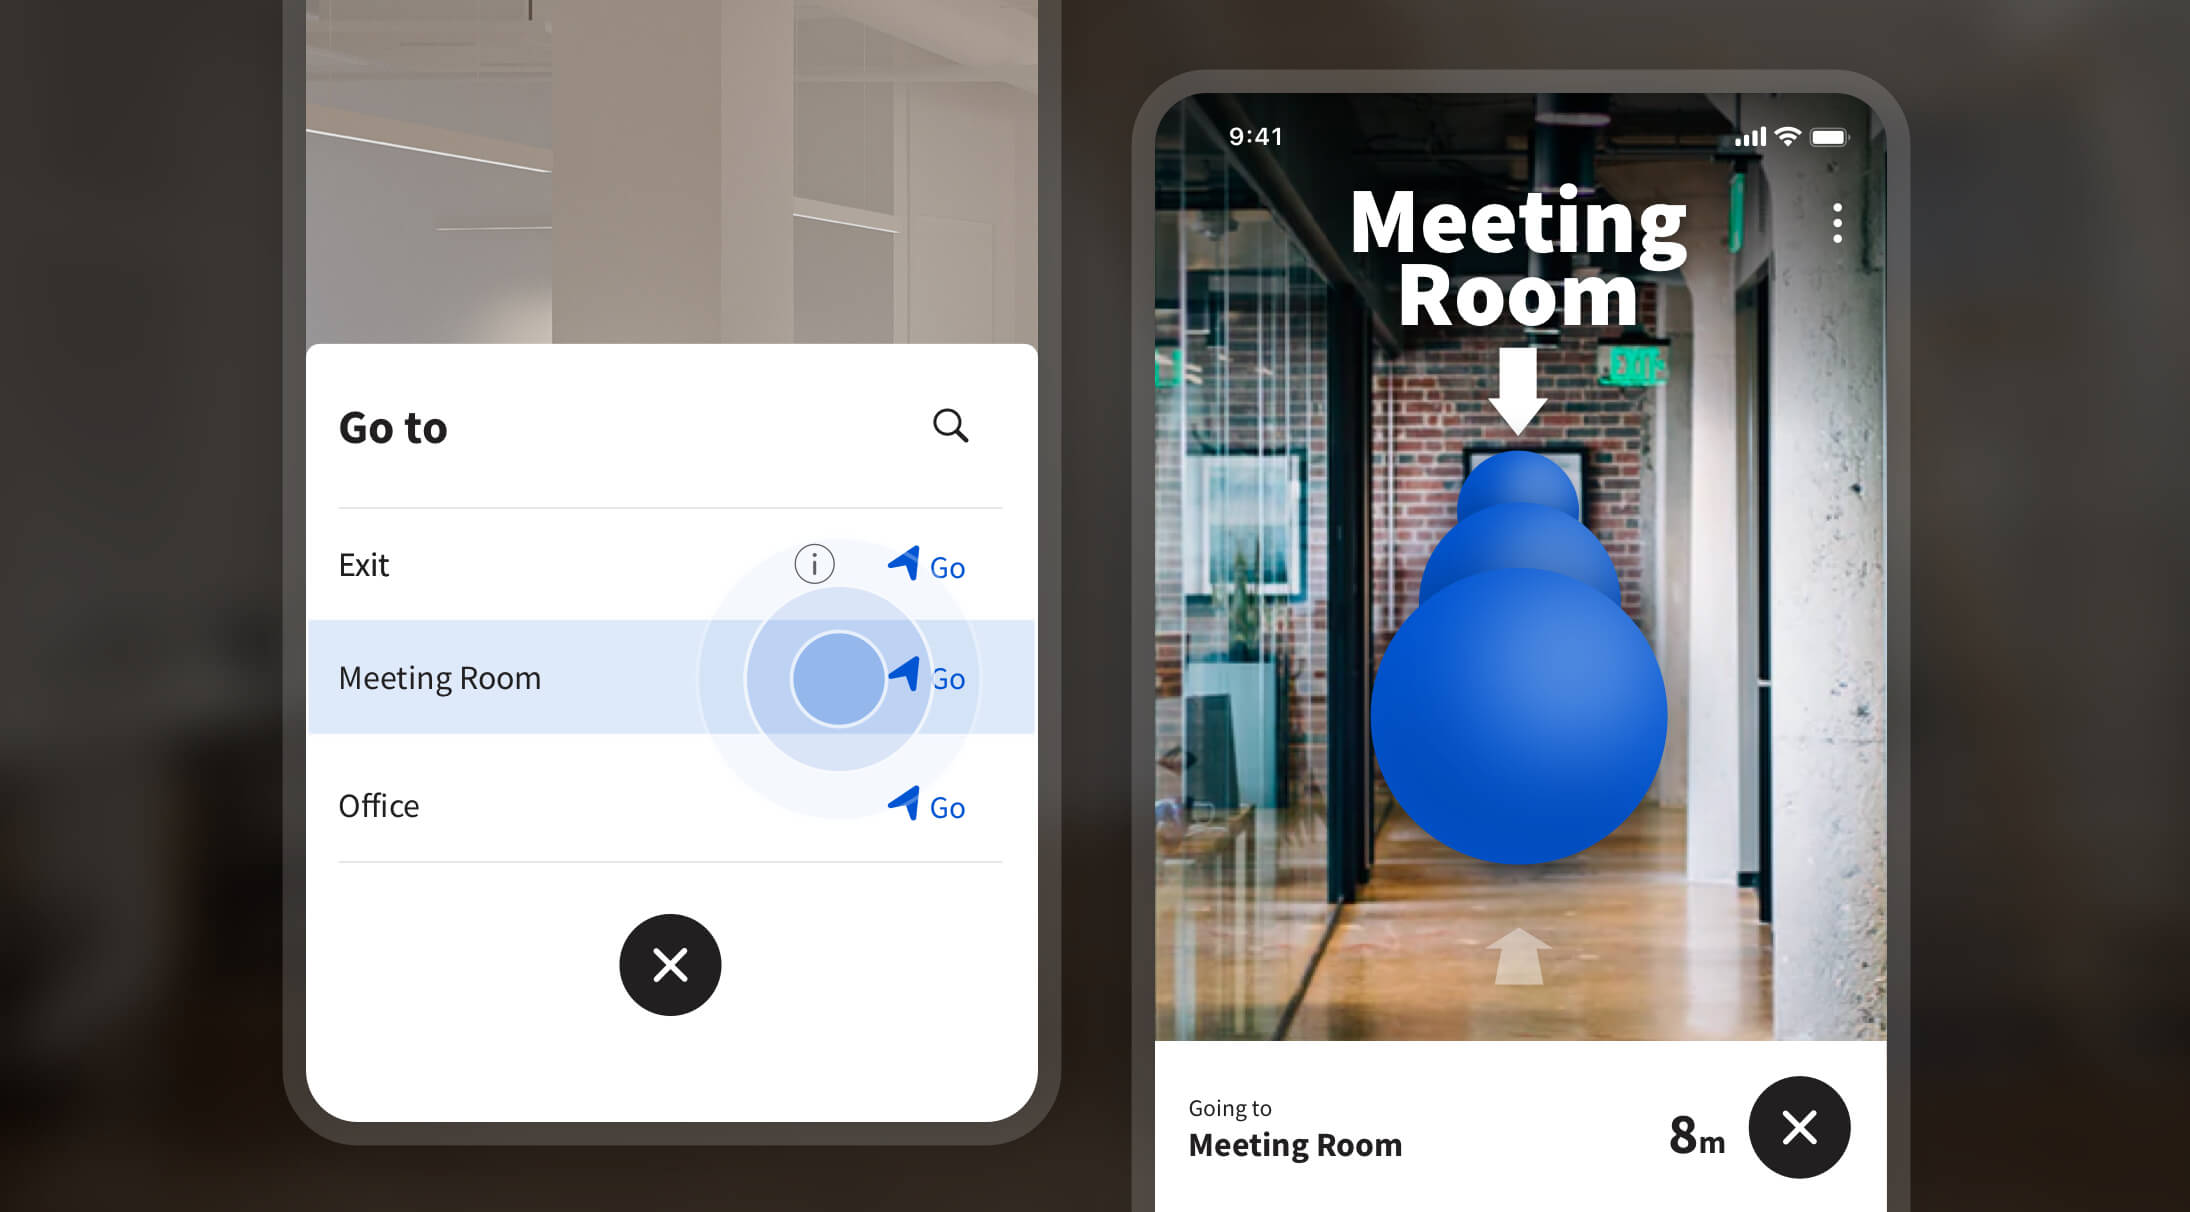
When the end user accesses your spatial experience through our player, he will be able to select one of the destinations and Onirix will show him the most appropriate way to reach it.
For the time being accessible in trial mode within Plus licenses, or on request to our support team.
Design the navigation
When you load a spatial experience in the Onirix Studio editor you will see a new “Navigation Nodes” panel and a new tool to add nodes. You can create nodes and paths in your space so that Onirix Player can guide the end user to the destination of their choice.
Route nodes and ways
Place nodes at relevant points in your space such as doorways and corners. Join the nodes to create paths through hallways and rooms. Make sure the paths do not go through walls or other obstacles that may exist in your space.
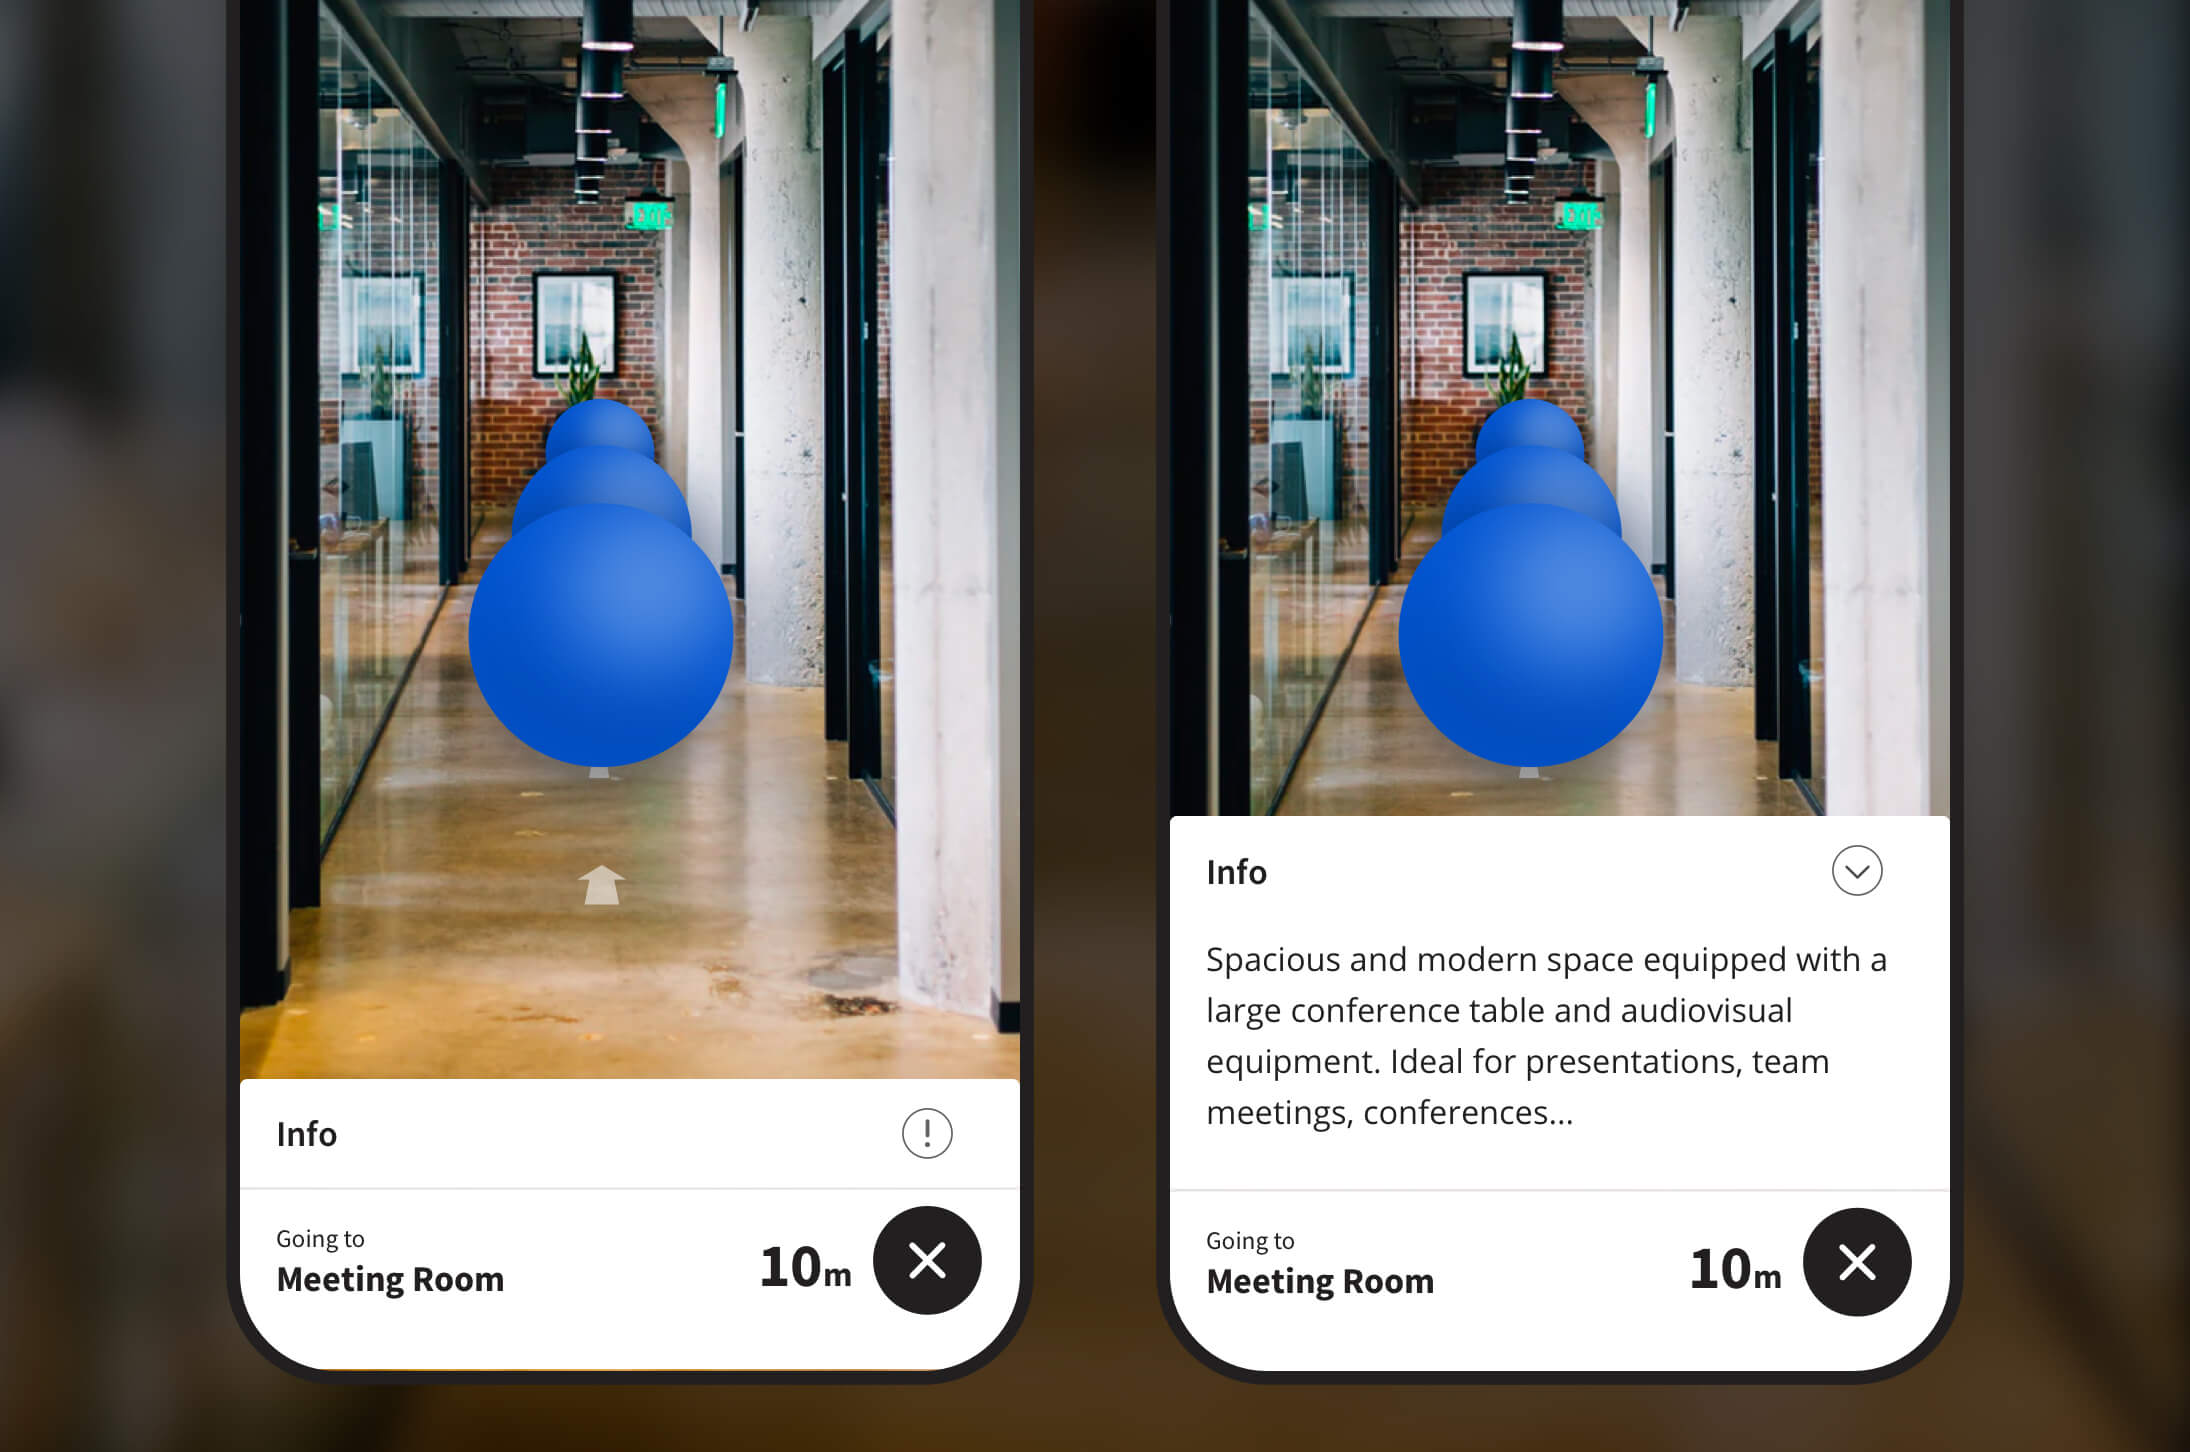
Onirix will use the network of nodes and paths to calculate the route it will show to the end user. Once the navigation is started the user will see a path marked by spheres at half height and dates on the ground. They will also see the distance to their destination.

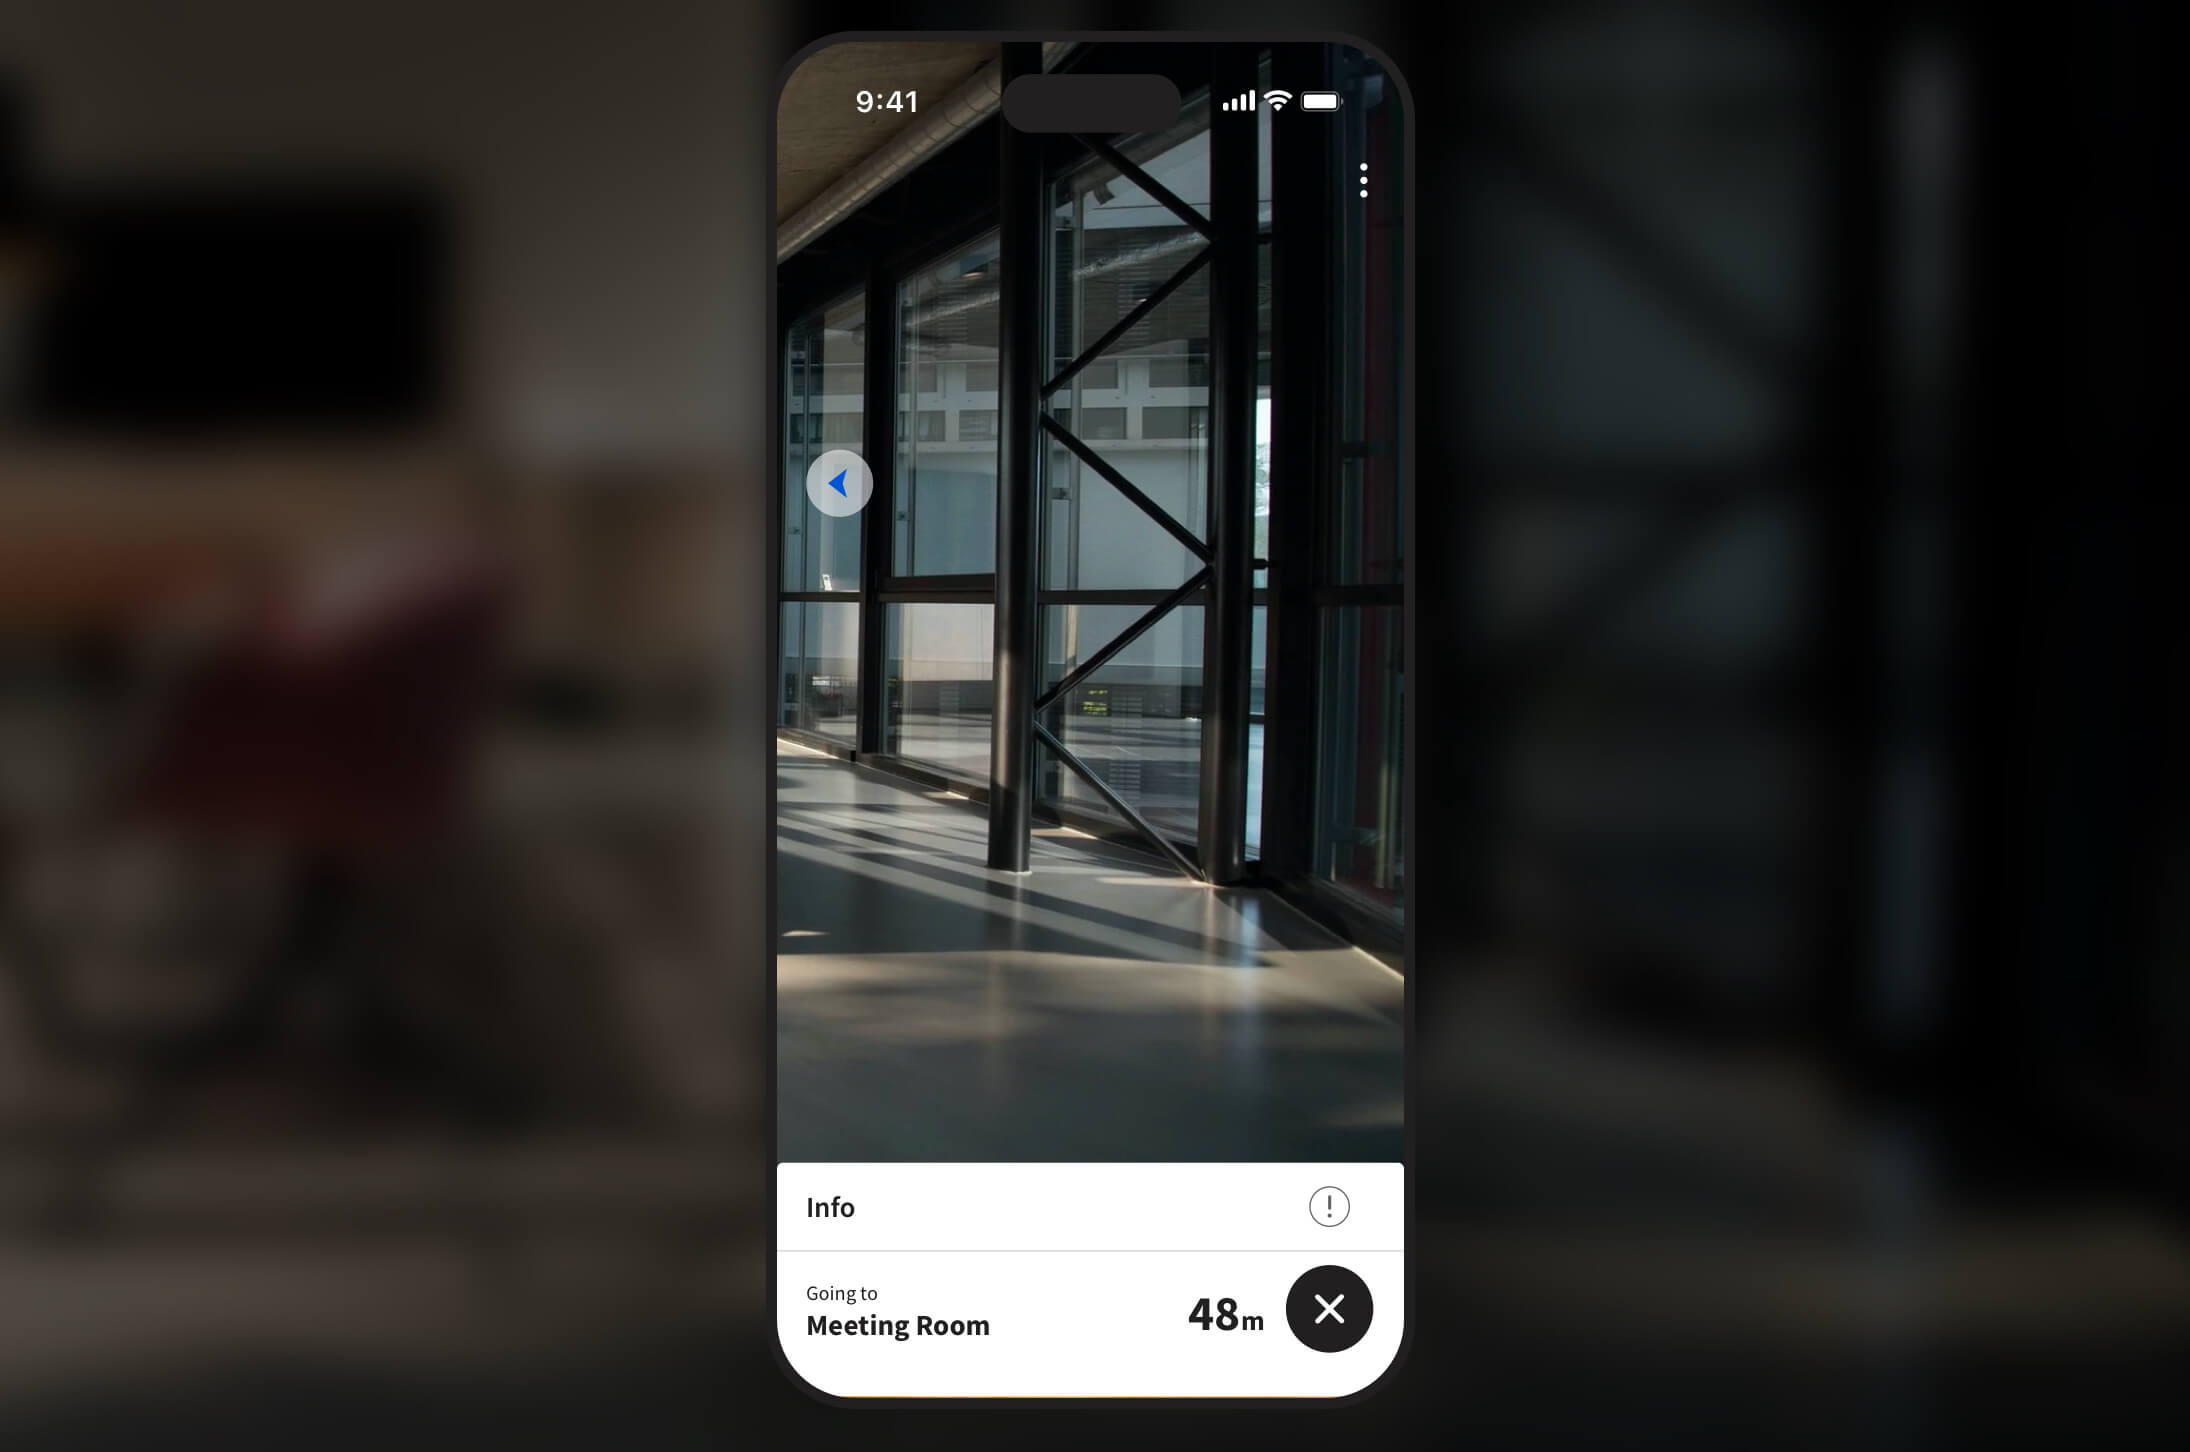
If the user strays from the route Onirix automatically recalculates the path and displays an arrow on the screen indicating where the route is.

Destination nodes
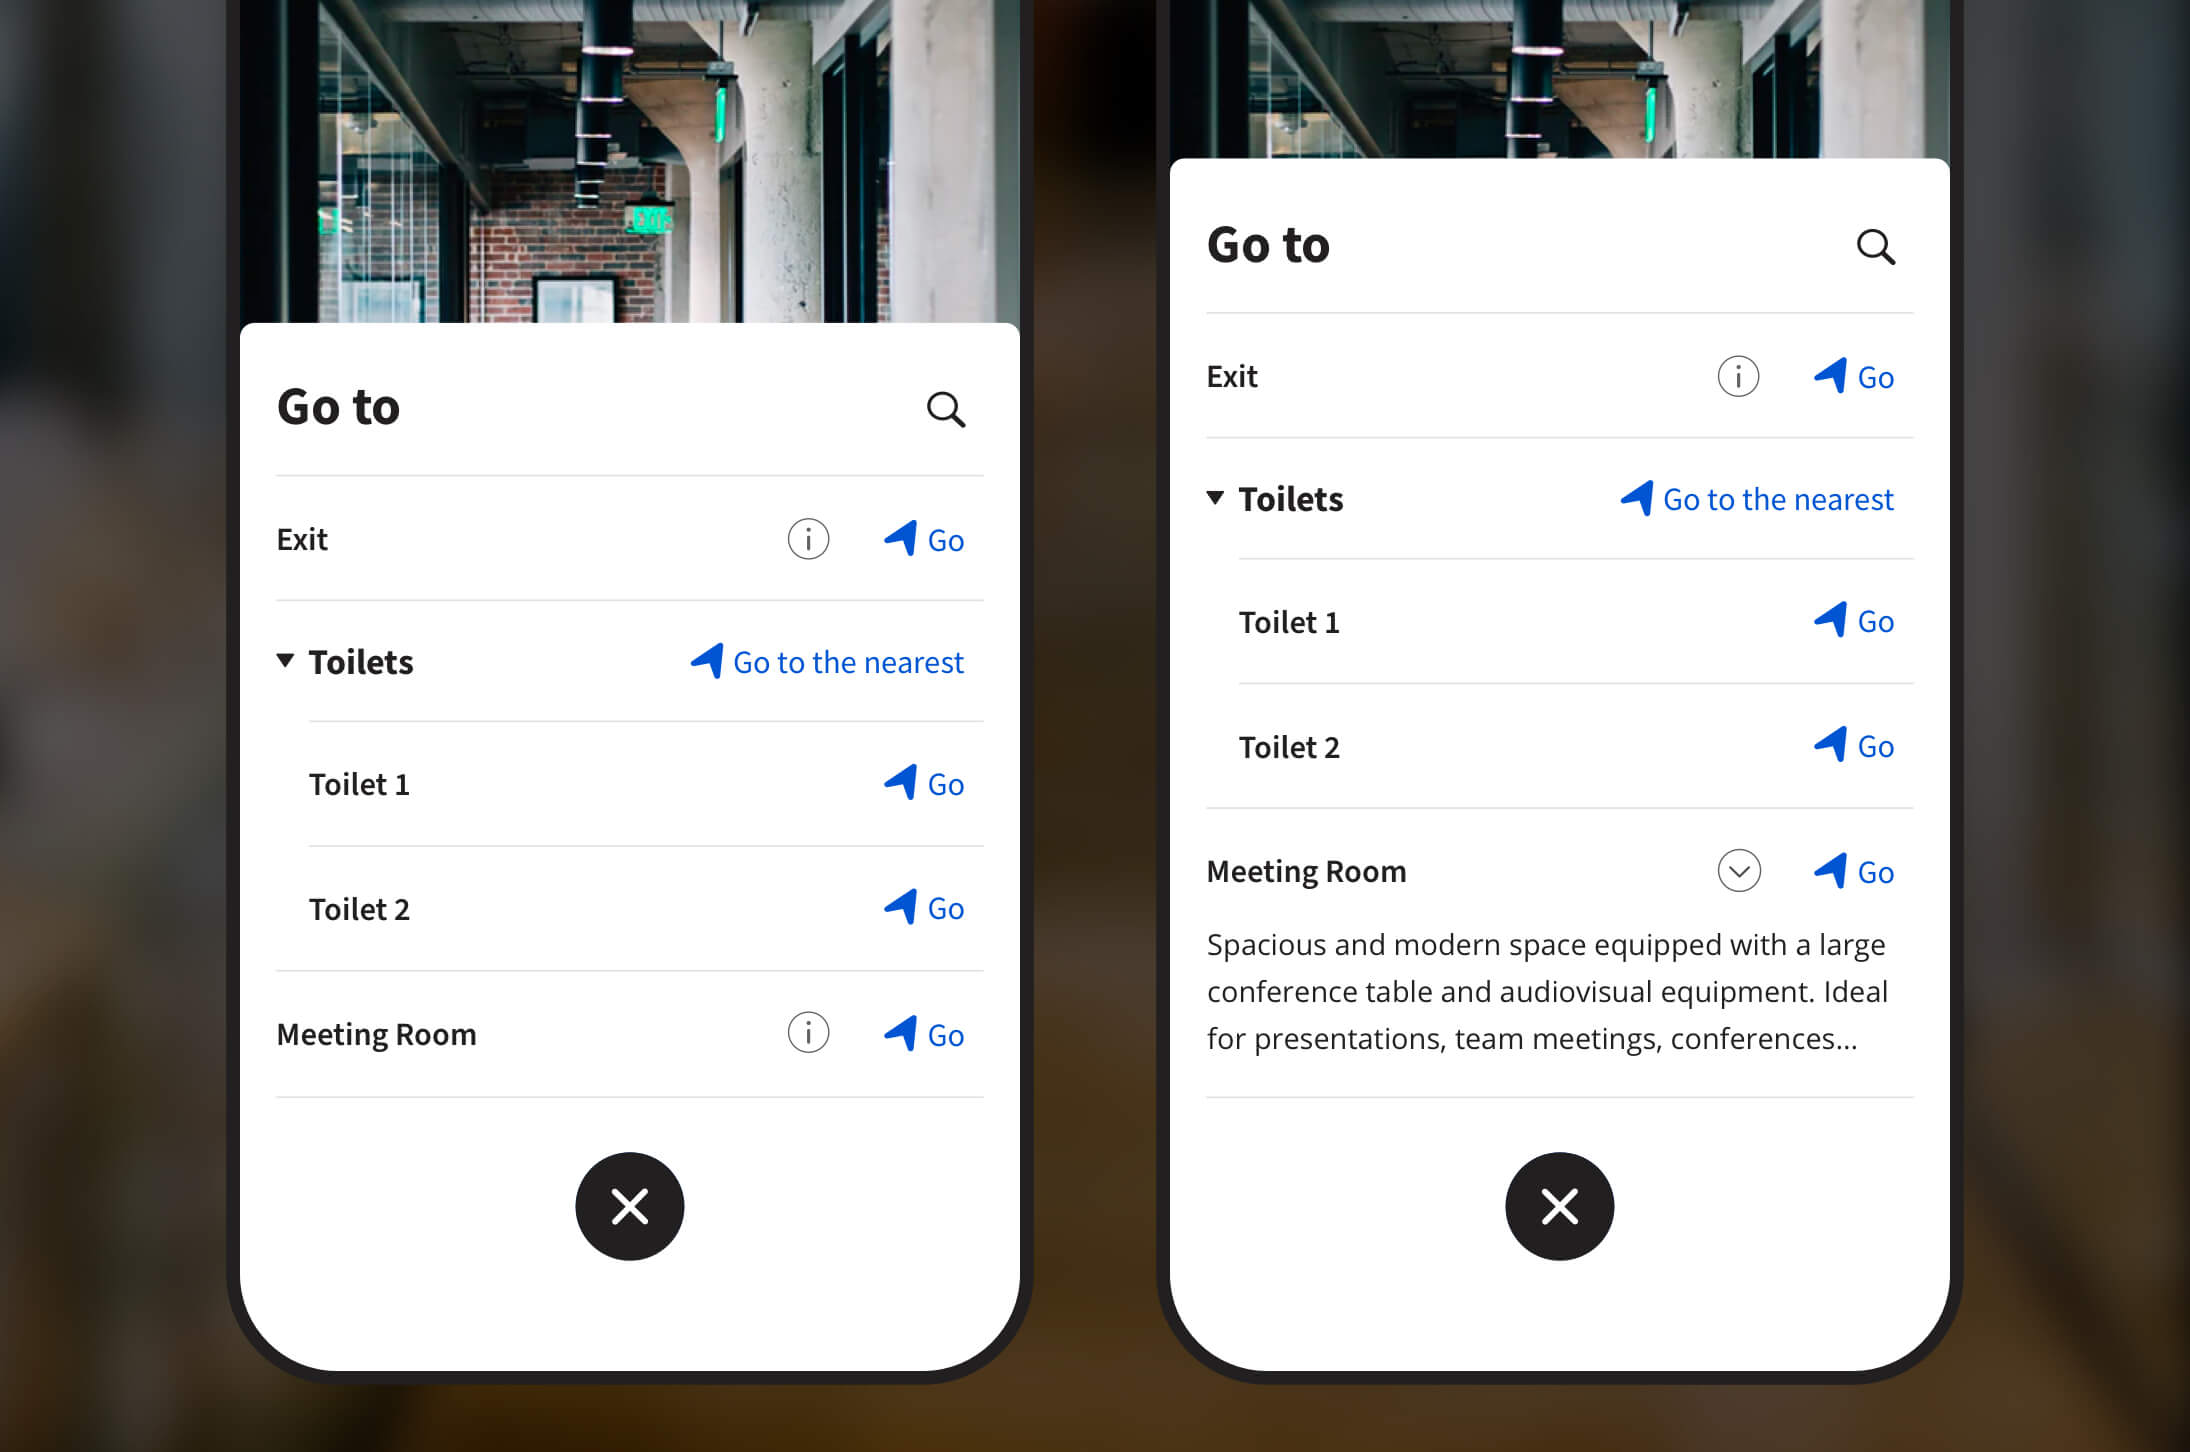
Nodes are used to mark waypoints in your space. You can turn any of these points into a destination, give it a name and assign it a category. This data will be what the end user will see when he enters the experience and opens the navigation menu. In the menu, all the nodes marked as “destination” will appear. If the destinations belong to a category, they will appear grouped in that category with the option to navigate to the nearest one. If the destination has a description it will also be accessible from the WebAR experience.

Customize your experience
You can particularize the navigation UI in several ways. The simplest is to set a primary color from the project settings. This color will be applied to the spheres that mark the path and to the navigation icons that appear in the route helper and in the destination selection menu.
If you need further customization you can add the css code you need through our Online Code Editor. In the “Customizing UI” section you will find all the css selectors used in the wayfinding UI.
If your use case is more specific you can hide the navigation components through CSS and control the navigation through our Embed SDK. This way you can initiate guidance to a specific destination based on user interaction with the scene (clicks on some element), parameters in the url or interactions with another custom UI added with the Online Code Editor.