Projects & AR Scenes
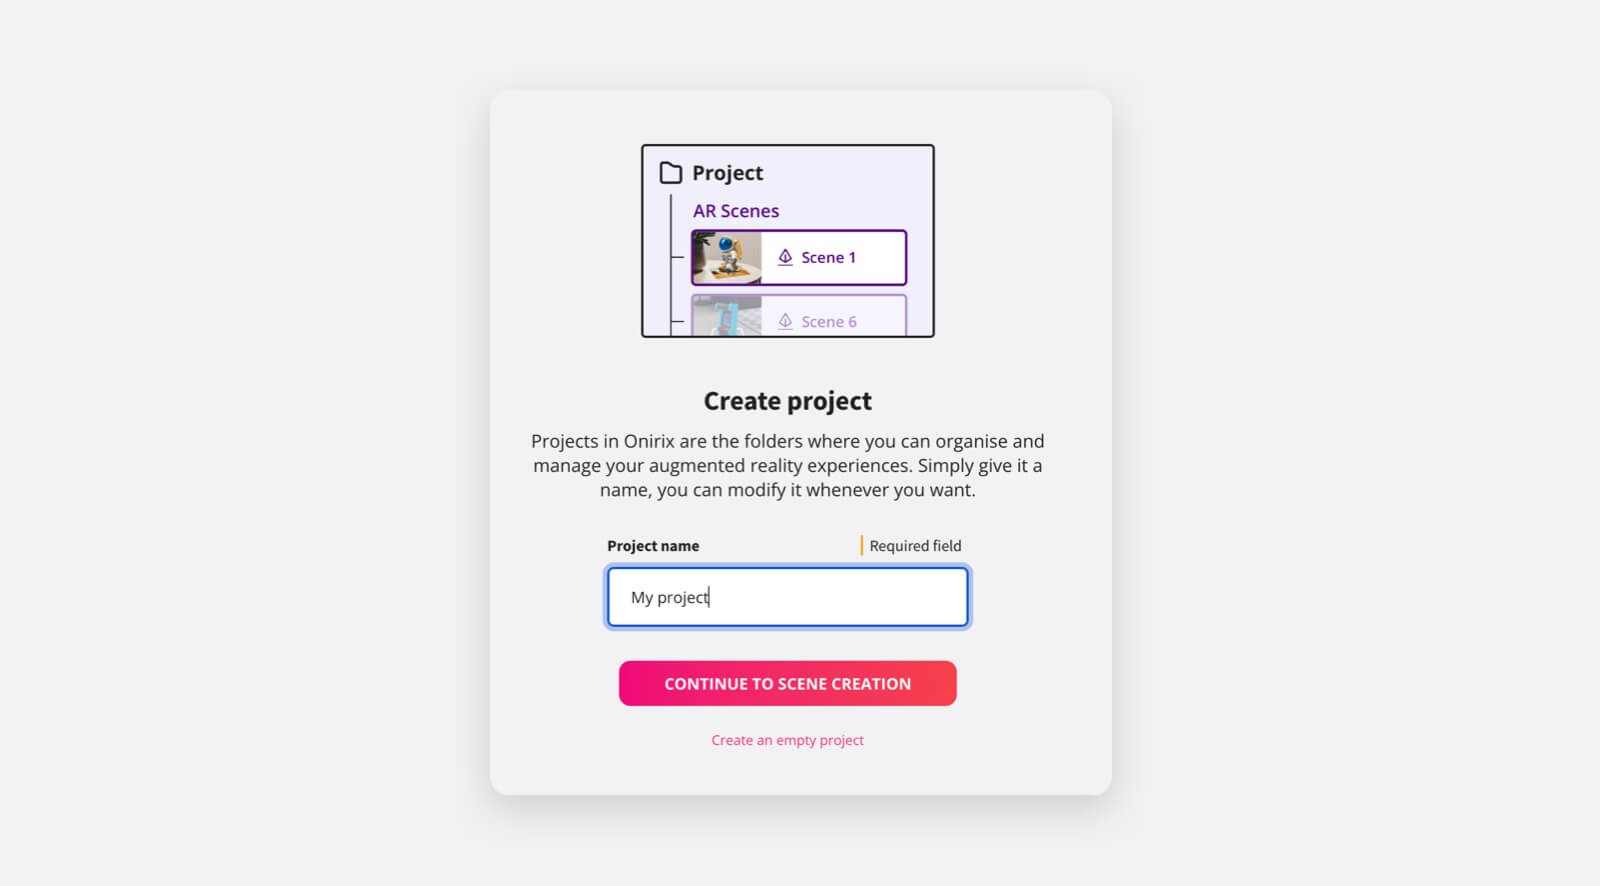
In Onirix the information of your experiences can be organized in different folders or projects. Within each of them you can create different experiences that can be related to each other, and form the scenes of a project.
For example, imagine you have a client that is a magazine, and wants to have several AR scenes, which are shown on different pages of the publication. In Onirix you can have a project for that magazine, and inside as many Image tracking scenes as pages you want to augment.
Scene types
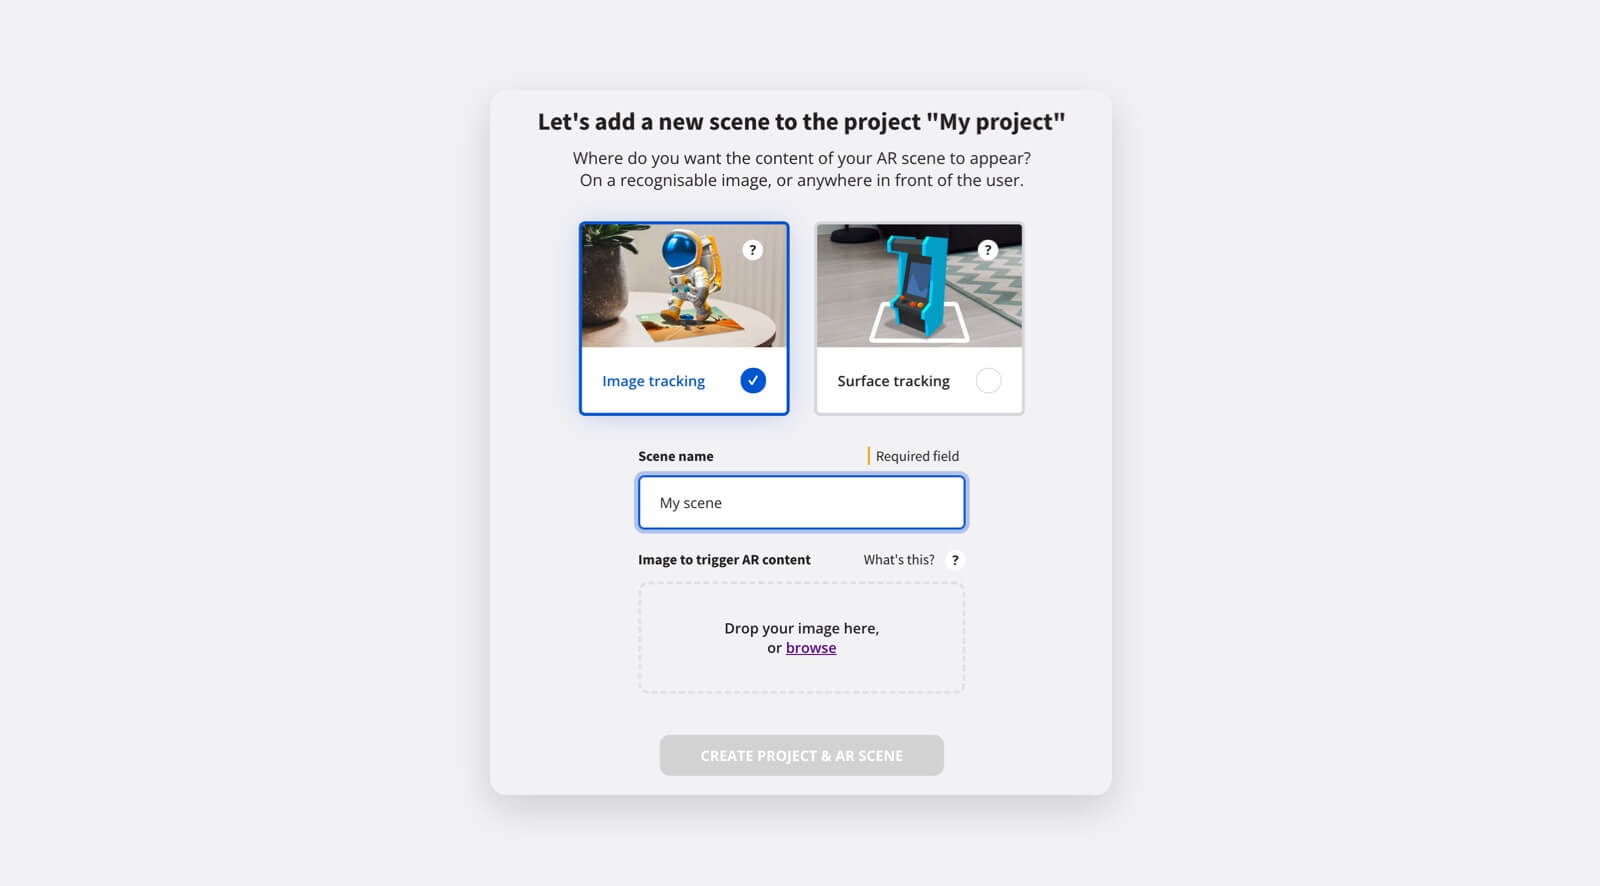
In Onirix you can either create a new Project, and then include scenes in it, or also you can create new scenes and select the existent project where you want to include them. When creating new scenes you will need to choose a scene type for your experience, depending on the initial trigger of the experience:
- Image: the experience will be launched when detected a specific image, and then the tracking will start, also over the same image.
- Surface: in this case the experience will be launched either on a surface selected by the user, or automatically in front of him. Depending on the tracking we can have different types of experiences.
-
- World tracking: When the experience is anchored to the immediate environment, and we track the surroundings to maitain the content fixed to the initial point.
-
- Rotation tracking: When the experience is fixed around the user's rotation, and content can appear in 360 degrees, but is not anchored to a specific point. To create scenes with this type of tracking you just need to set a Surface scene as rotation tracking within the Project settings.
- Spatial: the experience has as its reference a complete space or a large rigid object on which we are going to place the precisely anchored content. To create a scene with this type of tracking you have to use our Onirix Constructor app, which allows you to scan your environment and create the 3D representation of it.
Project Settings
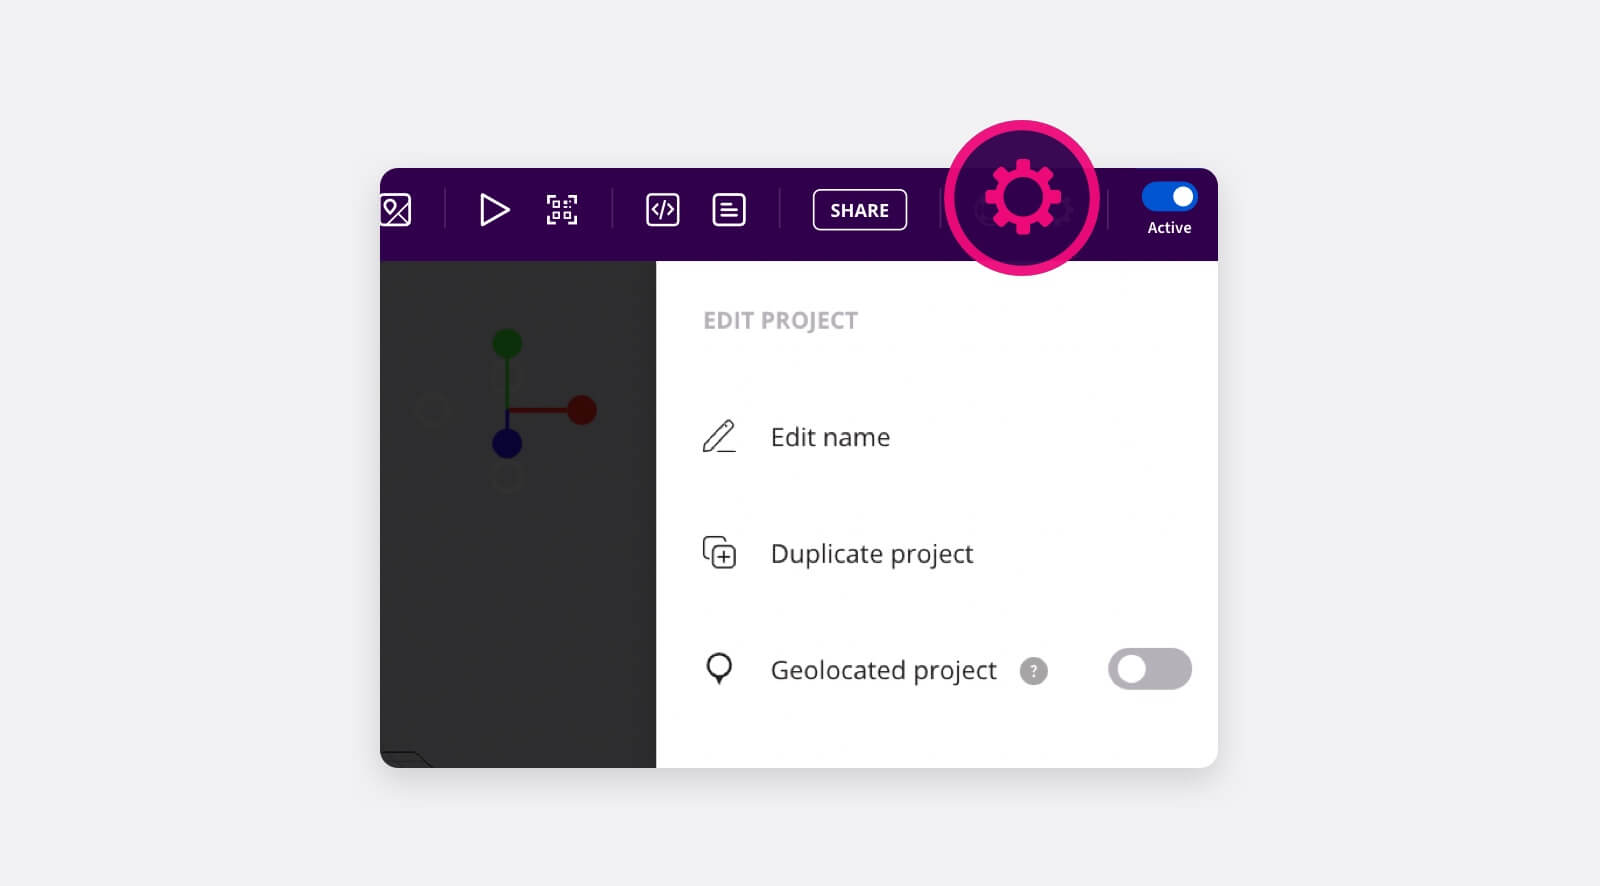
There are several configuration options for a project. You can modify them from the "Settings" button, in the top bar of the Scene Editor.
Project edition
- Edit Project: This block give you the options to edit name, duplicate or geolocate the project.
- Geolocated project: When activated, this converts the current project in a GPS Map project. This makes it possible to relate each of the project's scenes to a GPS location, in order to associate the content to a specific location. It also allows the user to navigate on a 2D map that guides them between the different points included as part of the complete experience. More info here about geolocated projects.
Tracking mode (for surface scenes)
![]() Here you can set the type of tracking when you are configuring the settings of a Surface scene. You can chose between our World tracking mode (to anchor contents to a specific point), or Rotation tracking (to maitain contents fixed with respect to the user's rotation, in 360 degrees).
More info about these trackings here.
Here you can set the type of tracking when you are configuring the settings of a Surface scene. You can chose between our World tracking mode (to anchor contents to a specific point), or Rotation tracking (to maitain contents fixed with respect to the user's rotation, in 360 degrees).
More info about these trackings here.
Project customization
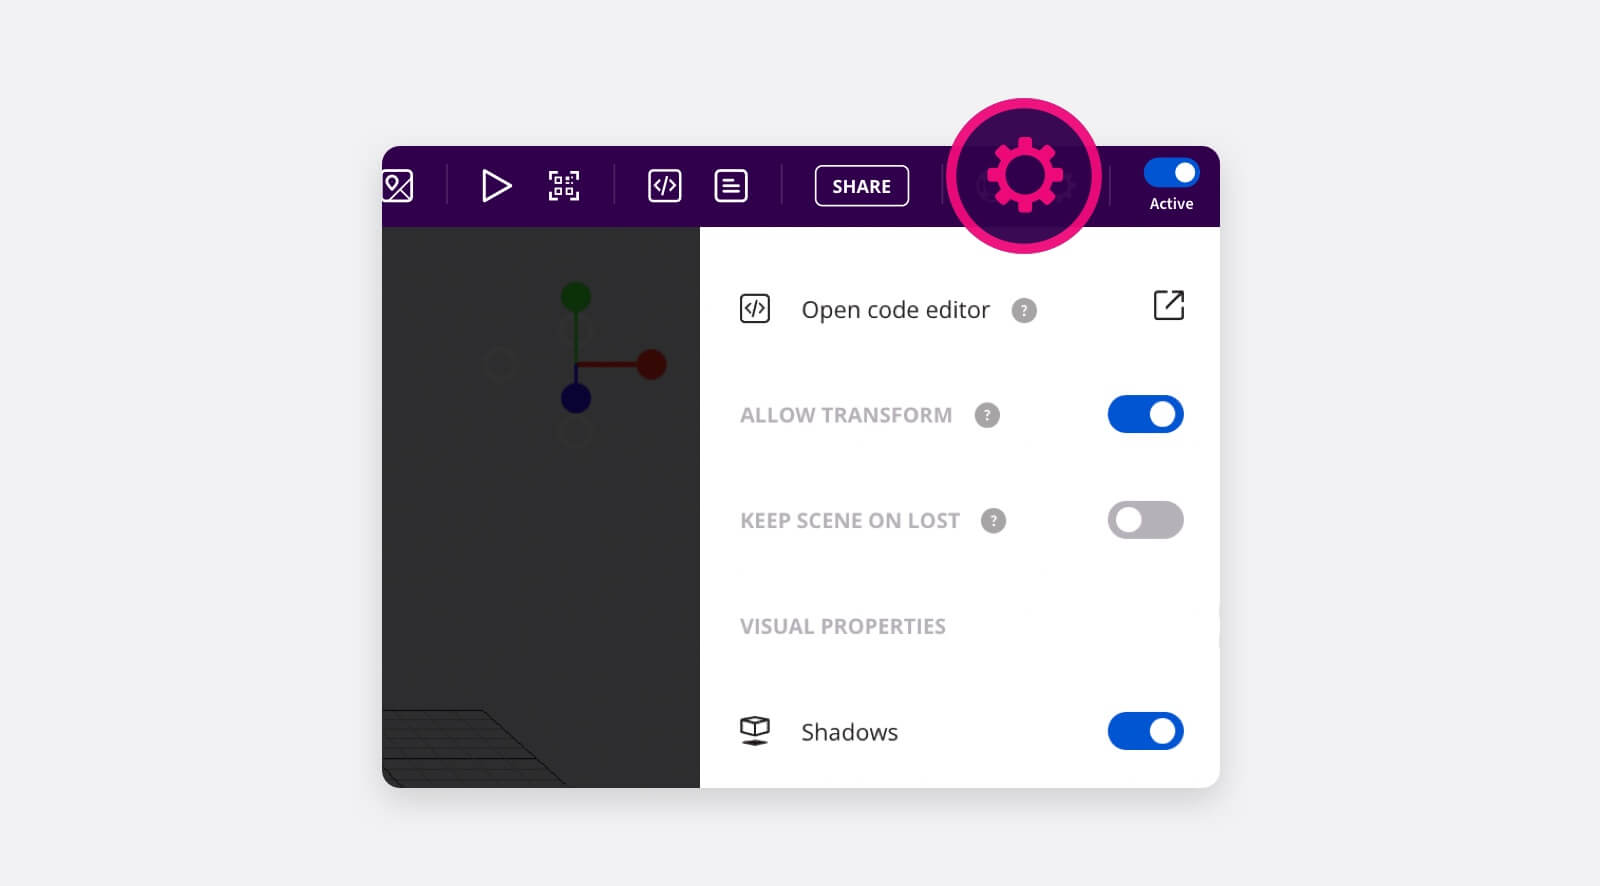
- Customize: By accessing the Online code editor you can change the look&feel of your AR experiences. With this feature you can change HTML, CSS and JavaScript parts within your web AR scenes, and adapt them to different brands and colours, and also to include many levels of interactions. Click here for more info about the Online code editor.
- Allow transform: This option allows you to activate or block gesture controls on the scene, so that you can move, rotate or scale the AR elements with your fingers while viewing the content.
- Keep scene on lost: With this option, when dealing with an image tracking type scene within the project, it is possible to indicate that when the camera view image marker is lost, the content remains fixed in the center of the phone's camera.
- Shadows: When activated, virtual planes will be detected in your environment in order to project shadows over them. Depending on the lights you include in in your scene you can get different types of effects with shadows.
SDK and Token access
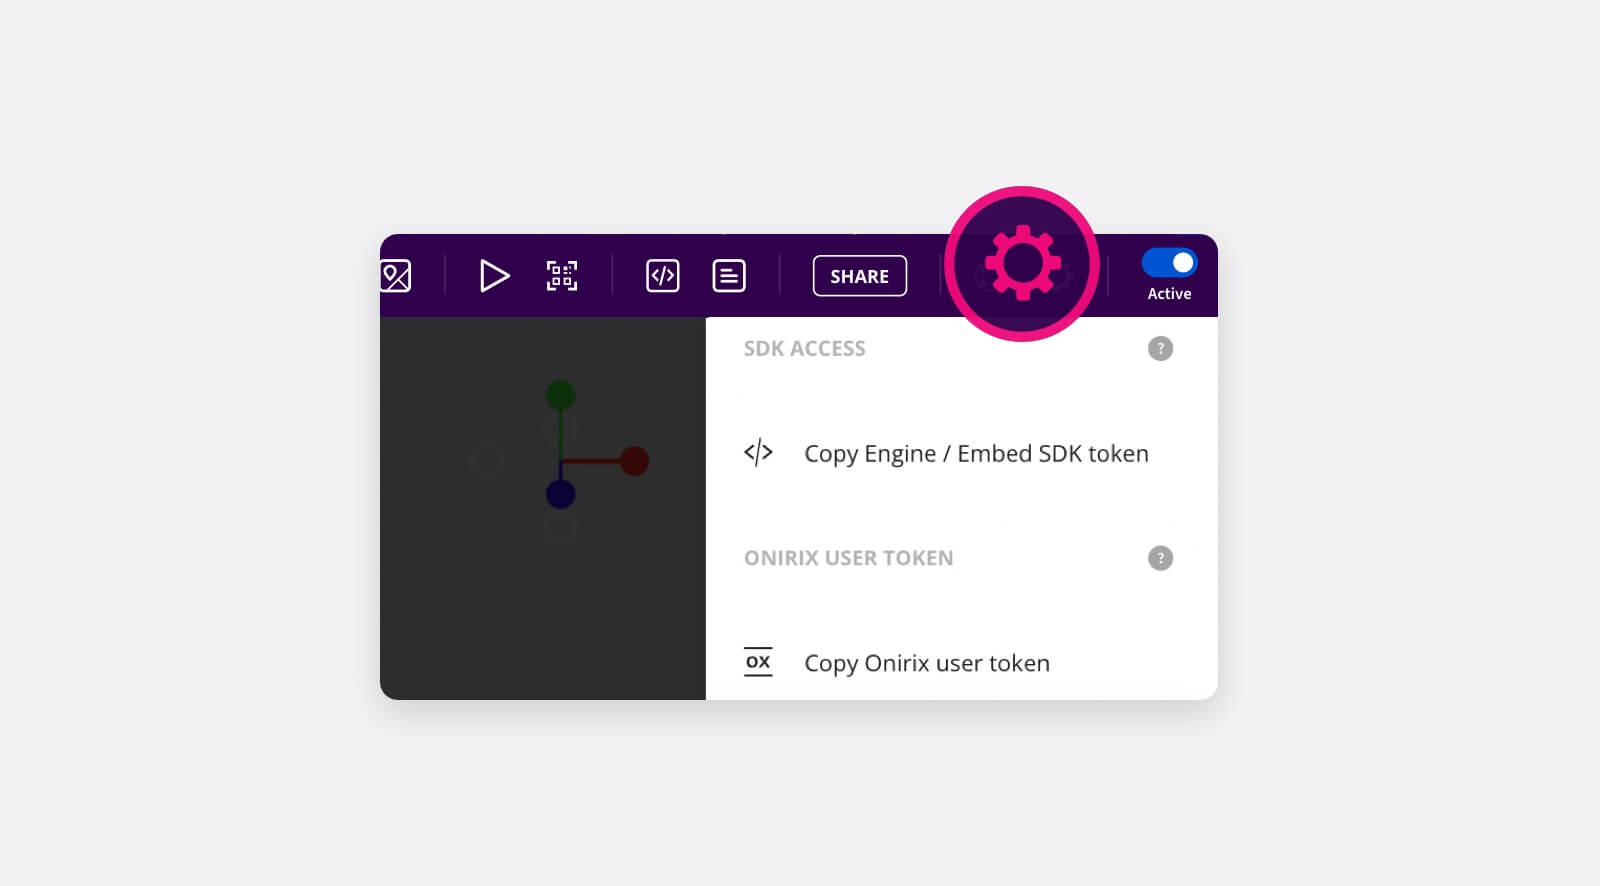
- SDK Access: this gives you the SDK token, necessary to use our web AR SDKs. Here for more info about the Onirix SDKs.
- Onirix User token: This is a user-level token that allows you to access and authenticate yourself in order to use the Onirix REST API, and thus make calls to modify various aspects of your projects or scenes.
