Scene Editor
The Scene Editor is the tool you will use to design and configure your experiences. This tool will be automatically launched when opening a project.
Layout
Let's take a look at how the scene editor is organized.

- Back to Projects | Asset Library | Object Library: In the top left menu you have two main options. In the first one (folder icon) you can go back to the projects screen. With the second one, you can open the Onirix Assets library, where you can browse through the different types of assets (3D, image, video, etc.), include them in the scene, preview, and organize them in collections. There you can also access the Object library, where you can find Onirix generic elements such as Labels, lights, primitives and widgets.
- Current project and Scene list: Here you can see your current Project (and also update its name), also you can create a new scenes to include into the project, or switch between existent scenes.
- Current scene: This item will show current loaded scene. You can select, rename or delete it from there. By selecting the scene you will show the Scene properties in the section 8 of this layout.
- Element list: This panel will show all the elements and collections (folders) included in the scene. You can add or delete elements here.
- Scene viewport: A 3D viewport which will preview your scene and will help you to design and position your contents. This viewport can be as the one in the image for Surface scenes, or similar to it, with the trigger marker in the center, for image-tracking Scenes.
- Scene controls: Set of utility controls for undo & redo, element transform, show disabled elements, camera view. You can also copy the camera pose if you are using our camera controls module to move the camera within the 3D scene.
- Project shortcuts & settings: You can manage project properties, access to specific features such as maps, 3D viewer, scene preview, sharing options or online editor. Also you have access to help and support resources, all the project internal settings and the activation/deactivation utility.
- Perspective control: With this tool you will be able to change the perspective of the editor quickly, with a simple click, visualizing the grid in the different X, Y, Z coordinates.
- Properties panel: This panel will show properties of your selected element.
- Events panel: You can add interactions to selected element from this panel.
- Datasheets panel: You can add extra information (metadata) to any element from this panel. Review our Templates & Datasheets documentation for more info.
Adding elements to the scene
In order to create a new element, you can just drag any asset from the asset library to the scene viewport.
Move, rotate or scale elements
Whenever you want to move, rotate or scale any of your elements, you can use the gizmo (axis control drawn over the element) or the inputs that appear inside element properties.
Camera controls
Camera controls are essential for viewing your scene from different perspectives. You can move the camera by:
- Using your mouse: right click and drag to move left / right and up / down, left click and drag to rotate, mouse wheel to move forward / backward.
- Using your keyboard: use keyboard arrows to displace the camera left / right and up / down.
- Using perspective shorcouts: you can quickly move between different perspectives by selecting predefined camera views.
Whenever you close an scene, your browser will store th last camera position, that will be recovered the next time you enter the scene again.
Keyboard shortcuts
Within the scene editor there are different keyboard shortcuts to perform position, rotation or scaling tasks with much more precision.
For this, it is basically enough to be located in each of the transformation actions that we want to apply, and use the arrow keys on our keyboard to make very subtle changes (order of hundredths).
We also include the possibility of controlling the degree of precision by pressing the Shift key on the keyboard while moving with the arrow keys. In this case the movements will be a little wider, and we will be able to play with the degree of calibration in a simple way.
In this case you can see how we move the 3D model using just the right arrow, and then using Shift+right arrow:
This is also valid for rotation or scaling transformation as you can see in this video bellow (keep in mind that you have to set the focus on the field you want to control before using the keyboards):
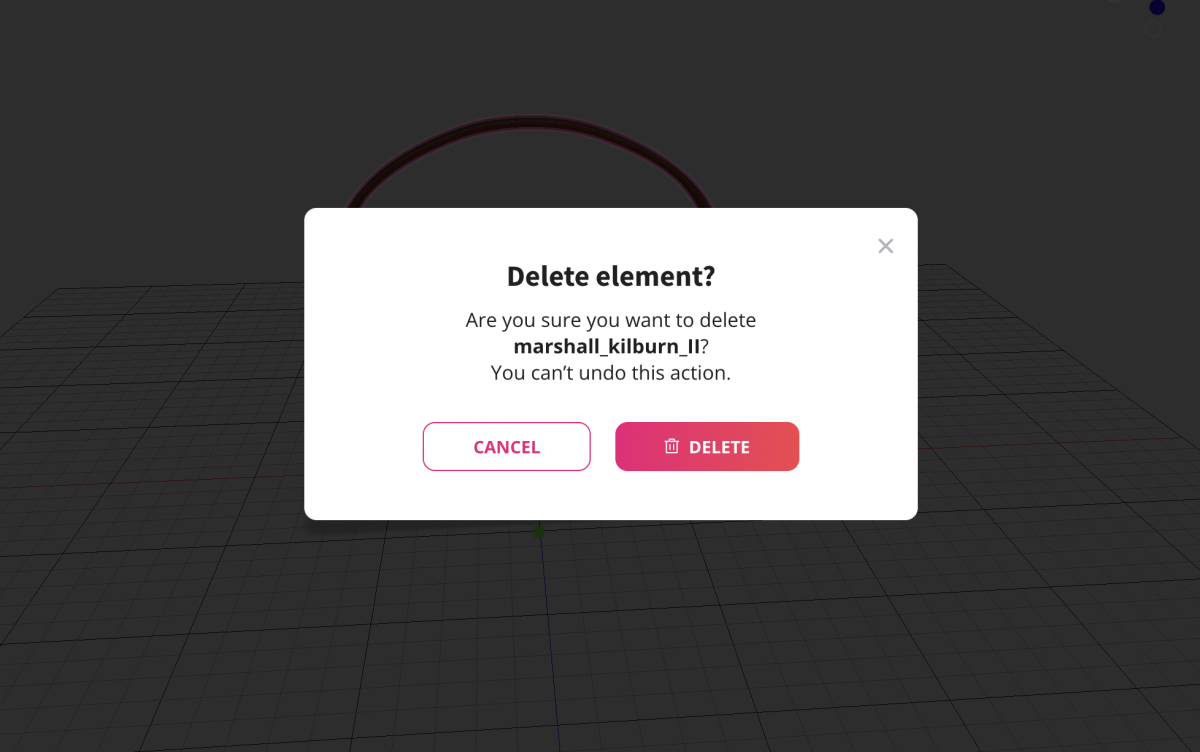
Also, if you want to delete an element from the scene, you can use the backspace key to do it, and the Enter key to confirm this action:
Adding interaction through events
In order to create dynamic experiences, Onirix provides a simple mechanism to add some interaction by attaching events to your scene or elements. All the information about the events can be found in the Events page of this documentation.
Adding extra information to your experience
Onirix also provides a way to add metadata to your elements, scenes or projects. As this is a broad topic, and probably only meaningful for SDK users, we have separated it into other section: Templates and Datasheets.