Geolocated maps
Geolocated projects are projects in Onirix that have an associated location map, and therefore, all scenes in that project can be configured based on a location map.

Geolocated project: setup
When you want to create a set of geolocated scenes within a map, with the same context, you can just do this by accessing the project settings and activating this option (more info in the project settings section).

This will activate a new icon in the top of your screen to access the map of the project:

From that moment an icon will be activated from which you can access the project map, and where you can set the geolocation properties of each of the scenes that comprise it:
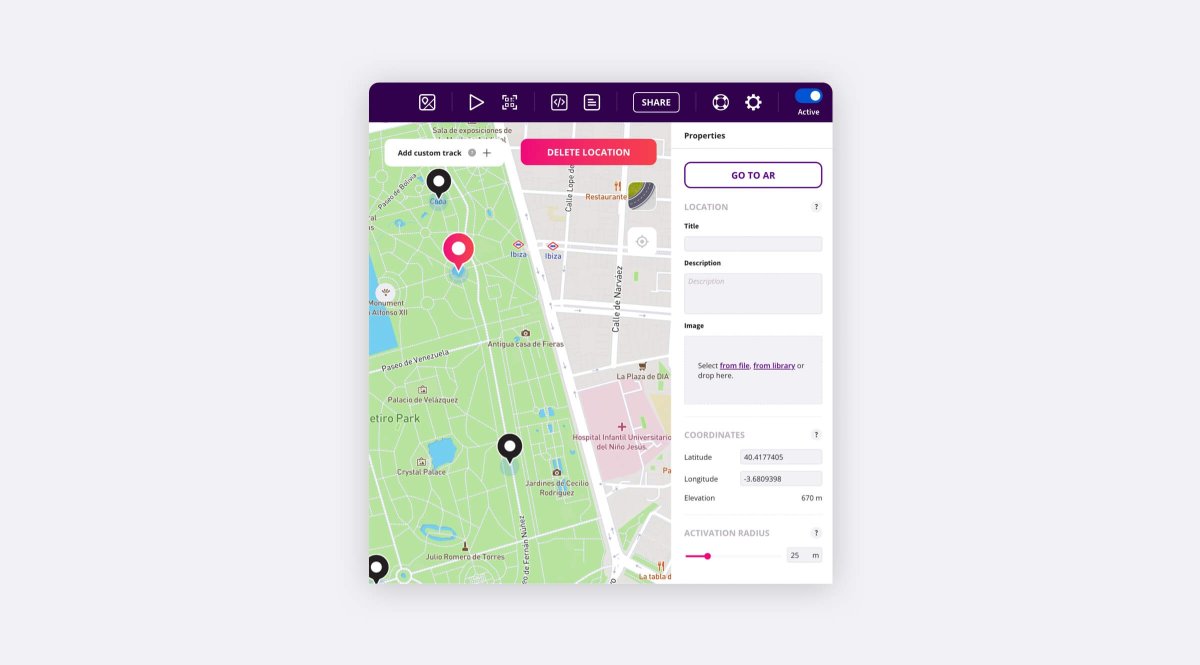
POI properties: geolocated scene
- Title: Name with which we will see the point of interest (the scene) represented on the map.
- Description: Small description that will give us initial information about the scene and its content, or a clue to the riddle that we must solve if it is a treasure game.
- Image: If we see it necessary we can add an image to the card that we will see on the map when we select the point of interest in question.
- Coordinates: latitude & longitude.
- Elevation: Non modifiable data showing the elevation, in meters, of the configured POI.
- Activation radius: Number of meters to which the user will have to approach to be able to activate the content of the associated scene.
Tip: when you create a surface type scene associated to a GPS location you can make the content launch automatically by selecting the scene property autoload (you will find this property within the right menu of the scene editor)
Scene ordering: guiding system
Once you have a set of scenes within a geolocated experience, you may need to consume them in a particular order. Thanks to the option to order the scenes, Onirix will show them to the user with that order indication already in the AR web view.
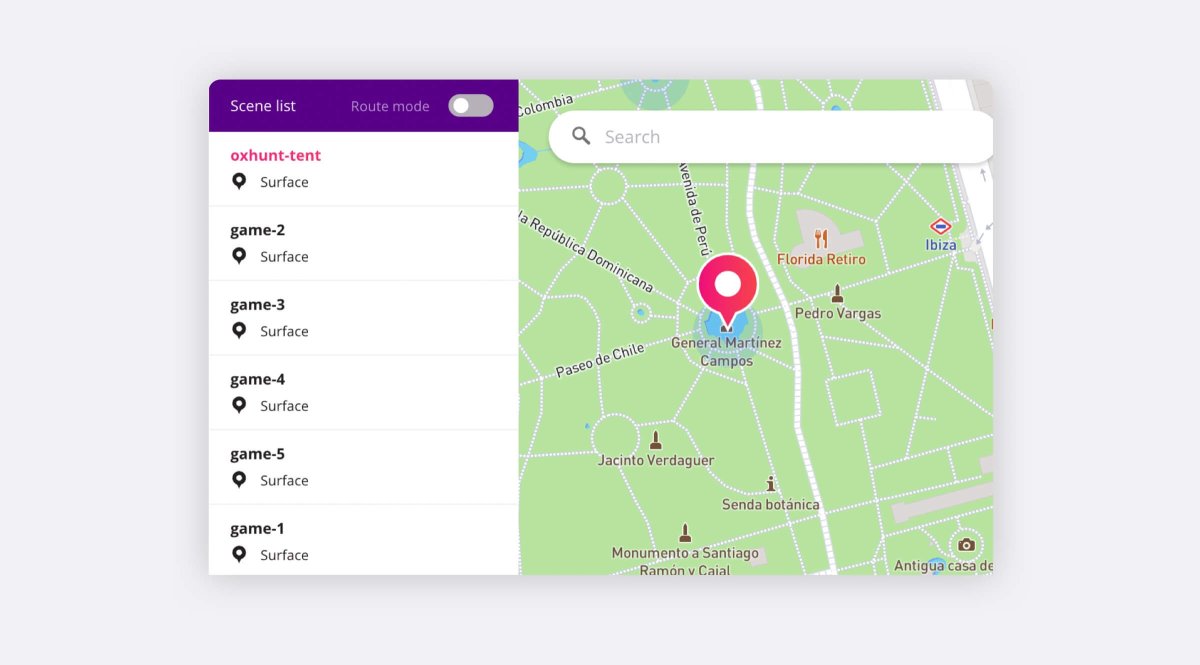
To activate this option, simply set the Route mode in the scene list, within the map mode.
Step by step video tutorial
In this video we can see step by step the activation of a complete map, and its corresponding visual: