BIM models with metadata
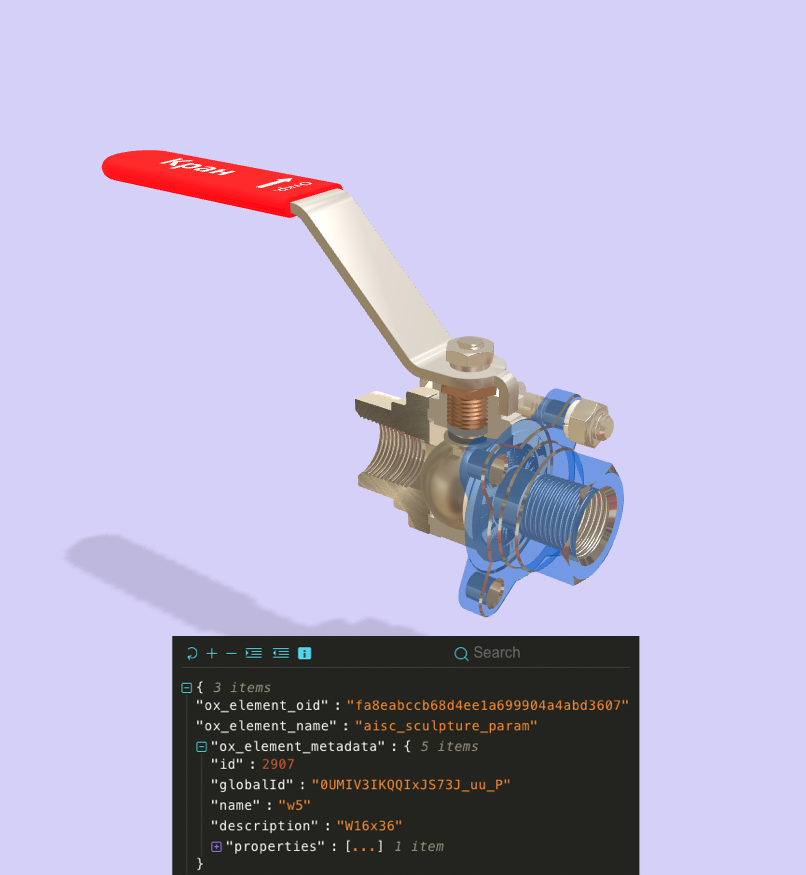
With Onirix you can import your BIM models generated from engineering departments, which also have relevant metadata and information. This helps to unify in one place all the information of these models, their materials, measurements, colours, etc.; without having to manipulate different types of files, physical manuals, etc.

Thanks to this import, which can be done easily and in a matter of minutes, you can visualise your models with the information associated with each part in a simple way, both in a web environment on a PC and in augmented reality.
For the moment the types of files compatible with Onirix are IFC files.
Through the Onirix Embed SDK you will be able to interact with the metadata of your models. You will be able to get the metadata of the exact point where the user touches or you will be able to ask the model for its data. Let's take a closer look
Asset upload options
When you upload a BIM file to Onirix Studio you have several advanced options that are important to know:

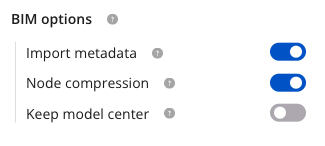
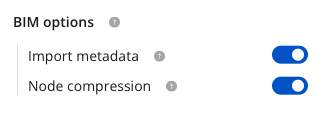
- Import metadata When this option is enabled, the metadata of CAD models will be processed and stored in Onirix so that it is available for reading using Onirix Embed SDK. This option should be enabled if you are uploading a CAD model that you plan on adding to experiences which will read its metadata. If the option is not activated the metadata will not be saved but the model will be smaller and will have better performance.
- Node compression Reduces the number of nodes in the scene by instancing or joining them. These transformations can greatly reduce the number of draw calls, and thus improve rendering performance. By compressing the nodes, the node highlighting loses precision and will highlight larger areas.
- Keep model center Onirix Studio tries to place the center of the object according to its geometry. If the position of the center of your object is important enabling this option the center of the model will be maintained.
Get model metadata
When a user touches an element of the experience, three events are generated that we can capture through the EmbedSDK: ELEMENT_CLICK, ON_TOUCH_START and ON_TOUCH_END
All three events return a params object. If the element point where I touch the user has metadata, we can access it through params.metadata.
embedSDK.subscribe(OnirixEmbedSDK.Events.ELEMENT_CLICK, (params) => {
    console.log(`Element ${params.oid} metadata`, params.metadata);
});

embedSDK.subscribe(OnirixEmbedSDK.Events.ON_TOUCH_START, (params) => {
    console.log(`Element ${params.oid} metadata`, params.metadata);
});

embedSDK.subscribe(OnirixEmbedSDK.Events.ON_TOUCH_END, (params) => {
    console.log(`Element ${params.oid} metadata`, params.metadata);
});
You can see a complete example in Github
Highlight the node touched
It is important for users to have visual feedback on which part of the model they have touched and whose metadata they are viewing.
This is achieved by activating the highlighting of the touched part using the enableHighlightNodes method of the EmbedSDK.
import OnirixEmbedSDK from "https://unpkg.com/@onirix/embed-sdk@1.16.0/dist/ox-embed-sdk.esm.js";
const embedSDK = new OnirixEmbedSDK();
await embedSDK.connect();

embedSDK.enableHighlightNodes(true);
If at some point in your experience you need to deactivate it, just call the same method with false.
embedSDK.enableHighlightNodes(false);Customize the look and feel
Onirix provides several ways to highlight the touched part of the model: highlighting the material, creating a bounding box containing the touched part or drawing a sphere centered on the touched point.
The highlighting of the material is the most accurate way to highlight the touched point. In order to achieve this precision it is necessary to deactivate the “compress nodes” option when uploading the asset to Onirix Studio.

If the asset is uploaded with compression turned on, the accuracy at the material level is lost and the default highlighting option will be “box”.
The highlightBIMPieces method also accepts a second parameter that allows to particularize the way in which the piece is highlighted. These are the available options:
- type: "box" (default value) or "sphere". A box containing the part being played or a sphere whose center coincides with the center of the part being touched. If the asset was uploaded with node compression disabled, instead of creating the box the material will be highlighted. The “sphere” mode renders a sphere with the center at the touched point.
- color: is the color of the box / sphere (hexadecimal value).
- opacity: opacity of the box / sphere.
- border: (only for box type)
- enable: determines whether they should be displayed or not.
- color: border color (hexadecimal value).
- width: border size.
- radius: sphere radius.
// Box without border
embedSDK.enableHighlightNodes(true, {type: "box", border: {enable: false}});

// Sphere
embedSDK.enableHighlightNodes(true, {type: "sphere", color: "#FABADA", opacity: 0.7, radius: 0.5 });
You can see a example in Github
Ask for model metadata
It is also possible to access a specific part of the metadata of an element. The getMetadata function allows us to obtain data based on a query parameter that will serve as a search pattern within the asset data of the element.
There are several options for the query field value:
- A number that corresponds to the node's line ID.
- A string that corresponds to the node's globalId or name. If the string is *, it matches anything.
- A RegExp that matches the node's name.
- The node's path, which is an array of numbers, strings, or RegExps. The first element of the path should match the root node of the element, the second with one of its children, and so on. Each value in the path follows the rules described above to match elements. For example, ["abc123", "*", /Hello/, 3].
const metatada = await embedSDK.getMetadata(ELEMENT_OID, query);
console.log(`Element ${ELEMENT_OID} queried metadata`, metadata);
See the Embed SDK documentation for more information about the getMetadata method.
You can see a complete example in Github