Image tracking
Image Tracking allows to detect a picture or photo in order to put virtual content over it.
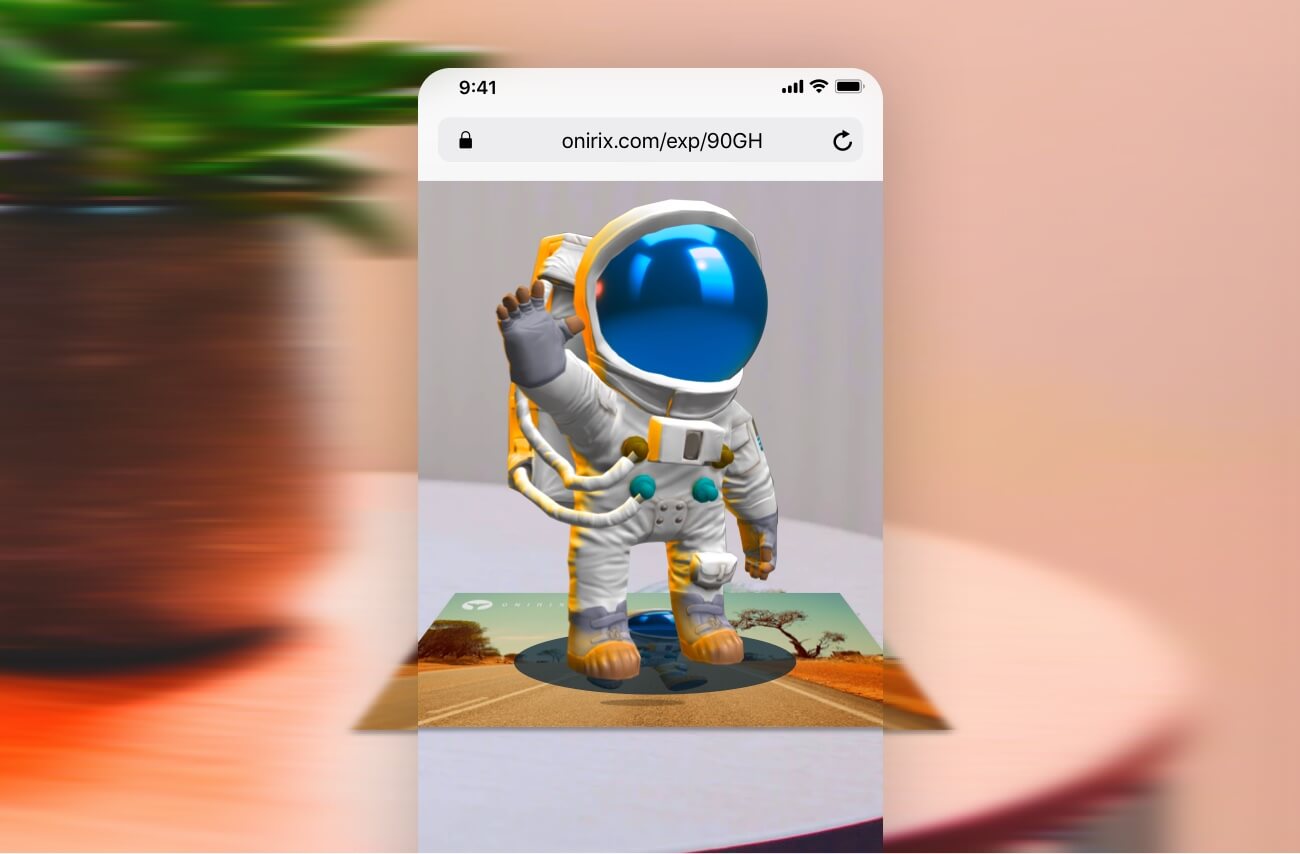
The picture can be a magazine cover, poster, flyer, business card or whatever is plane and has enough identity or texture to be differentiable.
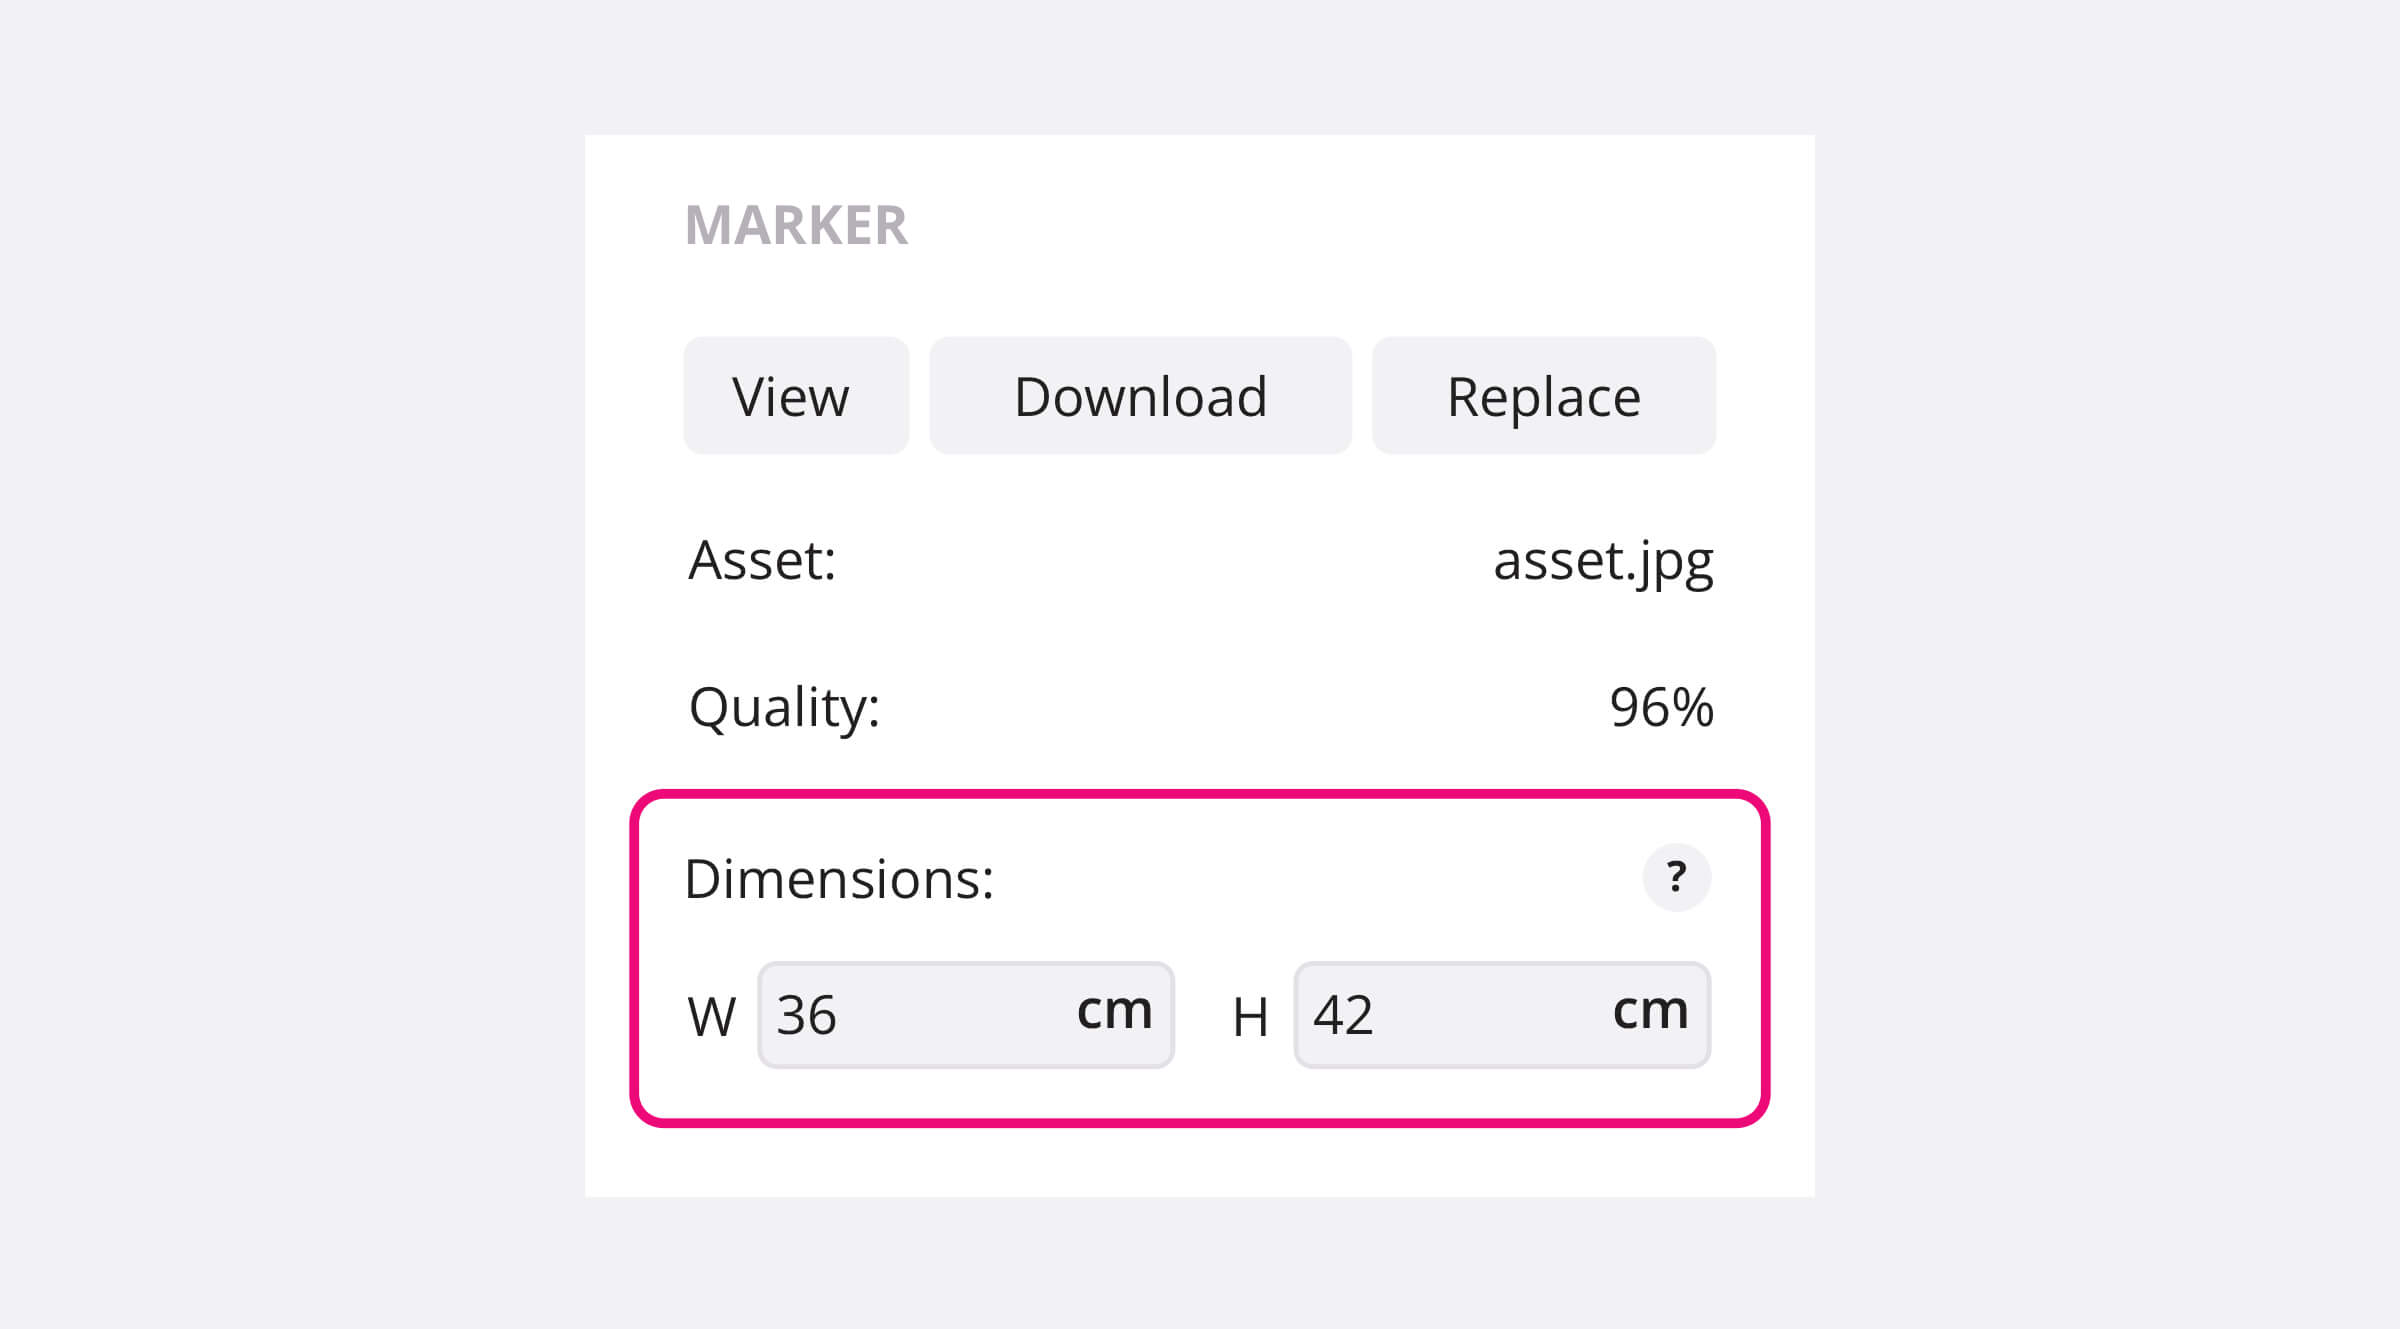
When creating a new Image scene inside Studio, you will be asked to upload the reference or marker image you want to detect and track, along with its real world size (when printed).
Not every image is suitable for its use in AR, check How to choose a good marker image for more information.
You can use this site to check the quality of any marker image: marker quality portal
How to choose a good marker image
In order to differentiate one reference image from another or from any random frame taken by your device's camera, Onirix creates an Image Classifier every time you upload a marker image.
This classifier inspects your image looking for identificable features like corners, edges, high contrast zones, and so on. The following figure shows an example of detected features (green dots on right image).
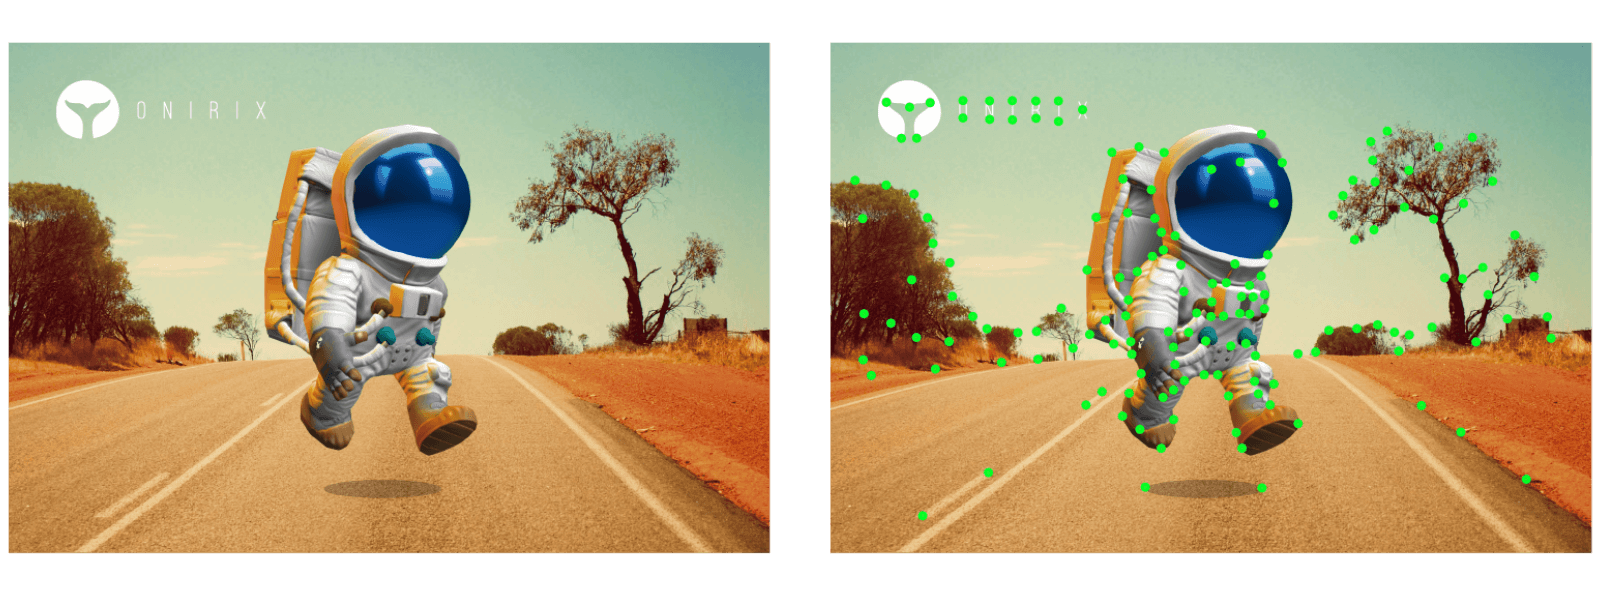
After this process, the classifier outputs a quality score (percentage) based on the number of different features found and image resolution. You can check this score on the scene properties panel.
The more score you get, the better your reference will be detected and tracked over time. The following table illustrates how well your marker image will perform based on its quality score:
| Quality Score | Performance |
|---|---|
| < 25% | It may not be able to be detected and tracking will fail very easily |
| > 25% & < 50% | It may be able to be detected but tracking will fail easily |
| > 50% | Your marker image is almost perfect, tracking will only fail under severe lighting conditions, fast movements or on low-end devices |
So, you should ensure to get at least a 50% quality score for your marker images. Here it is a list with some tips and recommendations to design or choose a good marker image:
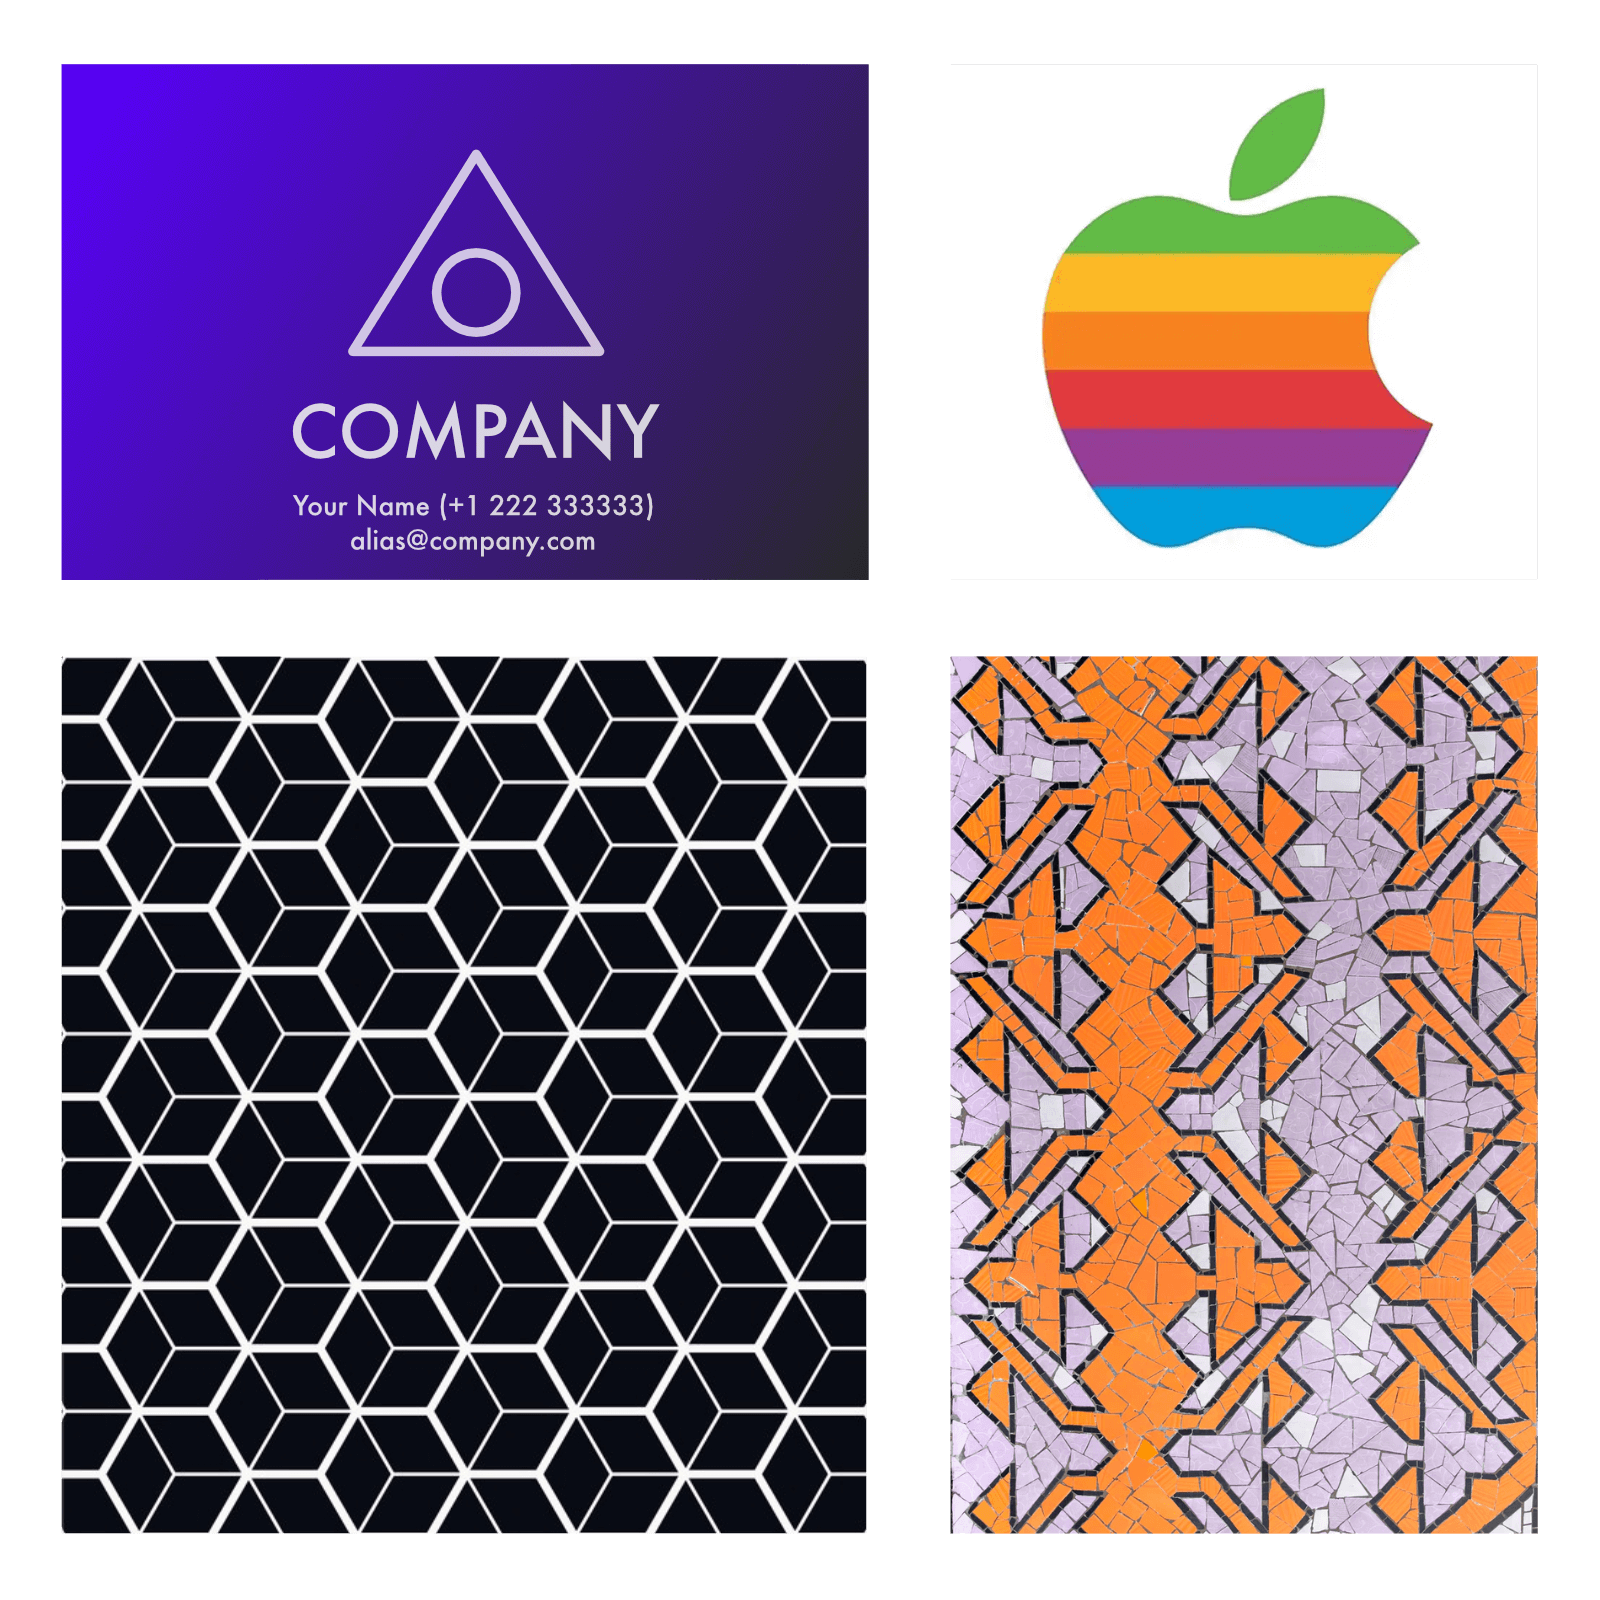
- Real world pictures are usually better than computer designed ones as objects are more complex, not perfect or symmetric and thus have more identificable features.
- Avoid images with large textureless regions. Flat images or minimalistic logos won't work well as they don't have enough features to track.
- Avoid repetitive features. A grid or similar pattern will add new features to the image but being all with the same shape will make image detector not able to differentiate one feature to another.
- Different colors won't generate different features. Features are detected based on contrast changes so adding more colors won't make any effect.
- Avoid printing or placing marker images under high reflective materials. Lighting reflections add artificial features to the image tracking process and may affect its performance.
Want to check the quality of any marker image right away? just visit our marker quality portal and drop any image
Trick: If you use a printed image as a marker. It's usually better to use a real camera picture of printed image as the marker because printing process usually modify colors and intensities of designed image.
Example of good marker images
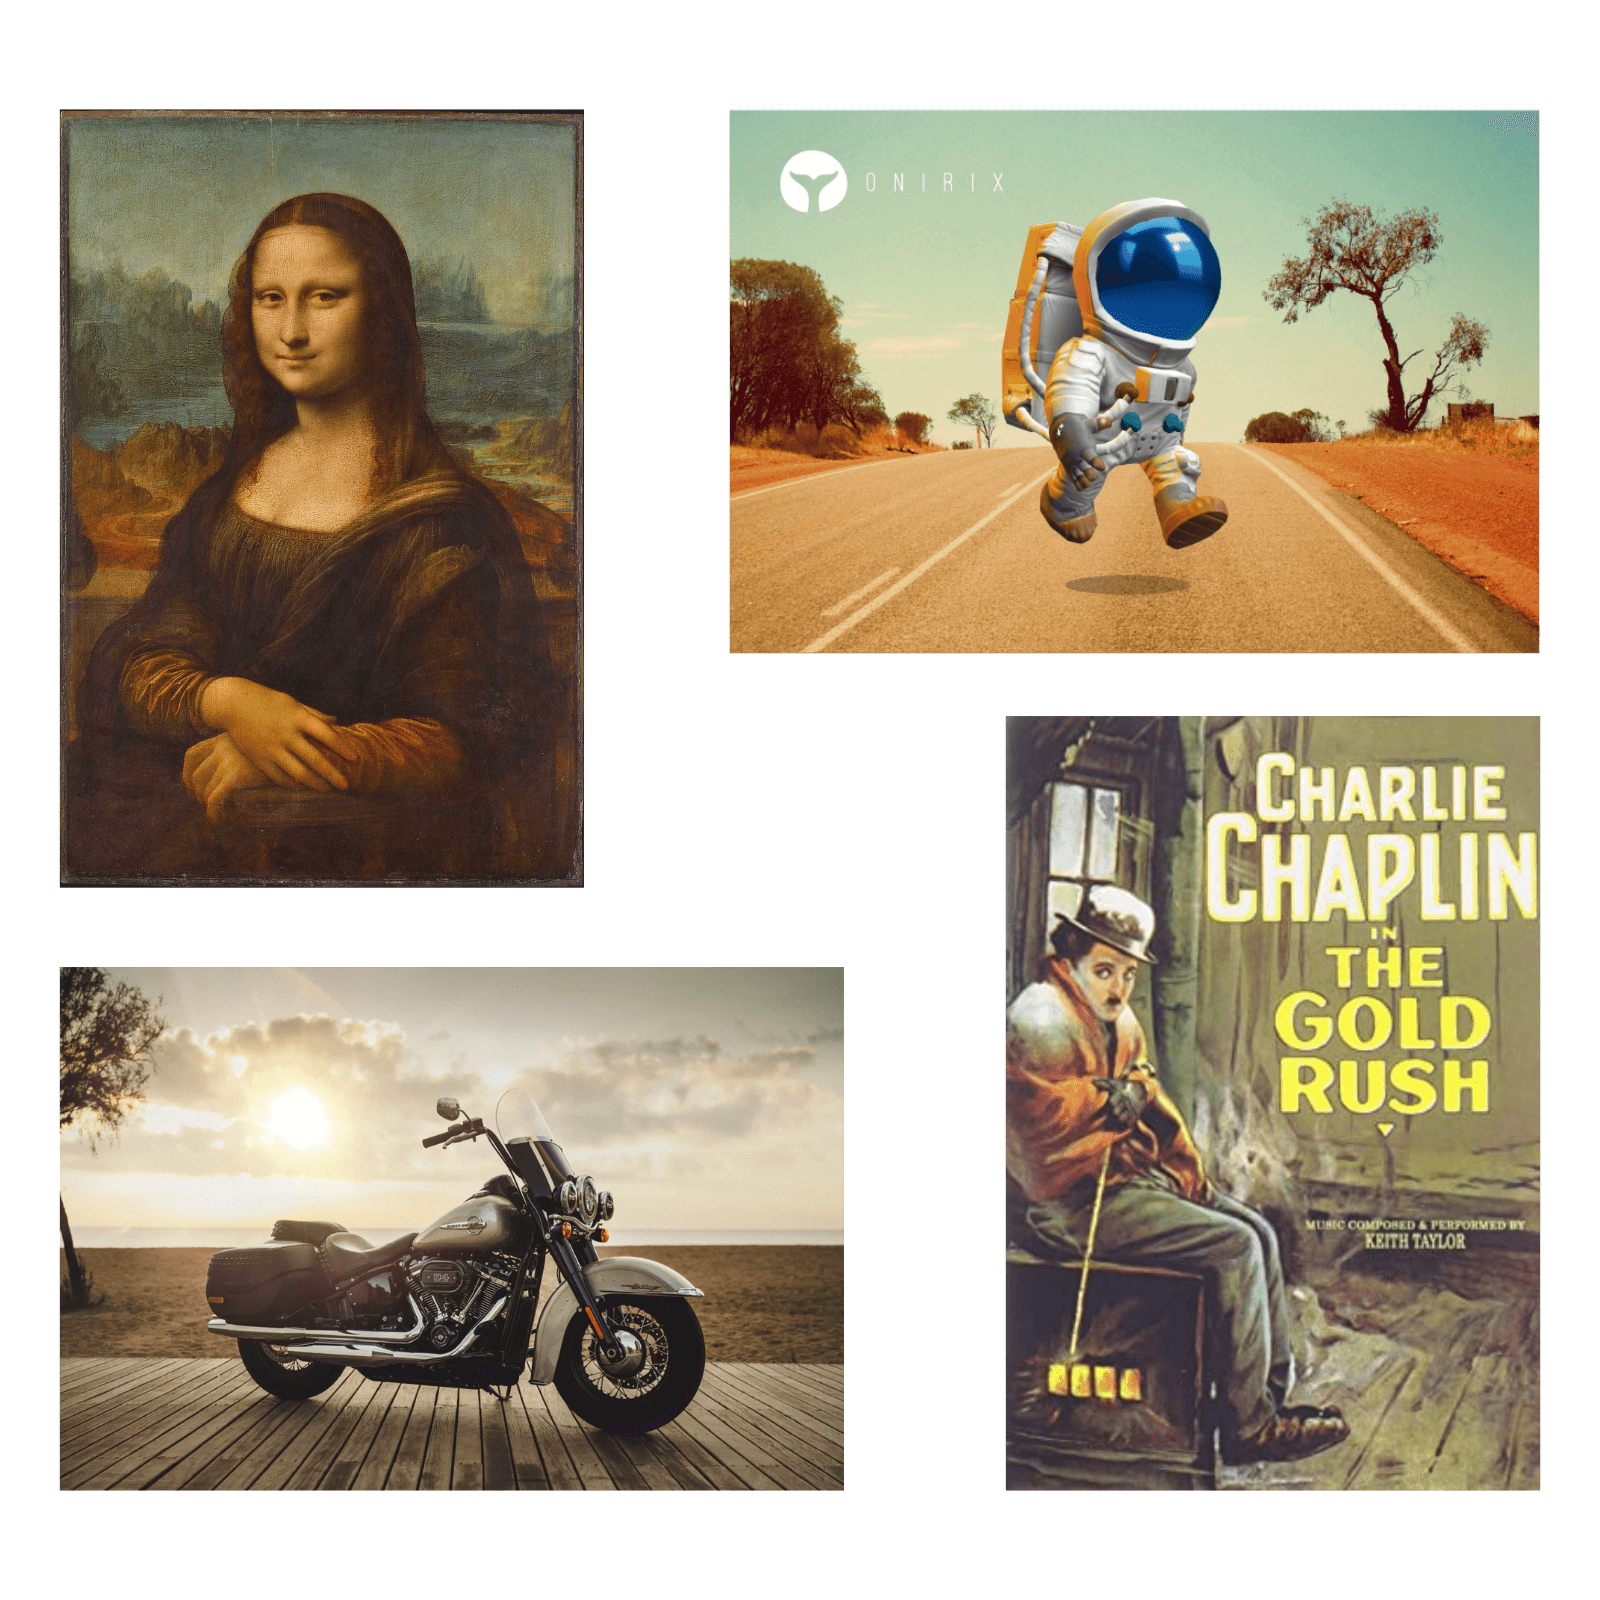
Example of bad marker images
How many images can I use within a project?
In Onirix you can create several scenes within a project, and therefore, each of these scenes can have a different image marker (for example if you want to include AR in several pages of a magazine).
You can use any number of images within a project, however, using more than 30 images will have some implications in the weight of the resources the WebAR player will need to download.
When there are less than 30 images, the player will just compare the camera feed with every of these images to see if there is a match and then, load the corresponding scene. With more than 30 images, comparing one-by-one would be very slow so the WebAR player will download an additional 25MB file to add a preprocessing step to speed up detection.
If your project uses more than 30 images, you may consider splitting it into several projects, as the additional file download will increase loading times and data consumption.
How to add images at runtime?
Image-Tracking experiences created from Onirix Studio require to upload image markers for each corresponding scene. However, some projects would require to use a dynamic (unknown in advance) image marker.
Onirix AR Engine SDK provides an "addImage" method for this. For more information, please refer to the image mode documentation.
Compatibility for image tracking
Onirix Web AR Player is compatible with the following mobile web browsers:
| OS | Version | Supported browsers |
|---|---|---|
| iOS | iOS 11+ | Safari, Chrome, Safari view controller (SFViewController): iOS 13+, Safari web views (WKWebView): iOS 14.3+ |
| Android | Any | Chrome, Firefox, Samsung Internet, Edge, native android web views (Android 4.4+) * |
*Other browsers may be also compatible if supporting the following capabilities: WebGL, CameraAPI, DeviceMotionAPI, WebAssembly (WASM).
Devices must also conform to the following hardware requirements:
- Rear camera with at least VGA resolution (640x480px)
- Gyroscope sensor (only required for surface scenes).
- 2 GB RAM
According to statcounter analytics, this means a global 97.43% worldwide browser compatibility.
Combining image tracking with World and Rotation tracking
Combined tracking is a way in which we can mix different types of trackings for different phases of the AR experience. In the case of the initiator of the experience, also called trigger, we can often be interested in a specific image, as in the case of image tracking. But later we may want the tracking of the experience to be fixed in terms of the environment, that is, to behave like a Surface experience (or world tracking).
This combination of trigger and tracker is what we call combined trackings. This can be very useful for example if you are in a showroom or a booth, you want to showcase your products, but you don't want the user to have to select the place where to start the experience. You can highlight this starting point with an image (poster, or over the floor) and then the experience will work just the same.
In order to enable this you simply create an image type scene, and in the project settings, you can access a menu item that details the different modes for image scenes tracking:
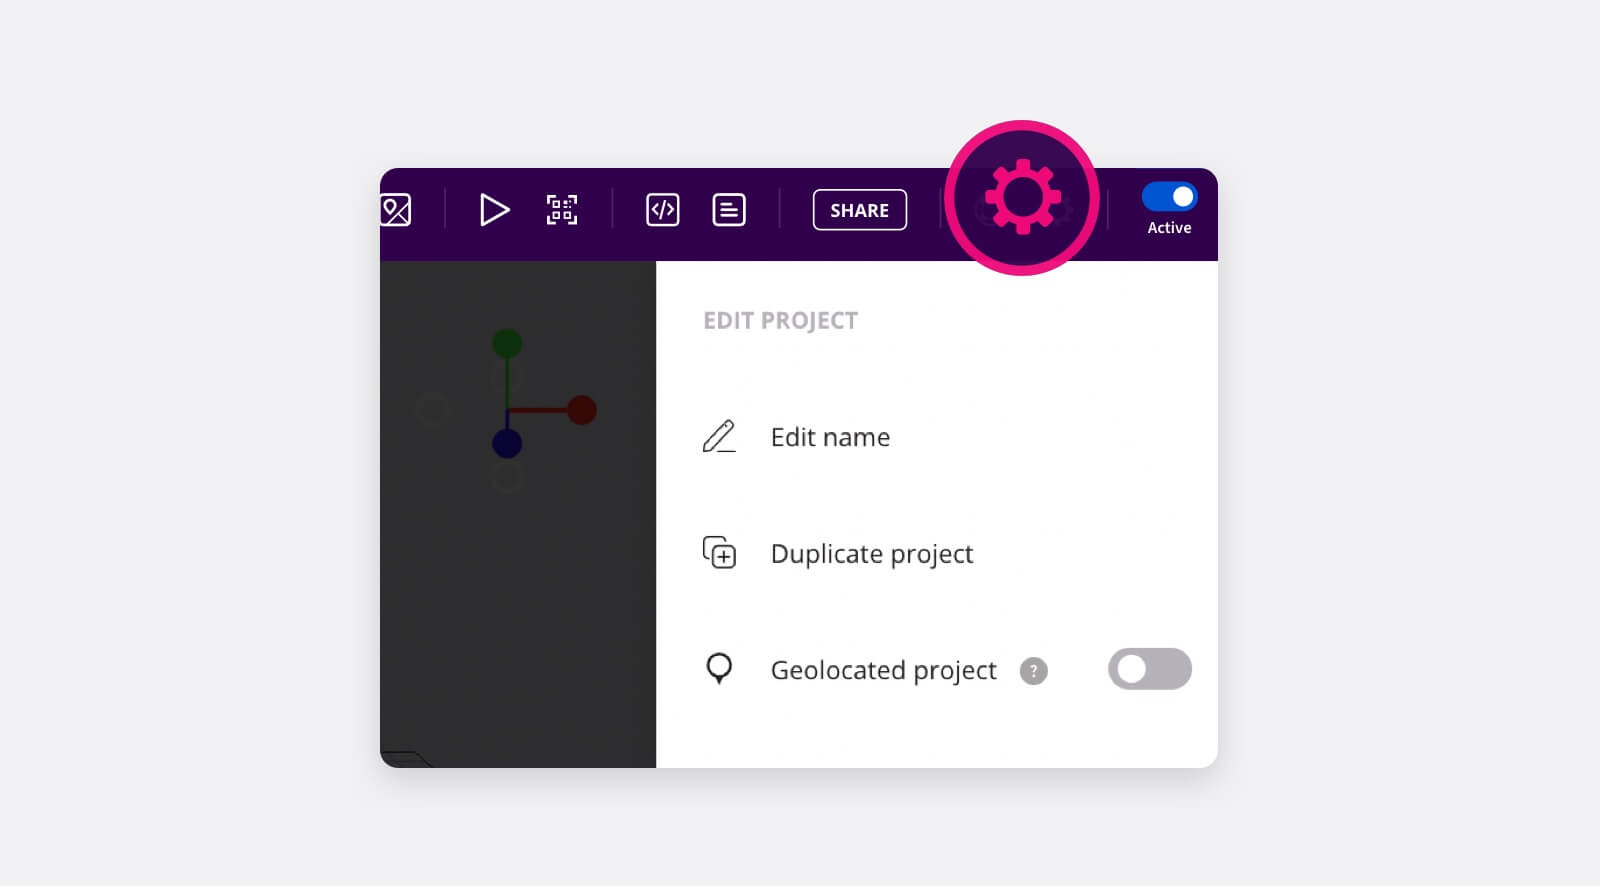
The possible combinations are:
- Image tracking; the usual behaviour of this mode
- World tracking: trigger content with an image and anchor the content on the surface with WebXR.
- Rotation tracking: trigger content with an image and place the content in front of the user with gyroscope.
![]()
Limitations of combined image tracking
If you want to use a combination between Image and World tracking (content anchored to surfaces), the technique makes use of WebXR. Therefore, in order to be able to combine these trackings effectively, it is necessary to have either an Android phone with ARCore or an iPhone where we use the Onirix Clip. More info about World tracking limitations here.
For the comnination with Rotation tracking there are no limitations because it does not use WebXR.
Very important. When combining image recognition with world tracking, it is essential that we mark the real-world measurements, in cm, of the marker image in the scene properties menu. These measurements must respect the real physical measurements for the experience to be accurate.
