Videos & gifs
Videos in Onirix can be used in several ways as you will see in this part of the documentation. As we will see, videos can be added to AR scenes, and depending on the intended purpose, different techniques can be used to achieve different results. Therefore we can understand the videos in Onirix as three big blocks:

- Videos: classic video format as it is known, basically a sequences of images with audios (perfect to show a specific explanation within an AR scene).
- Chroma videos or videos with transparent background: these are usually videos that serve to represent a kind of hologram, since we can automatically remove the background generated in a specific color (green chroma), and leave only the central content.
- Video gifs: these are videos that do not have audio, are played with autoplay, and can be looped if desired. This type of content can be very useful in AR scenes as it allows adding 2D animations in different parts of scenes, and thus providing interaction in a creative way.
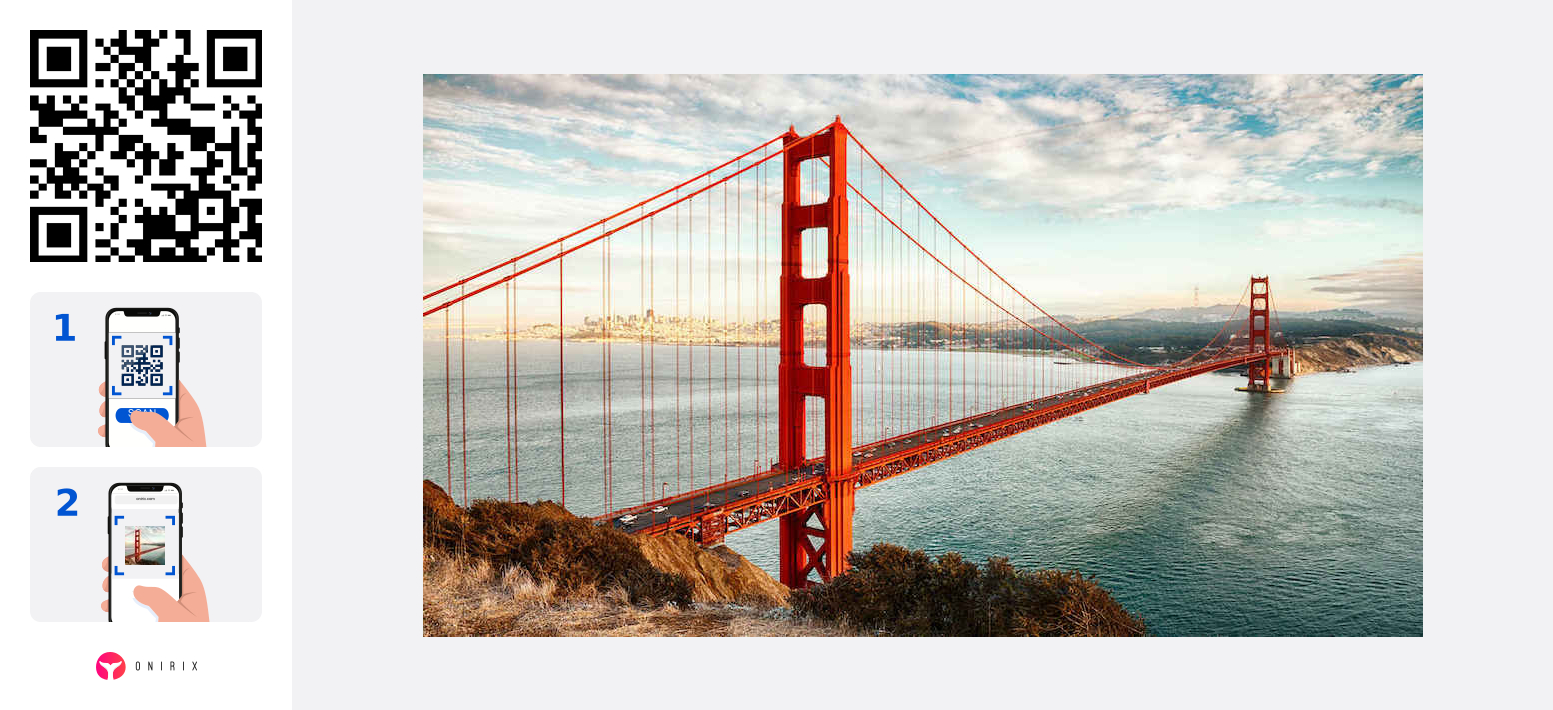
Here an example of a scene with a classic video format in Onirix: a way to show more info about the Golden Gate bridge:
Supported formats
Onirix supports AVI and MP4 video containers. Libavcodec is used internally to read and decode video files, so supported video codecs are libavcodec supported ones.
| Feature | Support |
|---|---|
| Video container | AVI, MP4 |
| Video codec | Supported codecs |
| Video size | Up to 350MB (maximum recommended 50MB) |
| Video duration | Up to 5min |
| Video resolution | Up to 4K (will be downscaled to a width of 720px) |
When a new video is uploaded, a conversion process will run to resize and re-encode it so it can be run on mobile devices.
Videos: multimedia properties in Onirix
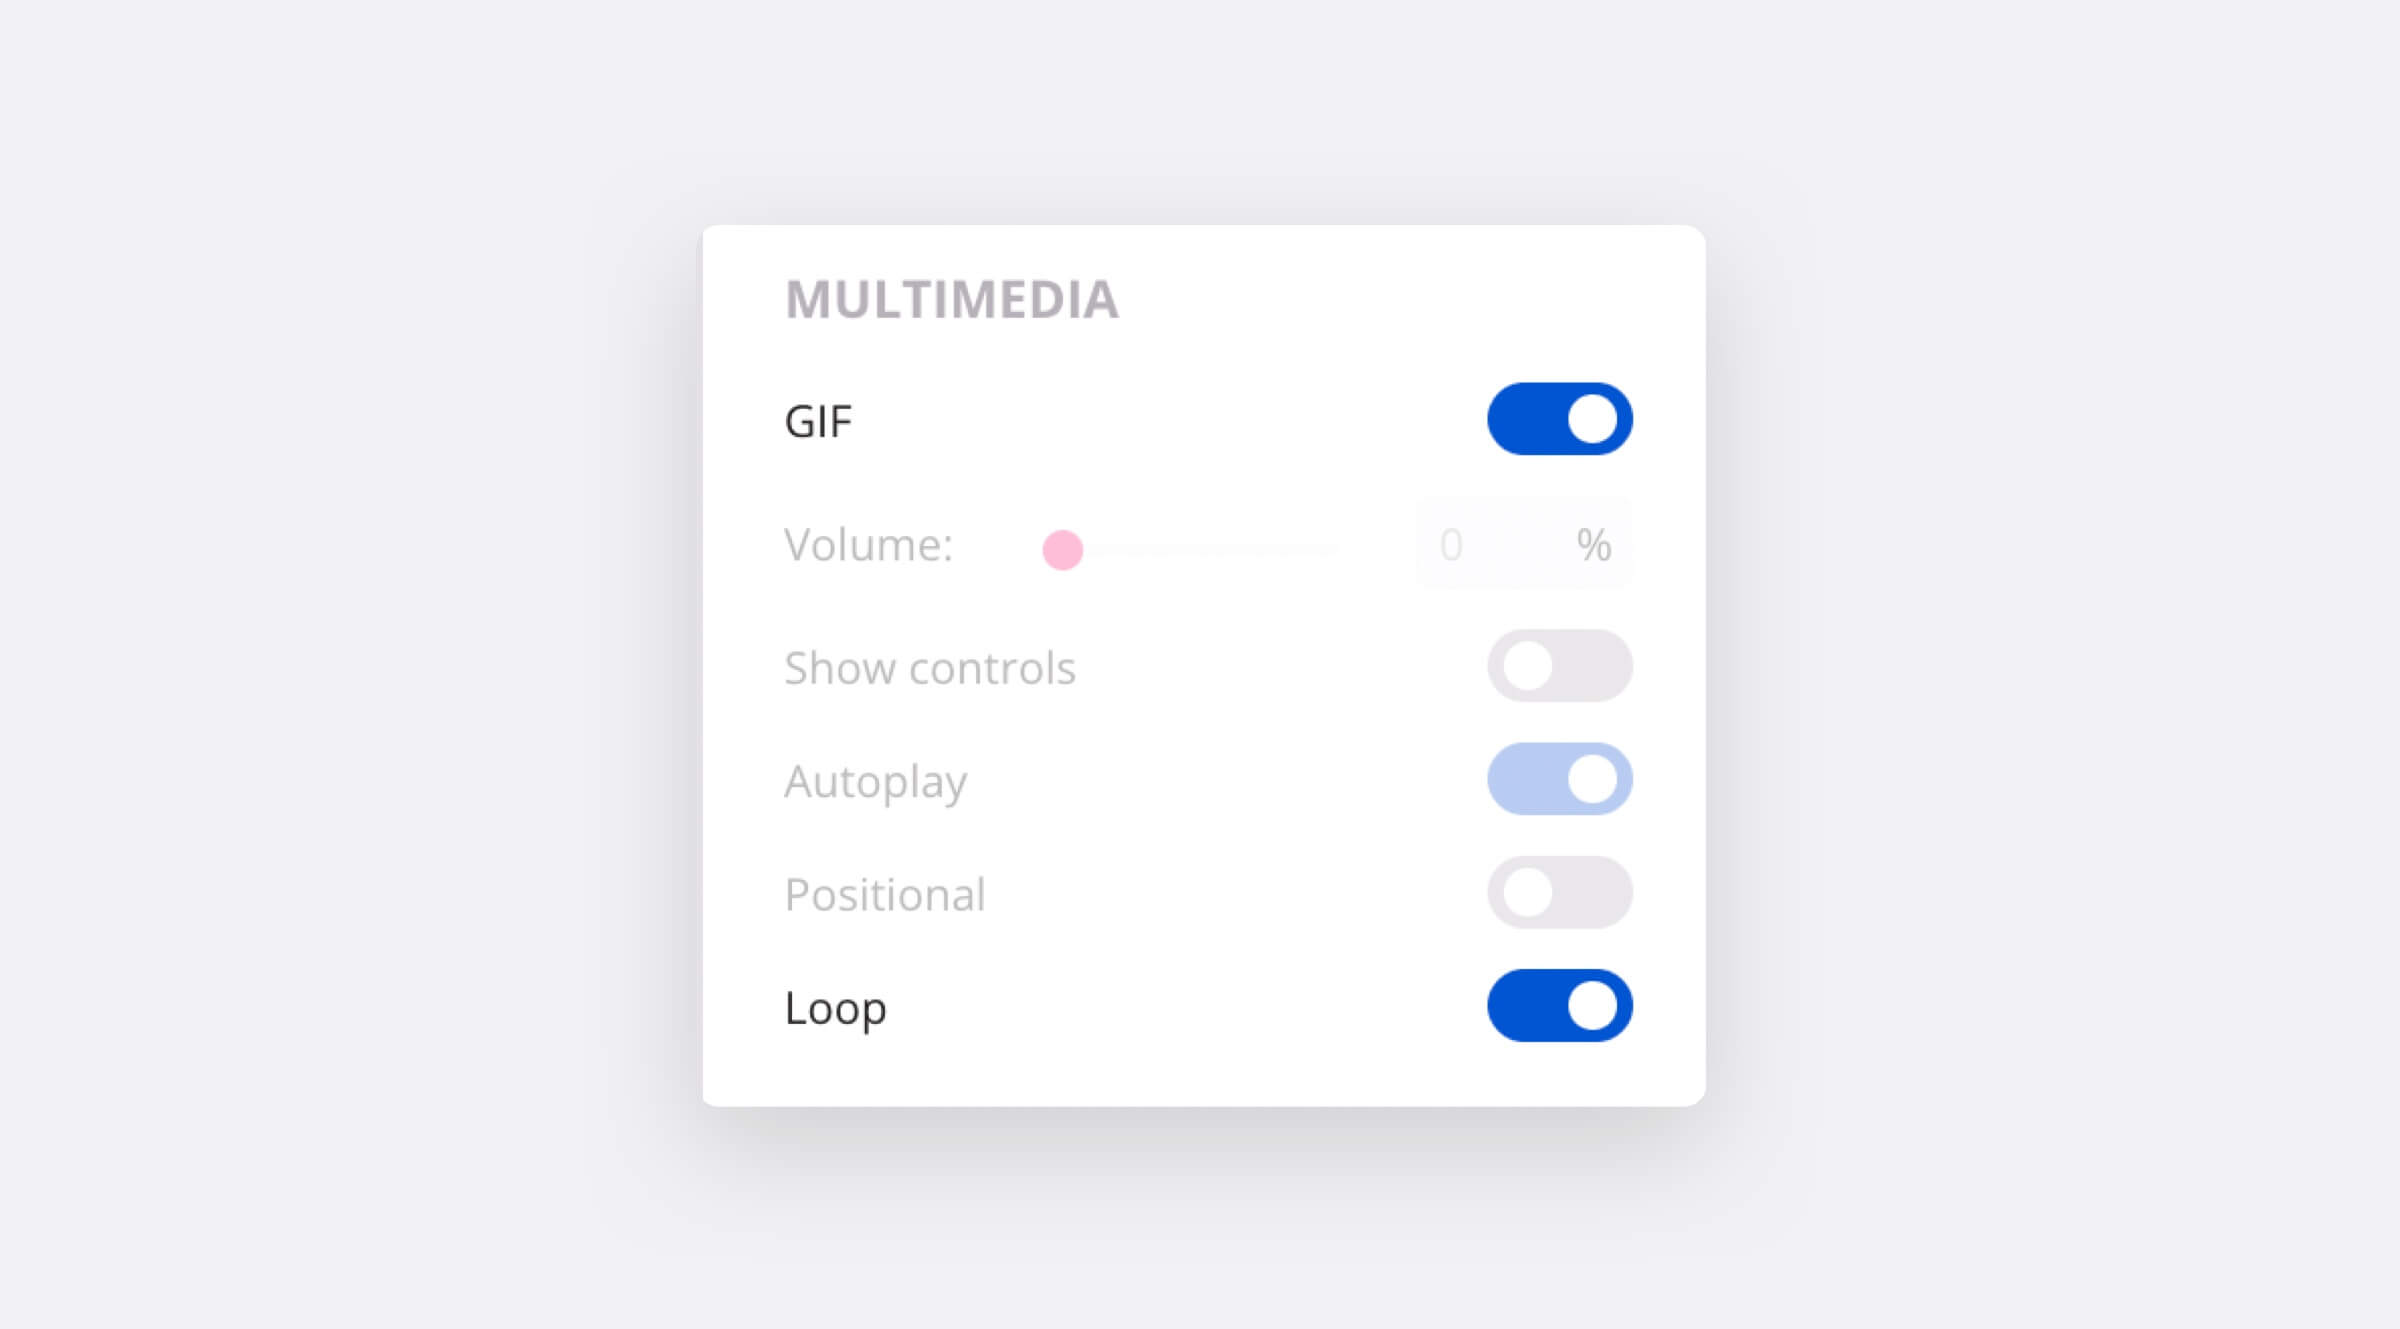
There are different properties that you can modify from the scene editor, in the video properties menu (multimedia section):
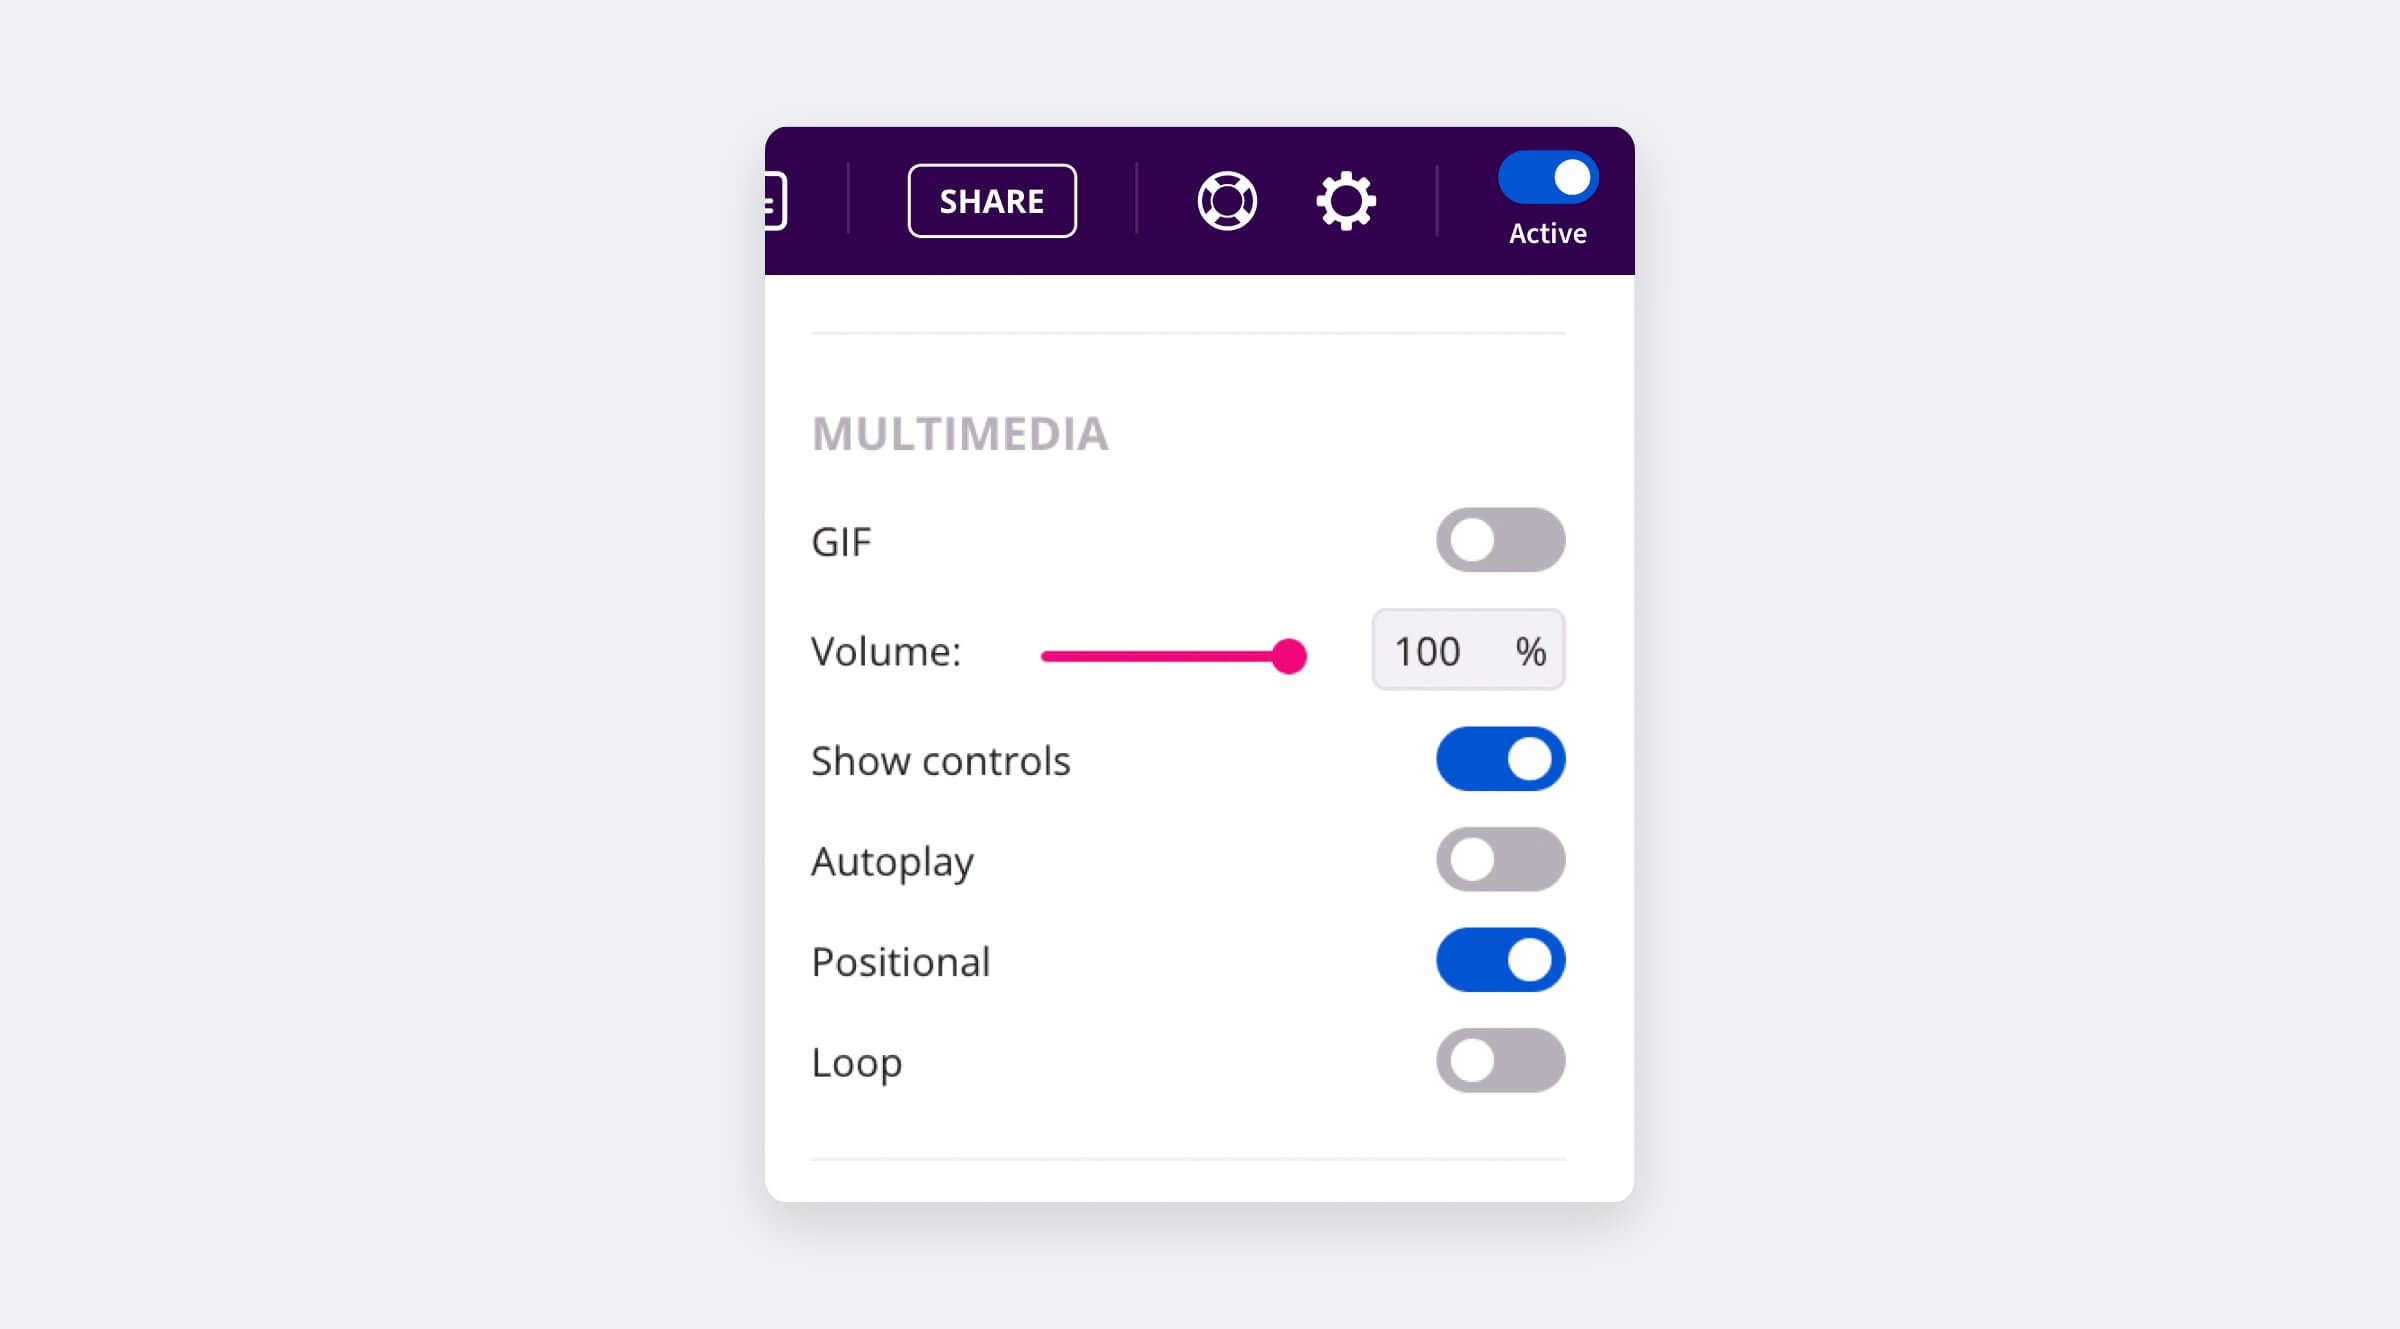
- GIF: Set the video as gif within the scene (more about gifs in this section).
- Volume: Sets the volume for the video in the scene.
- Show controls: This property causes the video controls to be displayed so that the user can play the video: play button, etc.
- Autoplay: Plays automatically when element loads if enabled.
- Positional: Uses positional audio if enabled. It will sound louder when close.
- Loop: Plays again when finish and every time.
When adding a video to the scene, Studio will automatically create a "click" event to play it when clicked. You can remove this event or create new ones to manage its playback.
Autoplay property: common issues and tips
The autoplay property, when using WebAR in Safari (iOS) will only work if the video does not contain an audio track. This is a Safari limitation, as stated in webkit documentation. To avoid problems in iOS just set the volume to 0%, or set the video as a gif.
One thing you can do to solve this problem is to include the video with the audio muted, and separately, an audio file that plays the same sound with autoplay. This way both files separately will generate the same experience as in the video with autoplay.
Also for iOS, autoplay will not work if you are using web AR with the low battery mode On.
Chroma key videos (transparent background)
When it comes to create videos with an aspect of an hologram or maybe also for gifs, chroma key videos are your best choice.
A chroma key video, is a regular video where you can replace a color (typically from the background) with transparency, in order to create 2D animations with any shape.
Here there are the steps to "mark" a video as a chroma key video:
- Upload it as a regular video asset
- Open the preview of the video Asset, either in the Assets screen or inside the scene editor
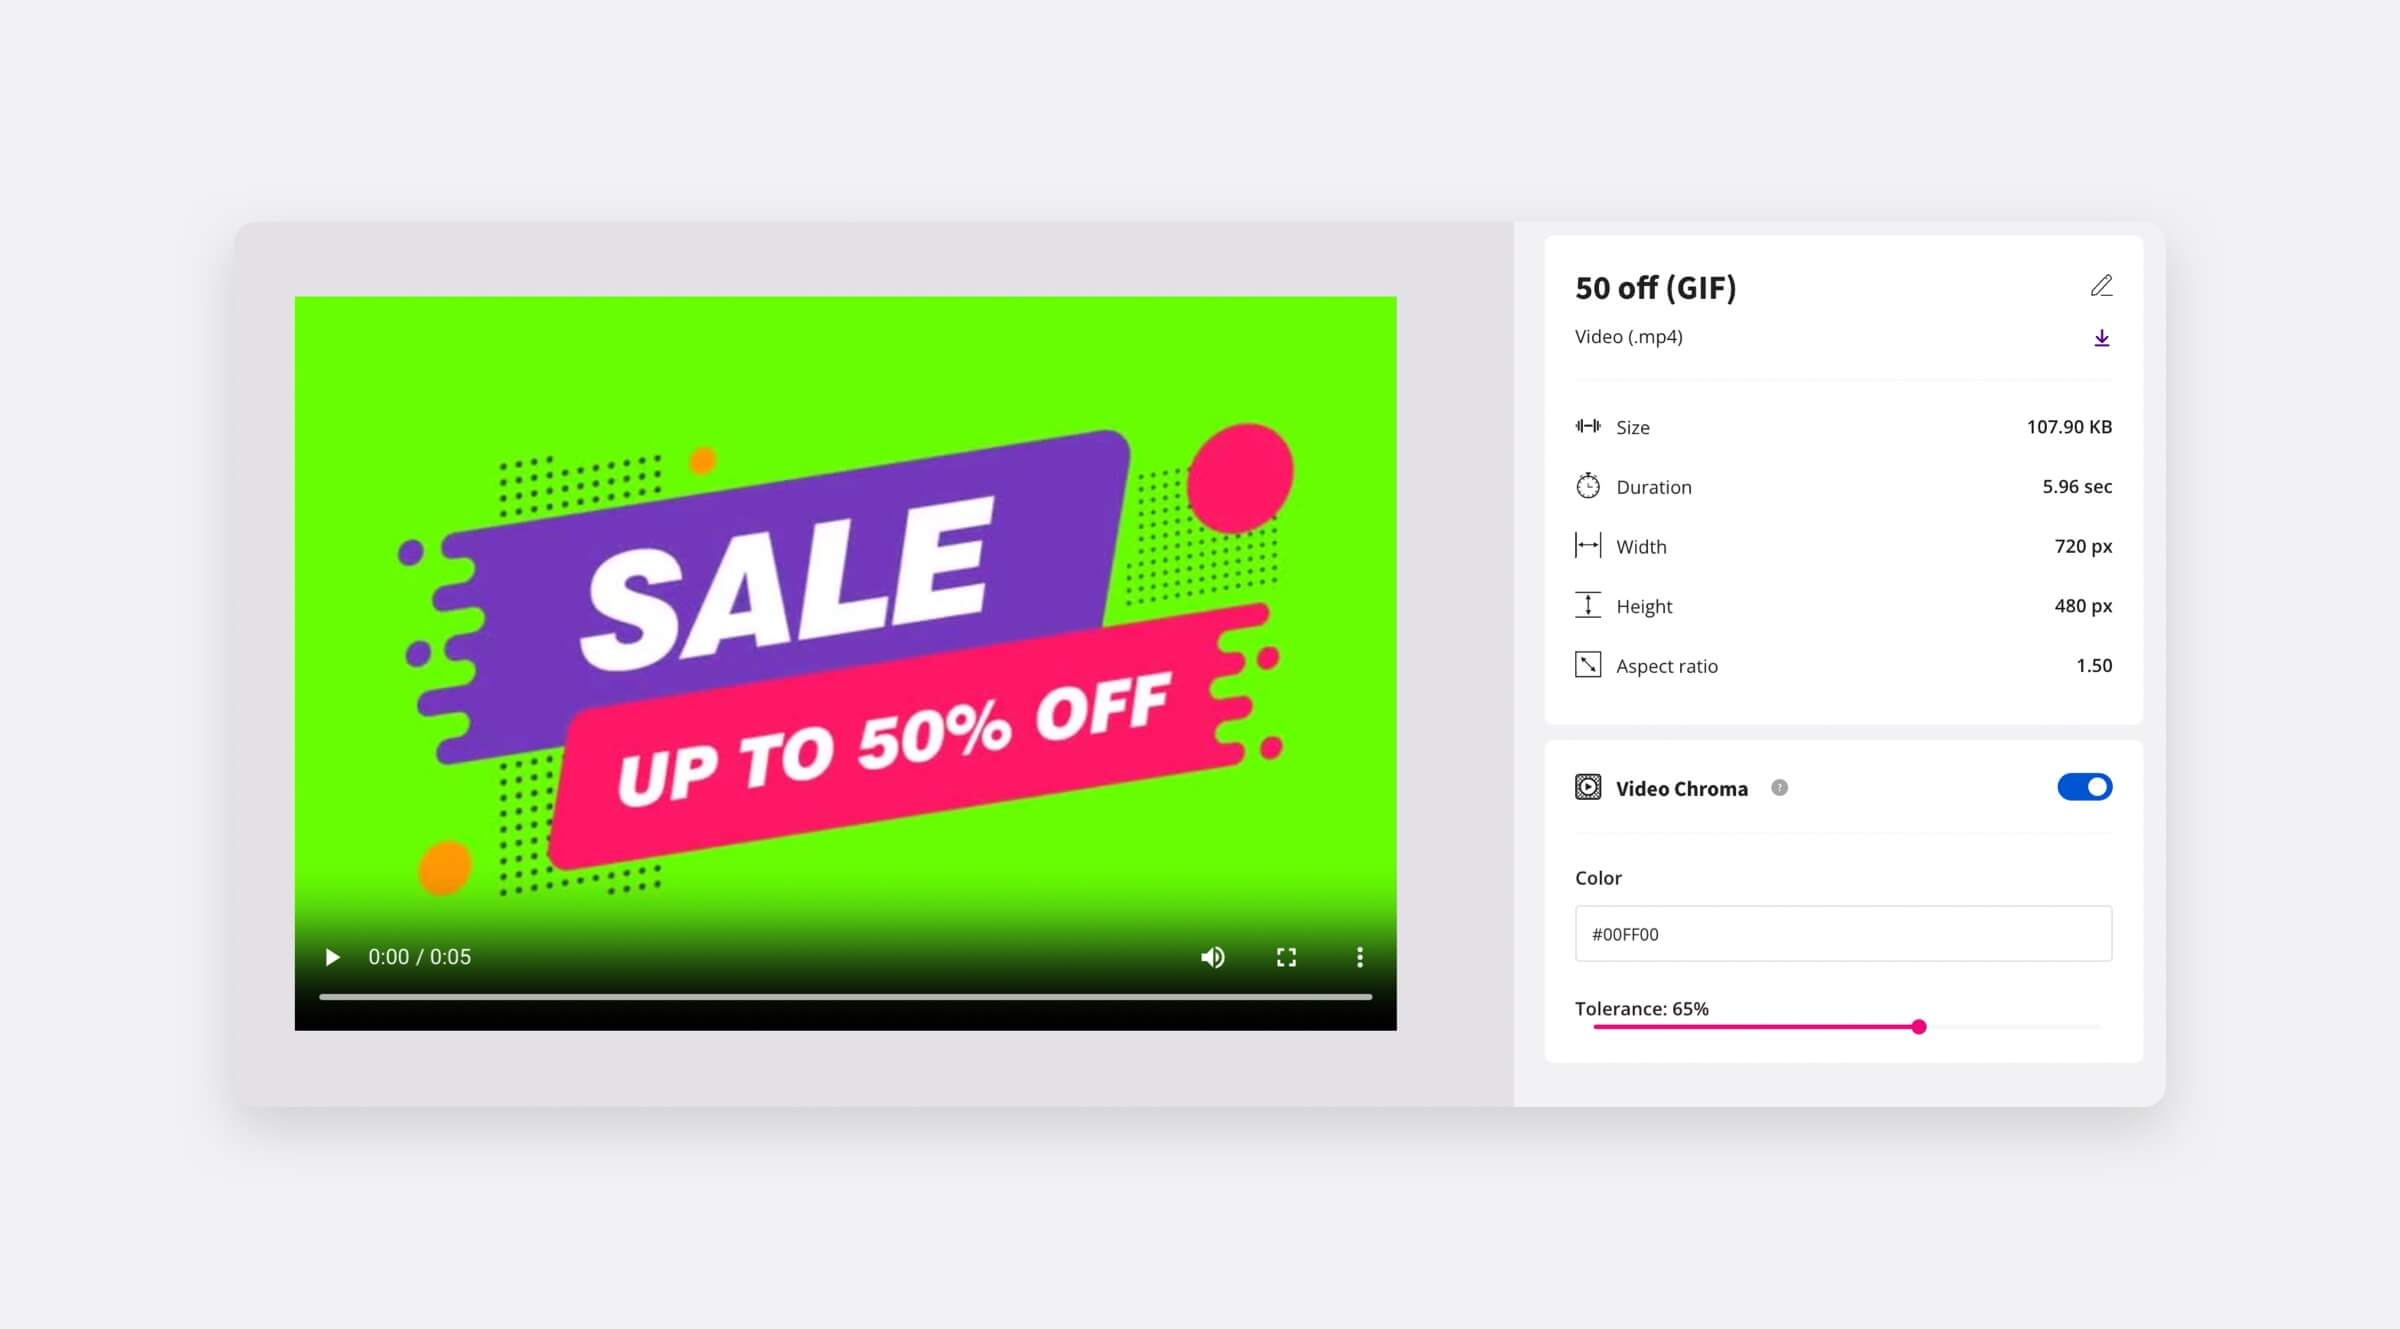
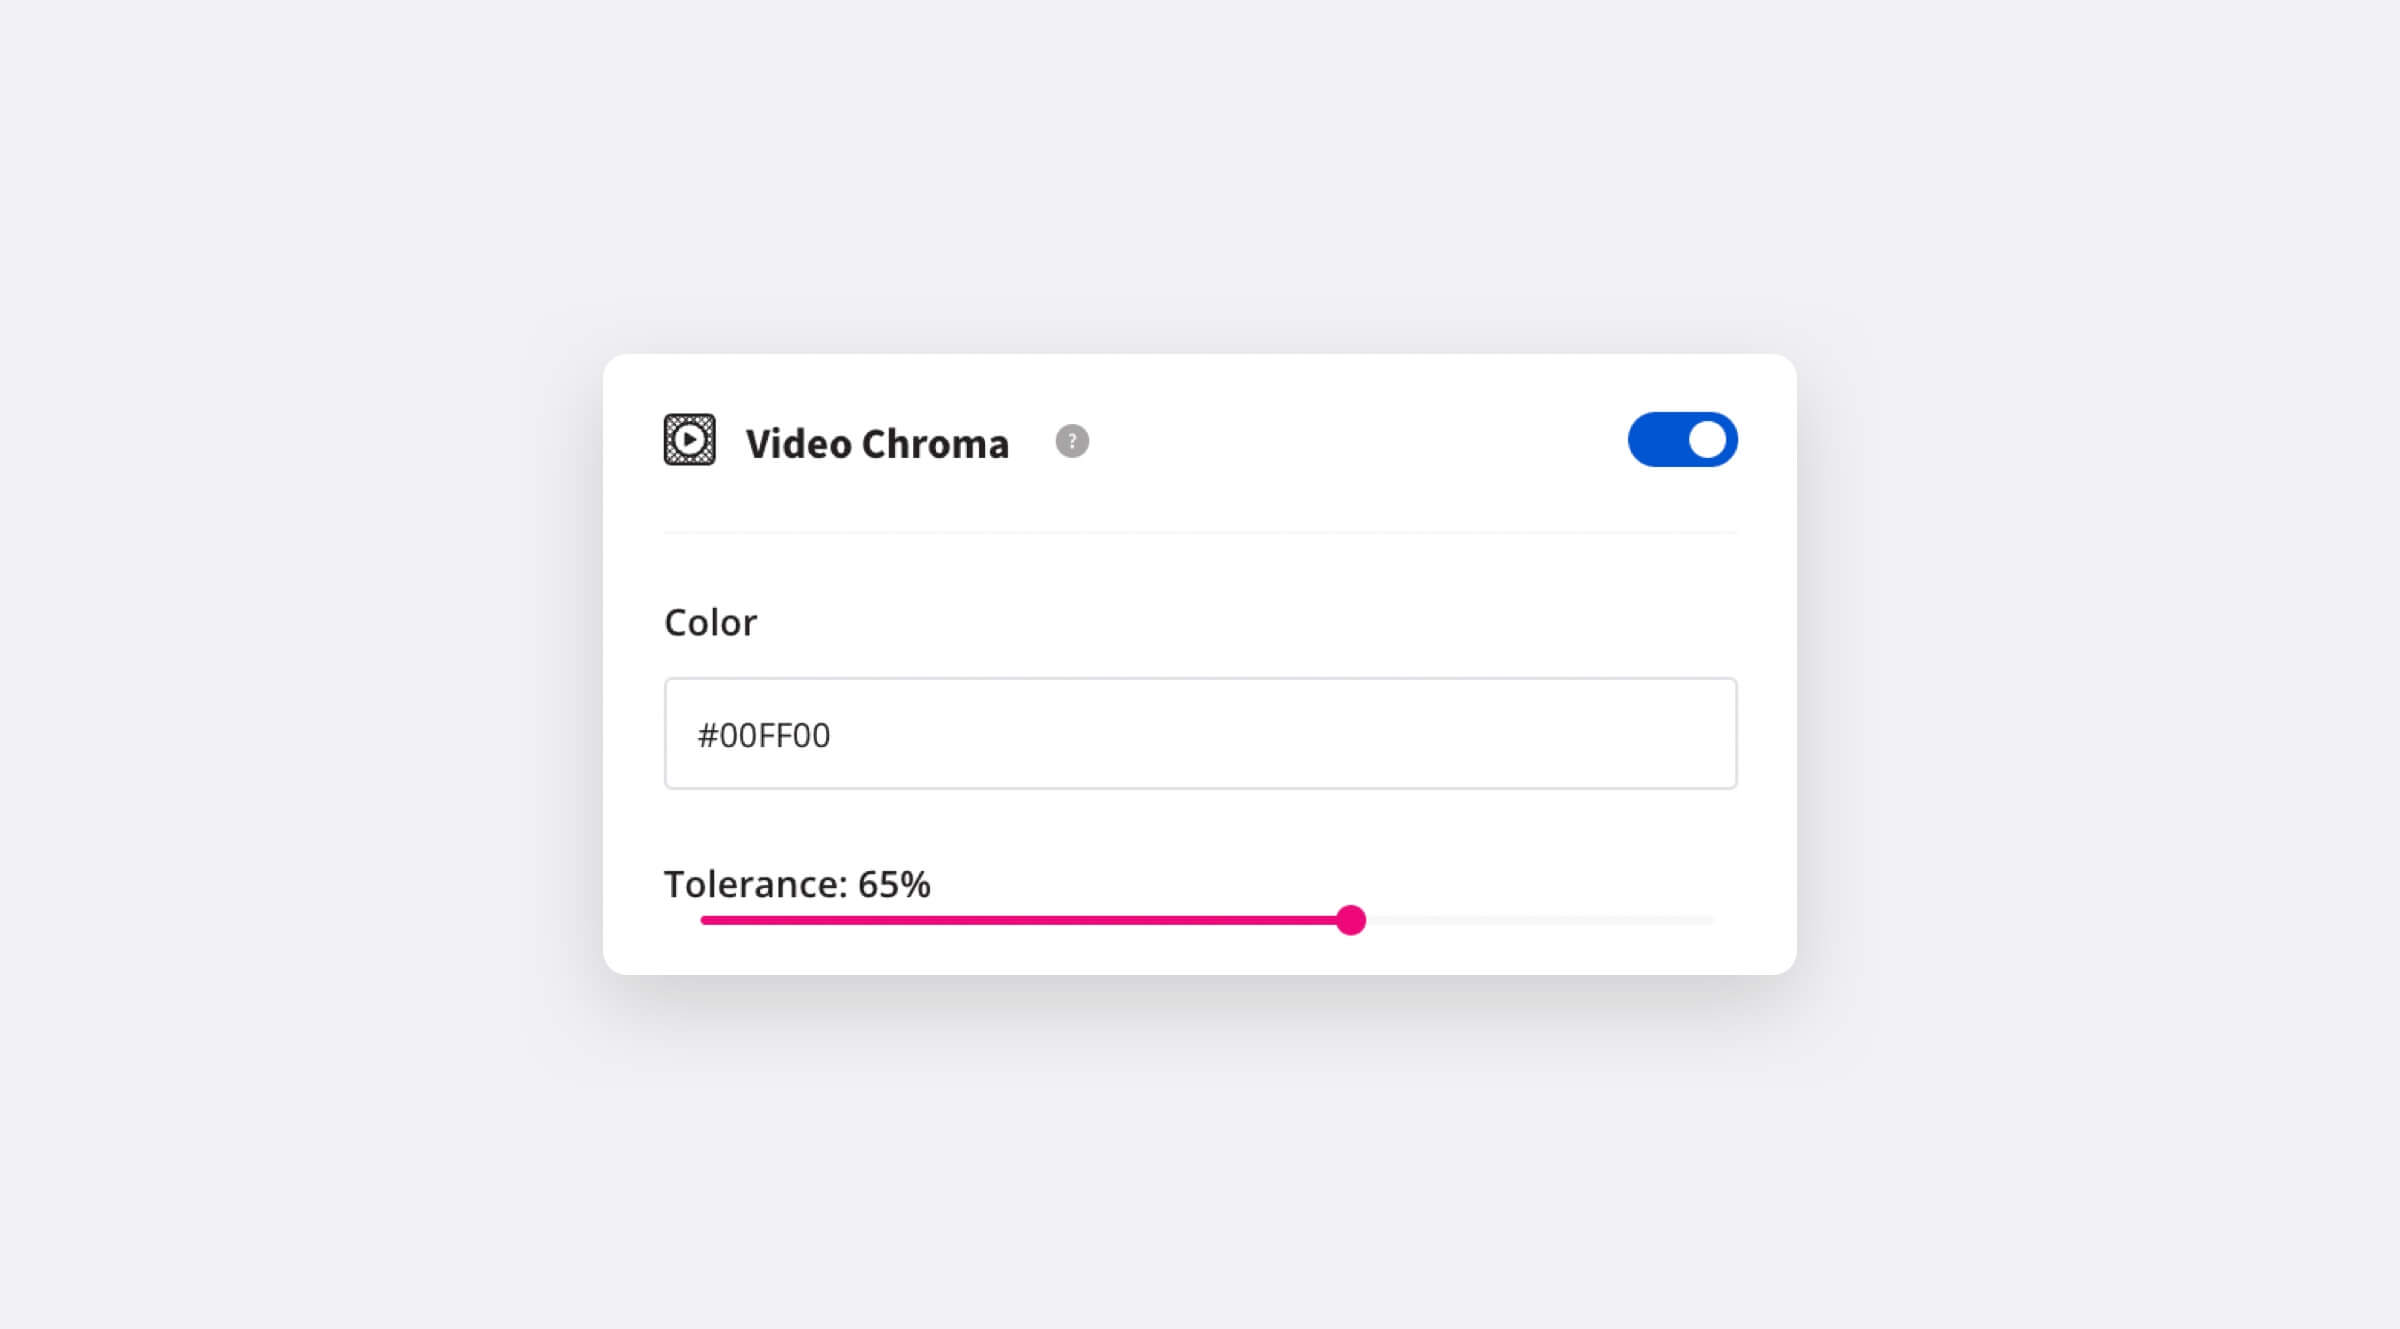
- Enable the chroma video switch in the right side of the emerging dialog. After that, two new inputs will appear:
- Color: The color you want to replace with transparency (usually green or black). Onirix includes the code for the croma green colour as hexadecimal: #00FF00.
- Tolerance: You may want to adjust this value depending on the amount of noise of the background.
This is an example of a croma key video with an hologram of the Leia pricess:
Gifs in Onirix: short 2D animations
To use gifs in Onirix the first step would be to upload a video with croma background, and set it as transparent background as explained in the previous section. After that, the second step would be to set it as a gif when added to the scene, in the multimedia properties of the scene element. We only have to decide if the gif will be executed once (at the end it remains fixed on the screen) or if we want it to be played in a loop (for example an animated arrow that is in continuous movement).
Examples with gifs (try yourself)
Map with some locations to visit next summer: The arrows in the image come to life with gifs, as do the locations proposed in this example.
Buttons for an e-commerce experience with AR: different types of buttons with movement to capture the attention of the potential consumer.

Offer labels to show in an augmented and animated catalogue: animated offer posters that can appear when viewing a magazine, or a product package.
